Want to save some major money? Follow these simple steps to learn how to Iron a Dress Shirt Like a Professional and save big bucks in Dry Cleaning fees!
(this post contains affiliate links)
I have my parents to thank for this post! When I was in High School, ironing shirts was one of the paid jobs that I could do at home. Although it took some time, it was one of the few jobs I could do in front of the tv. I would pop in a movie, iron all of my Dad’s shirts and get paid to do it!
Now, having a husband who wears dress shirts at least 6 out of 7 days a week, this skill comes in very handy. Take the time to learn how to iron a shirt correctly and you can save tons of money! You will not only save on the dry cleaning bill, but also have an excuse to watch or rewatch your favorite shows on Netflix!
I timed myself ironing a shirt. I wanted to make sure you knew what you were getting into before you started. Depending on the interruptions from kids, each shirt took me between 5-7 minutes to starch and iron. That is definitely worth the savings of around $3 per shirt to go to the Dry Cleaners each week. That adds up to just under $800 a year in dry cleaning for 5 shirts a week!
Let’s also just have a ‘real’ moment here. Let’s pretend like my curtains in the background are as crisply ironed as the shirt I will show you at the end. These curtains seem to get wadded up, spun around in and hid behind fairly often by little hands, so I have given up on keeping them ironed.
And one last thing, even if you have “wrinkle free” shirts, it is really nice to know how to iron them in case you have an extra special event that you want to look especially nice for!
How to Iron A Dress Shirt Like a Professional
Get the Necessary Tools
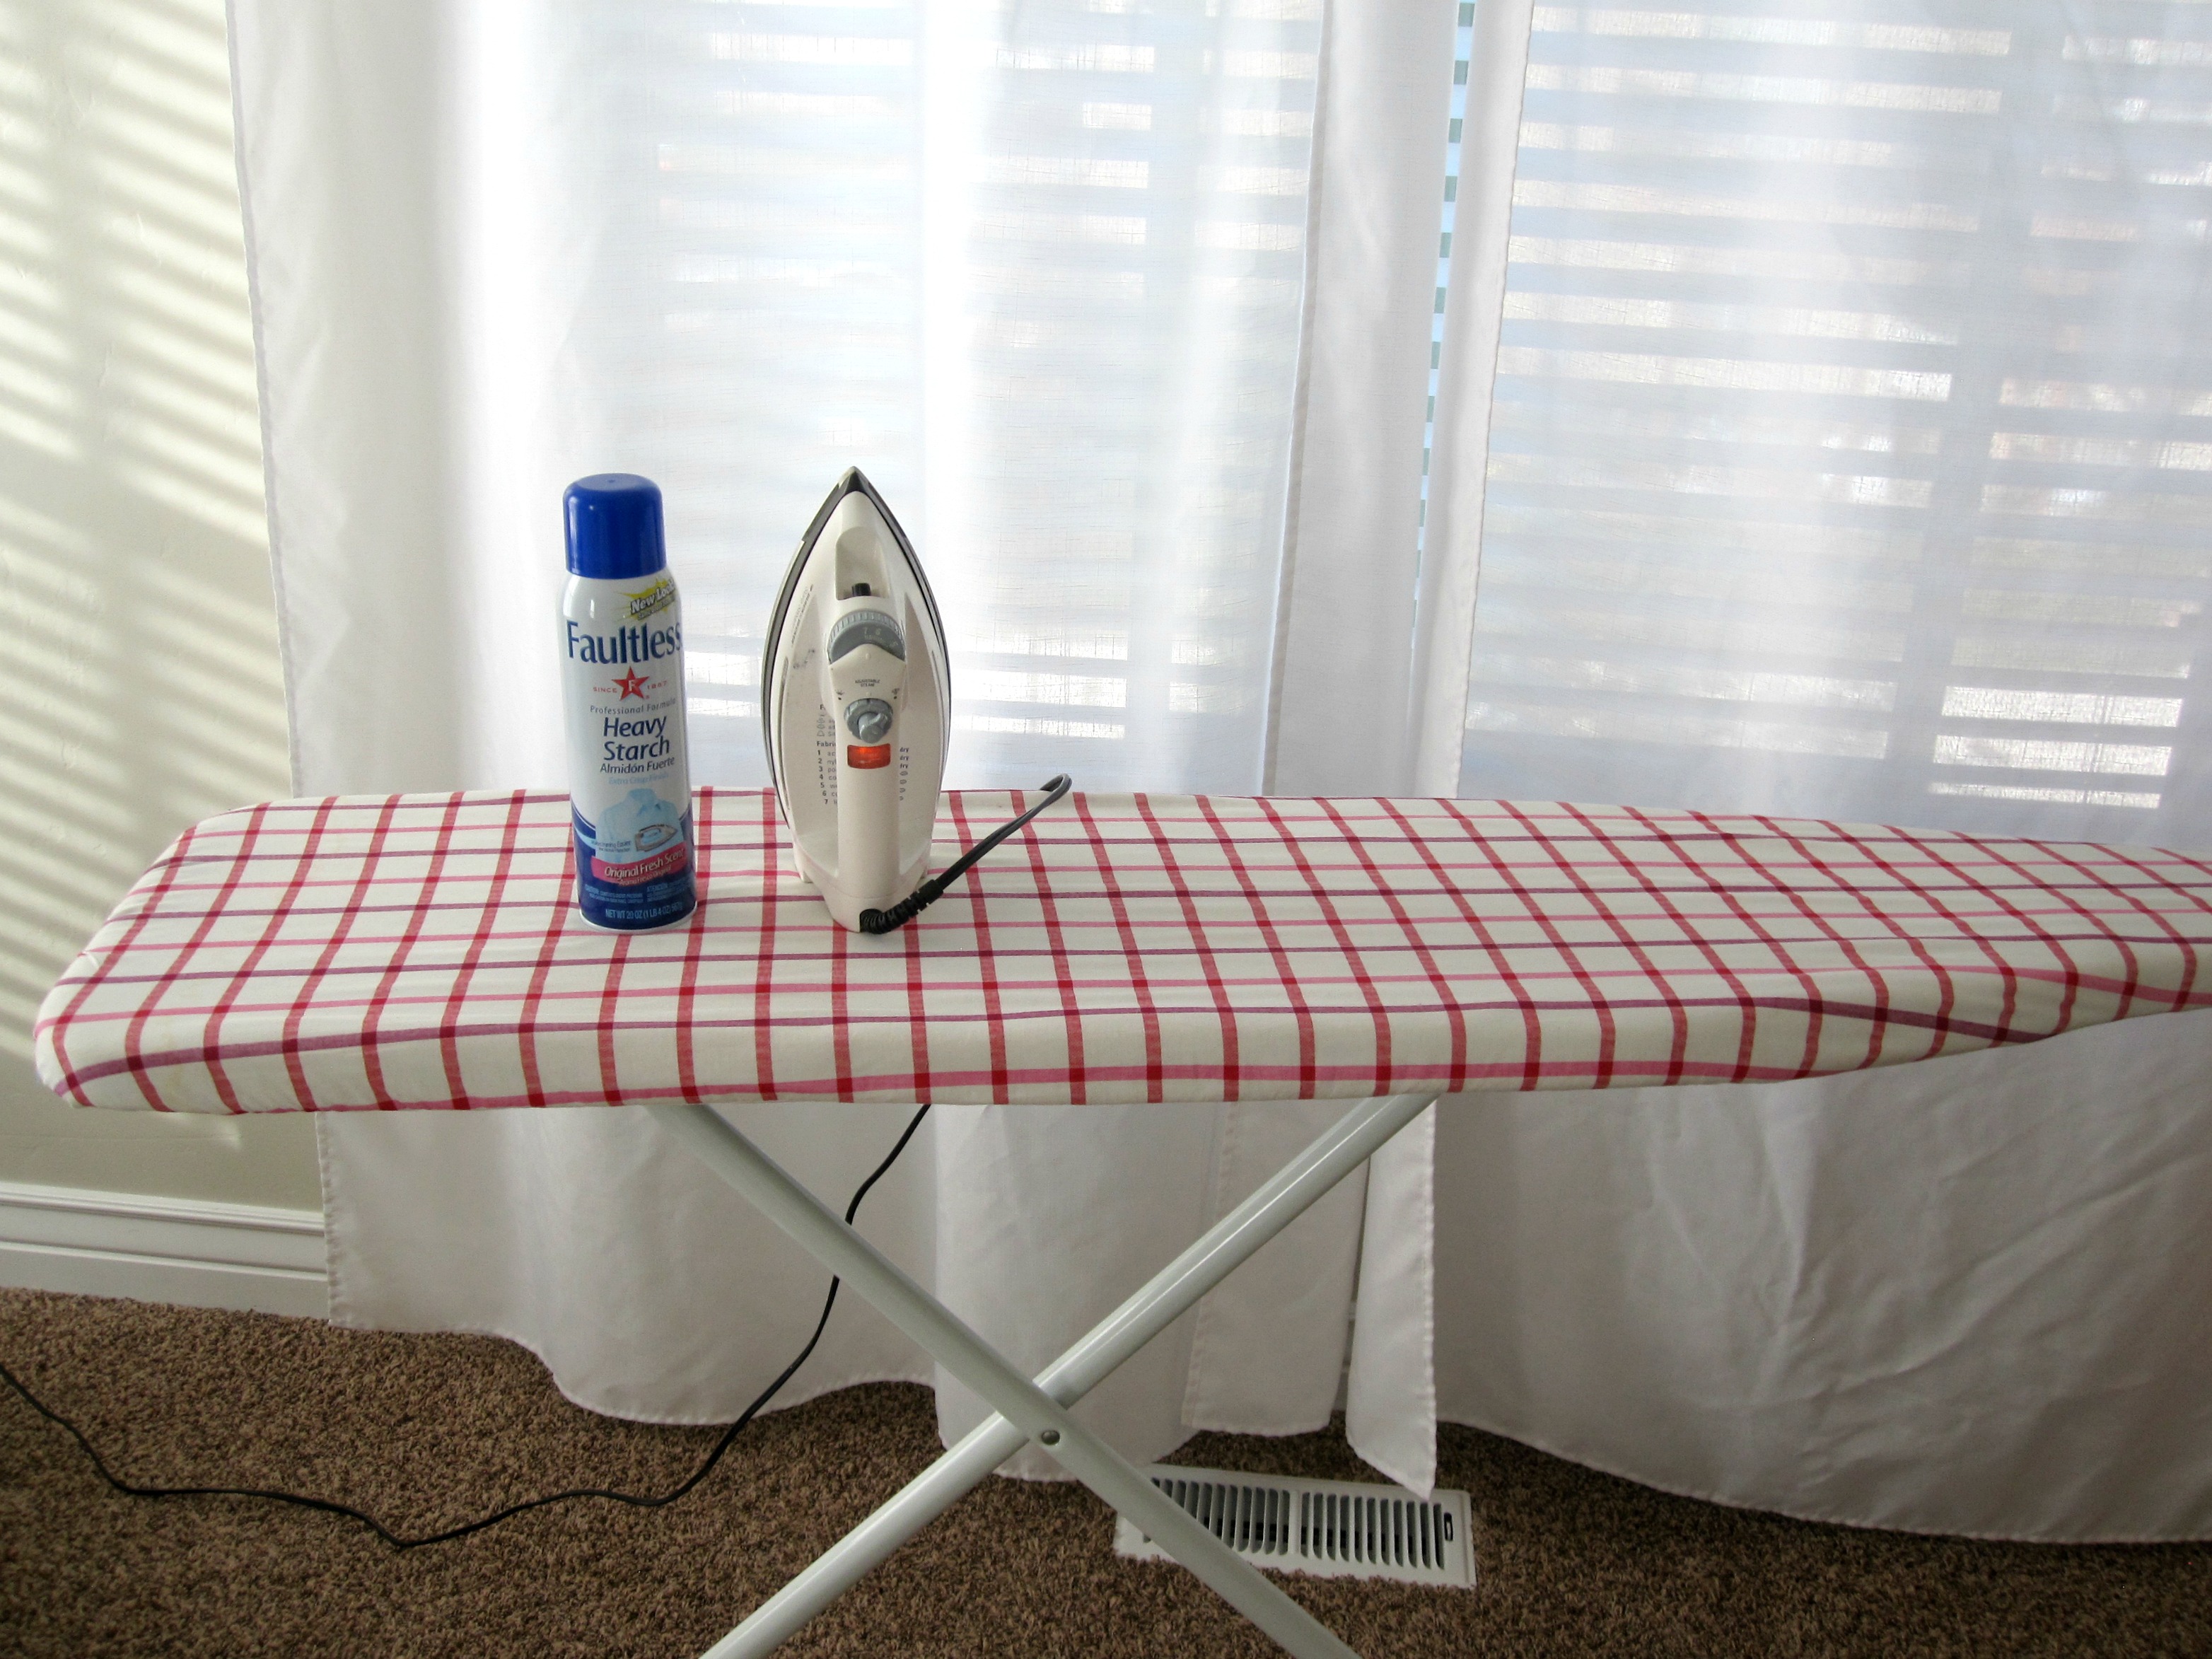
You will need:
Simple Tips
For each part of the shirt that you iron, you will follow these simple steps:
- Smooth out the area you are ironing with your hand first. You don’t want to be ironing in wrinkles.
- Spray the starch. You want the area to be damp, but not soaking wet. Shake well before spraying.
- Check the fabric of the shirt and adjust the heat of your iron accordingly. I like to go as hot as possible to make the lines extra crisp.
Iron the Collar
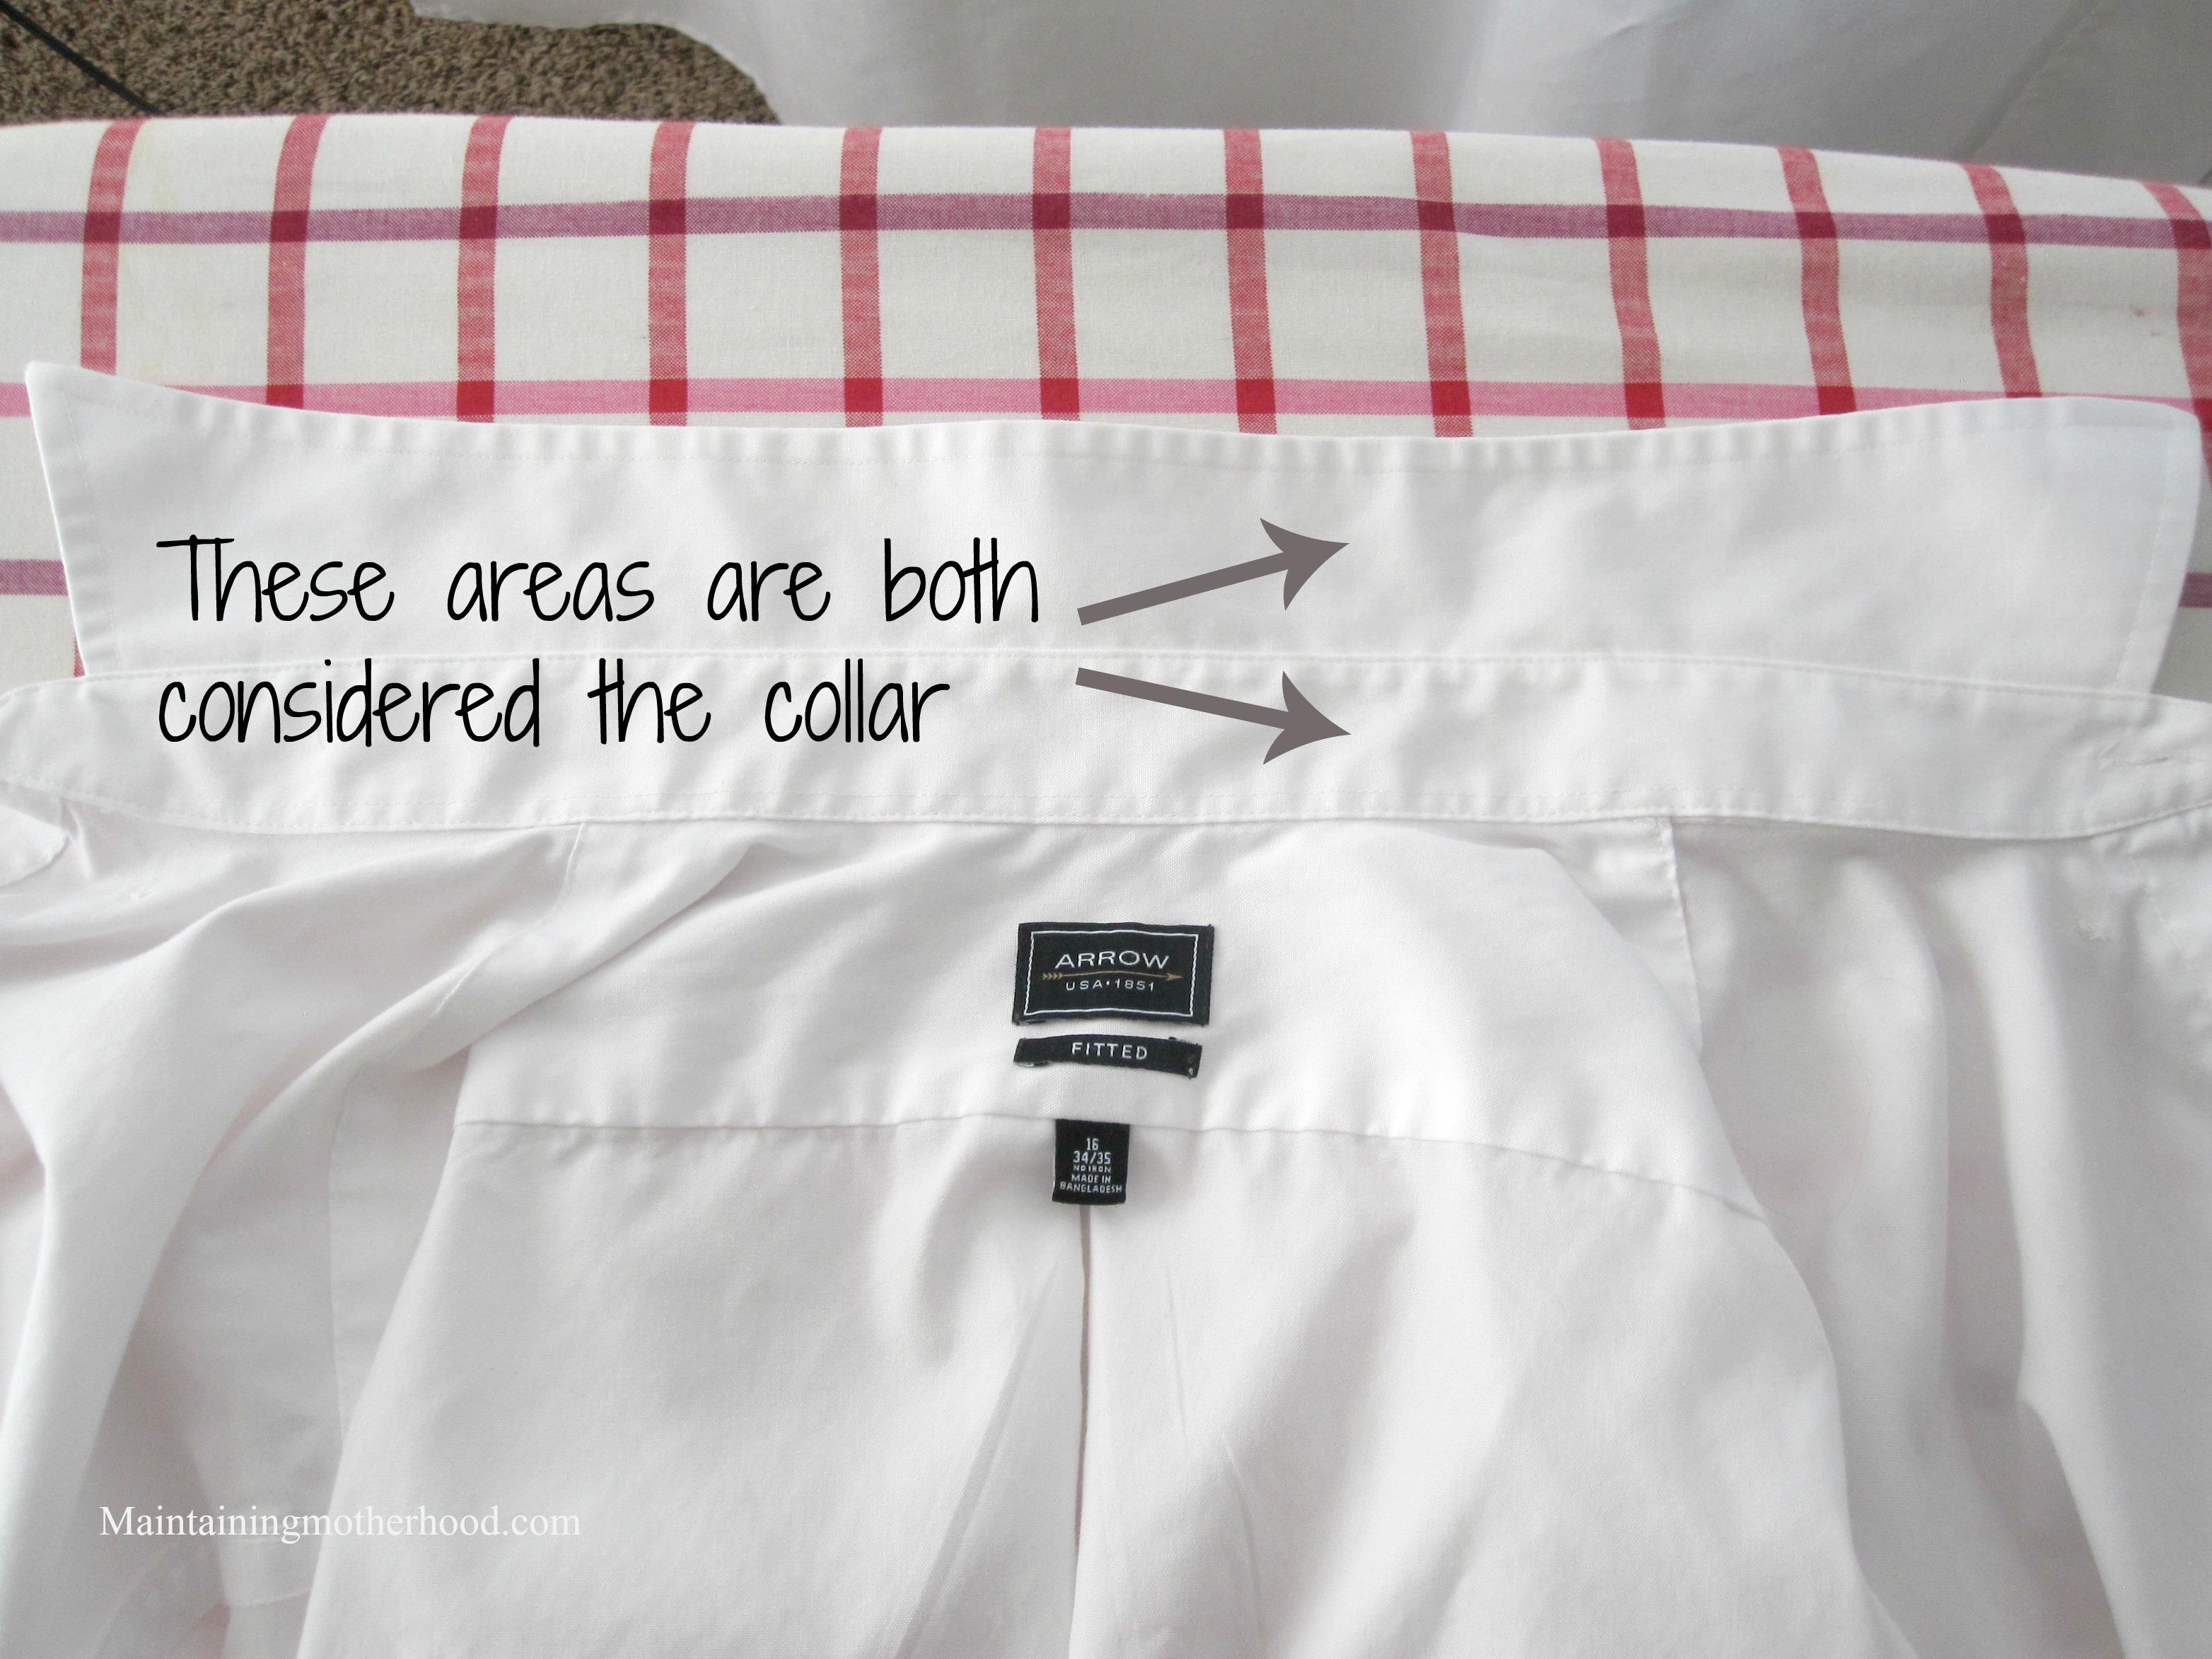
Smooth and spray the outside of of the collar first (the part that will be seen when folded down). Start in the middle of the shirt and work to the edges making sure the points of the collar do not have extra fabric wadded up at the end. Flip the collar over and spray and starch the back of the collar.
Iron the Shoulders
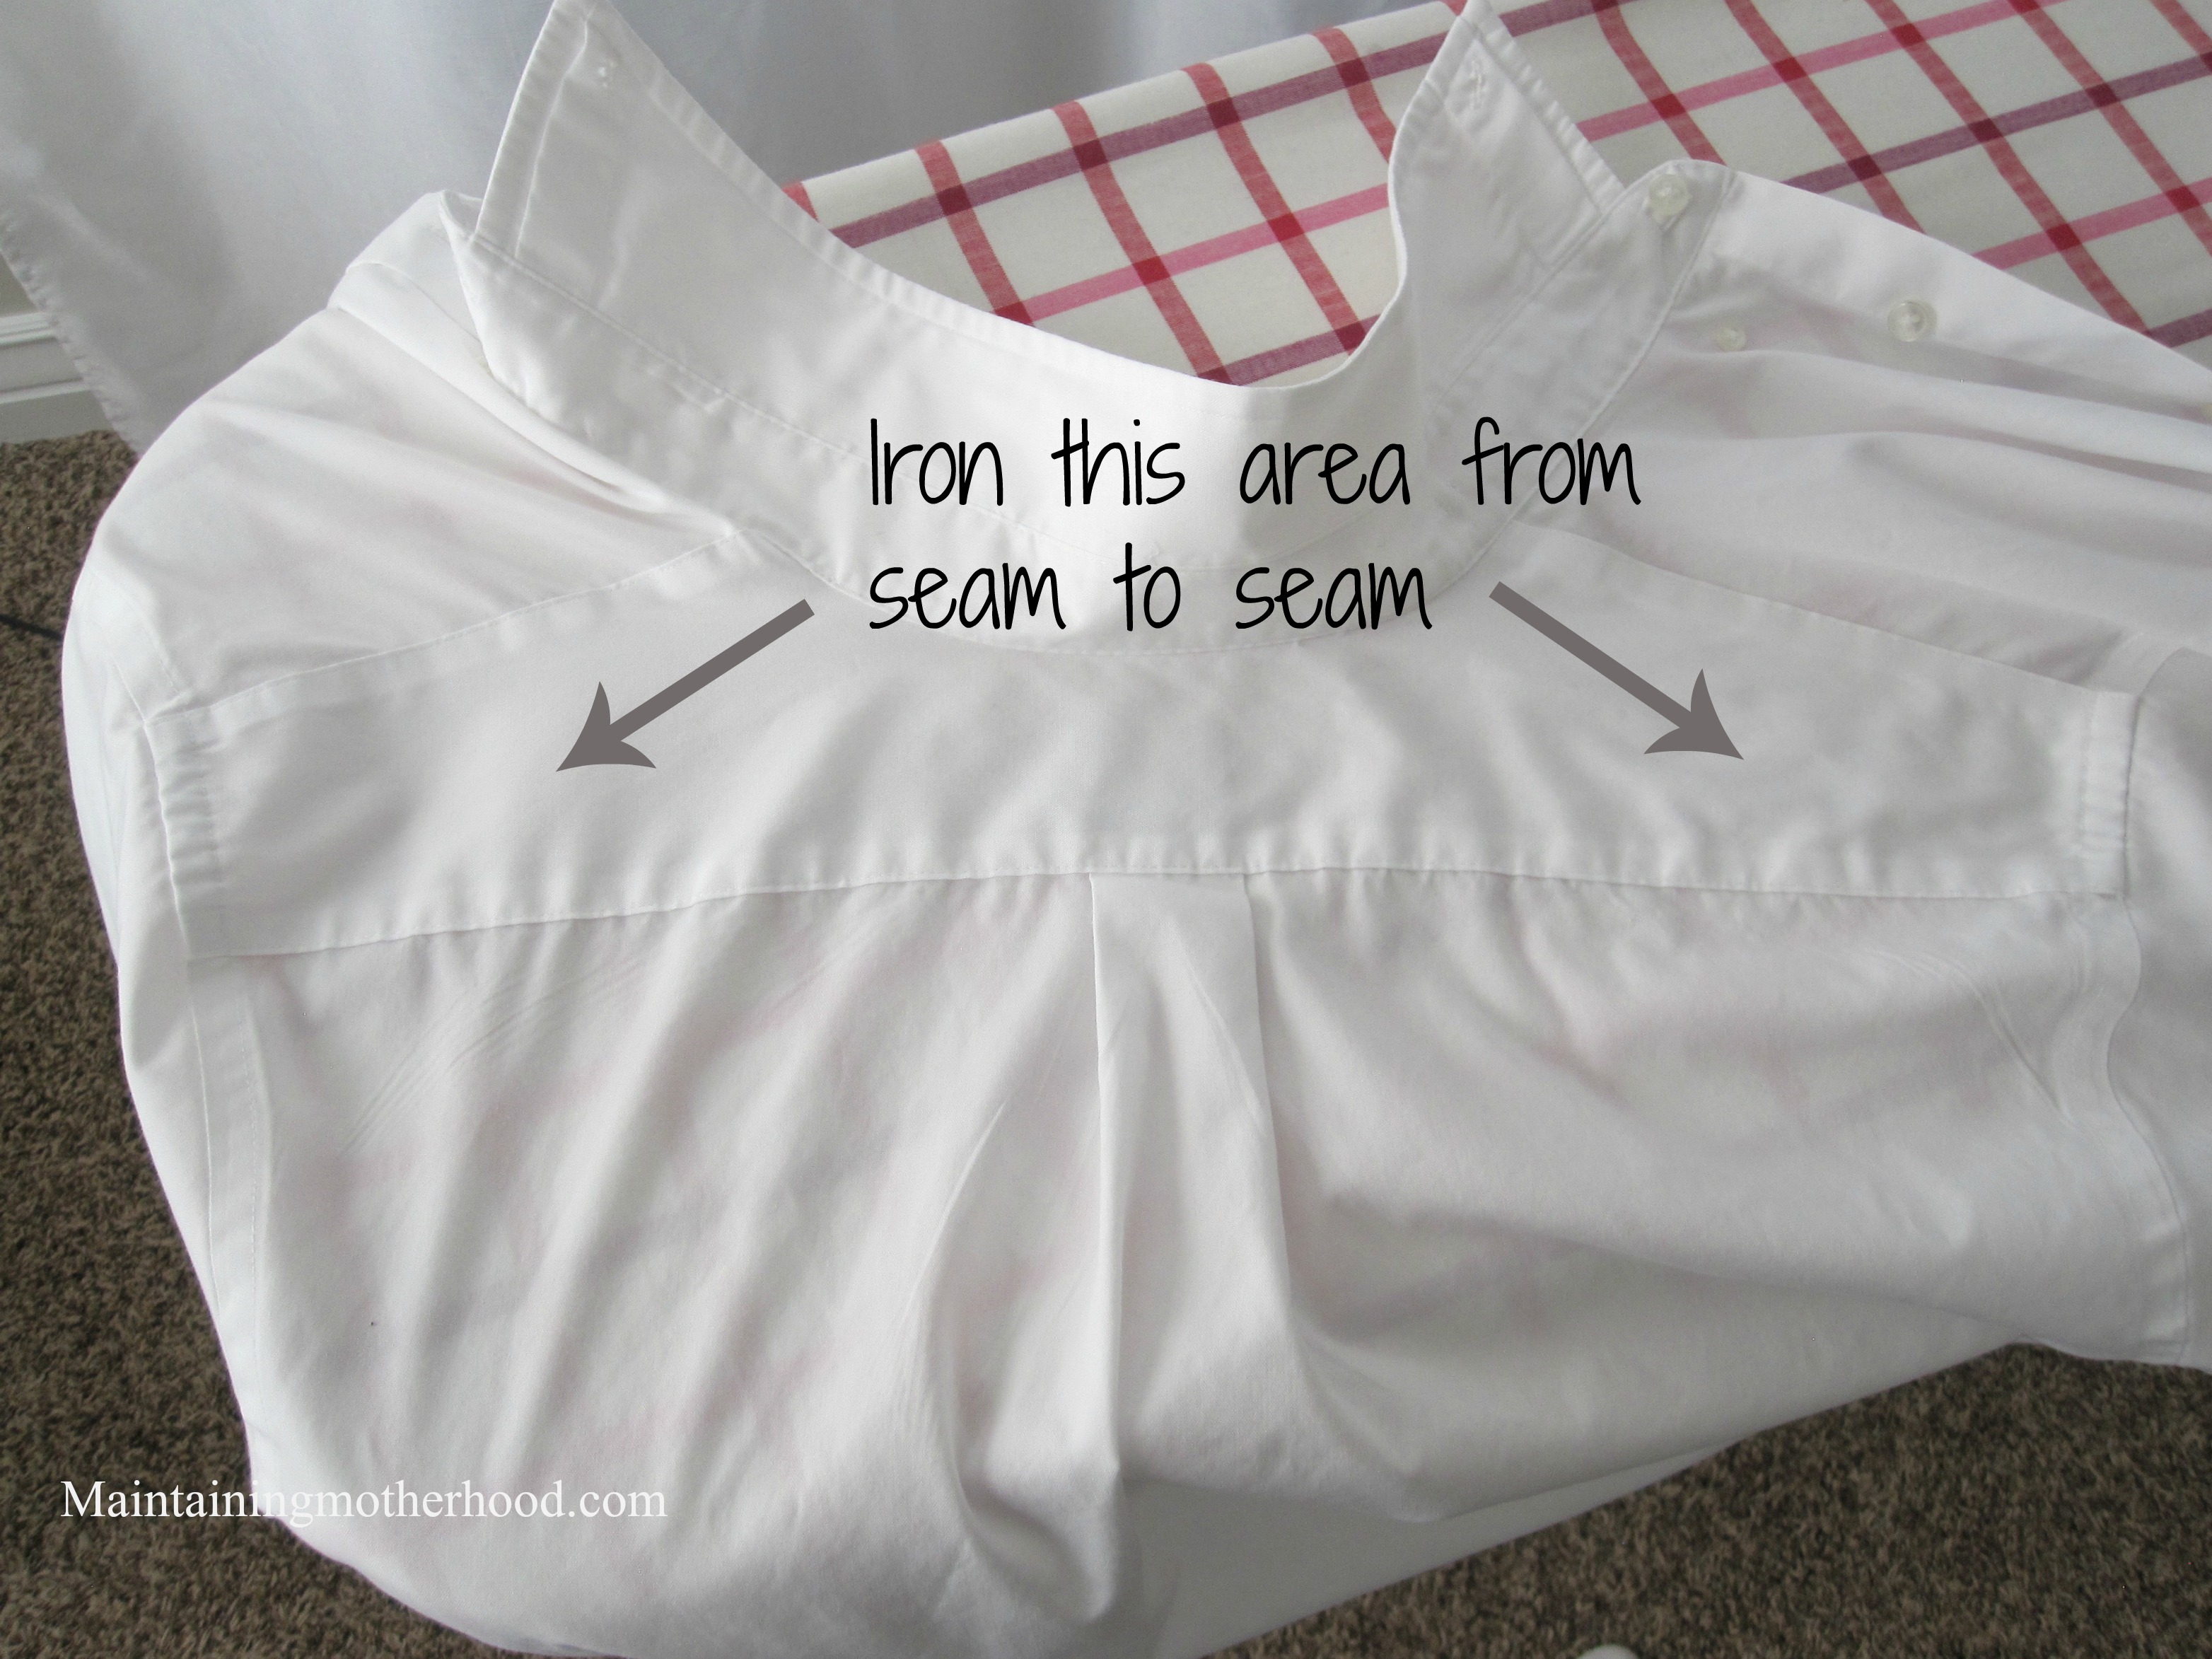
Fit the shirt over the wide end of the ironing board so that the shoulder of the shirt is laying flat. Starch and iron the shoulders. Start at the middle and smooth to the outside of the shoulder making sure the fabric doesn’t bunch up at the top of the shoulder.
Iron the Cuffs
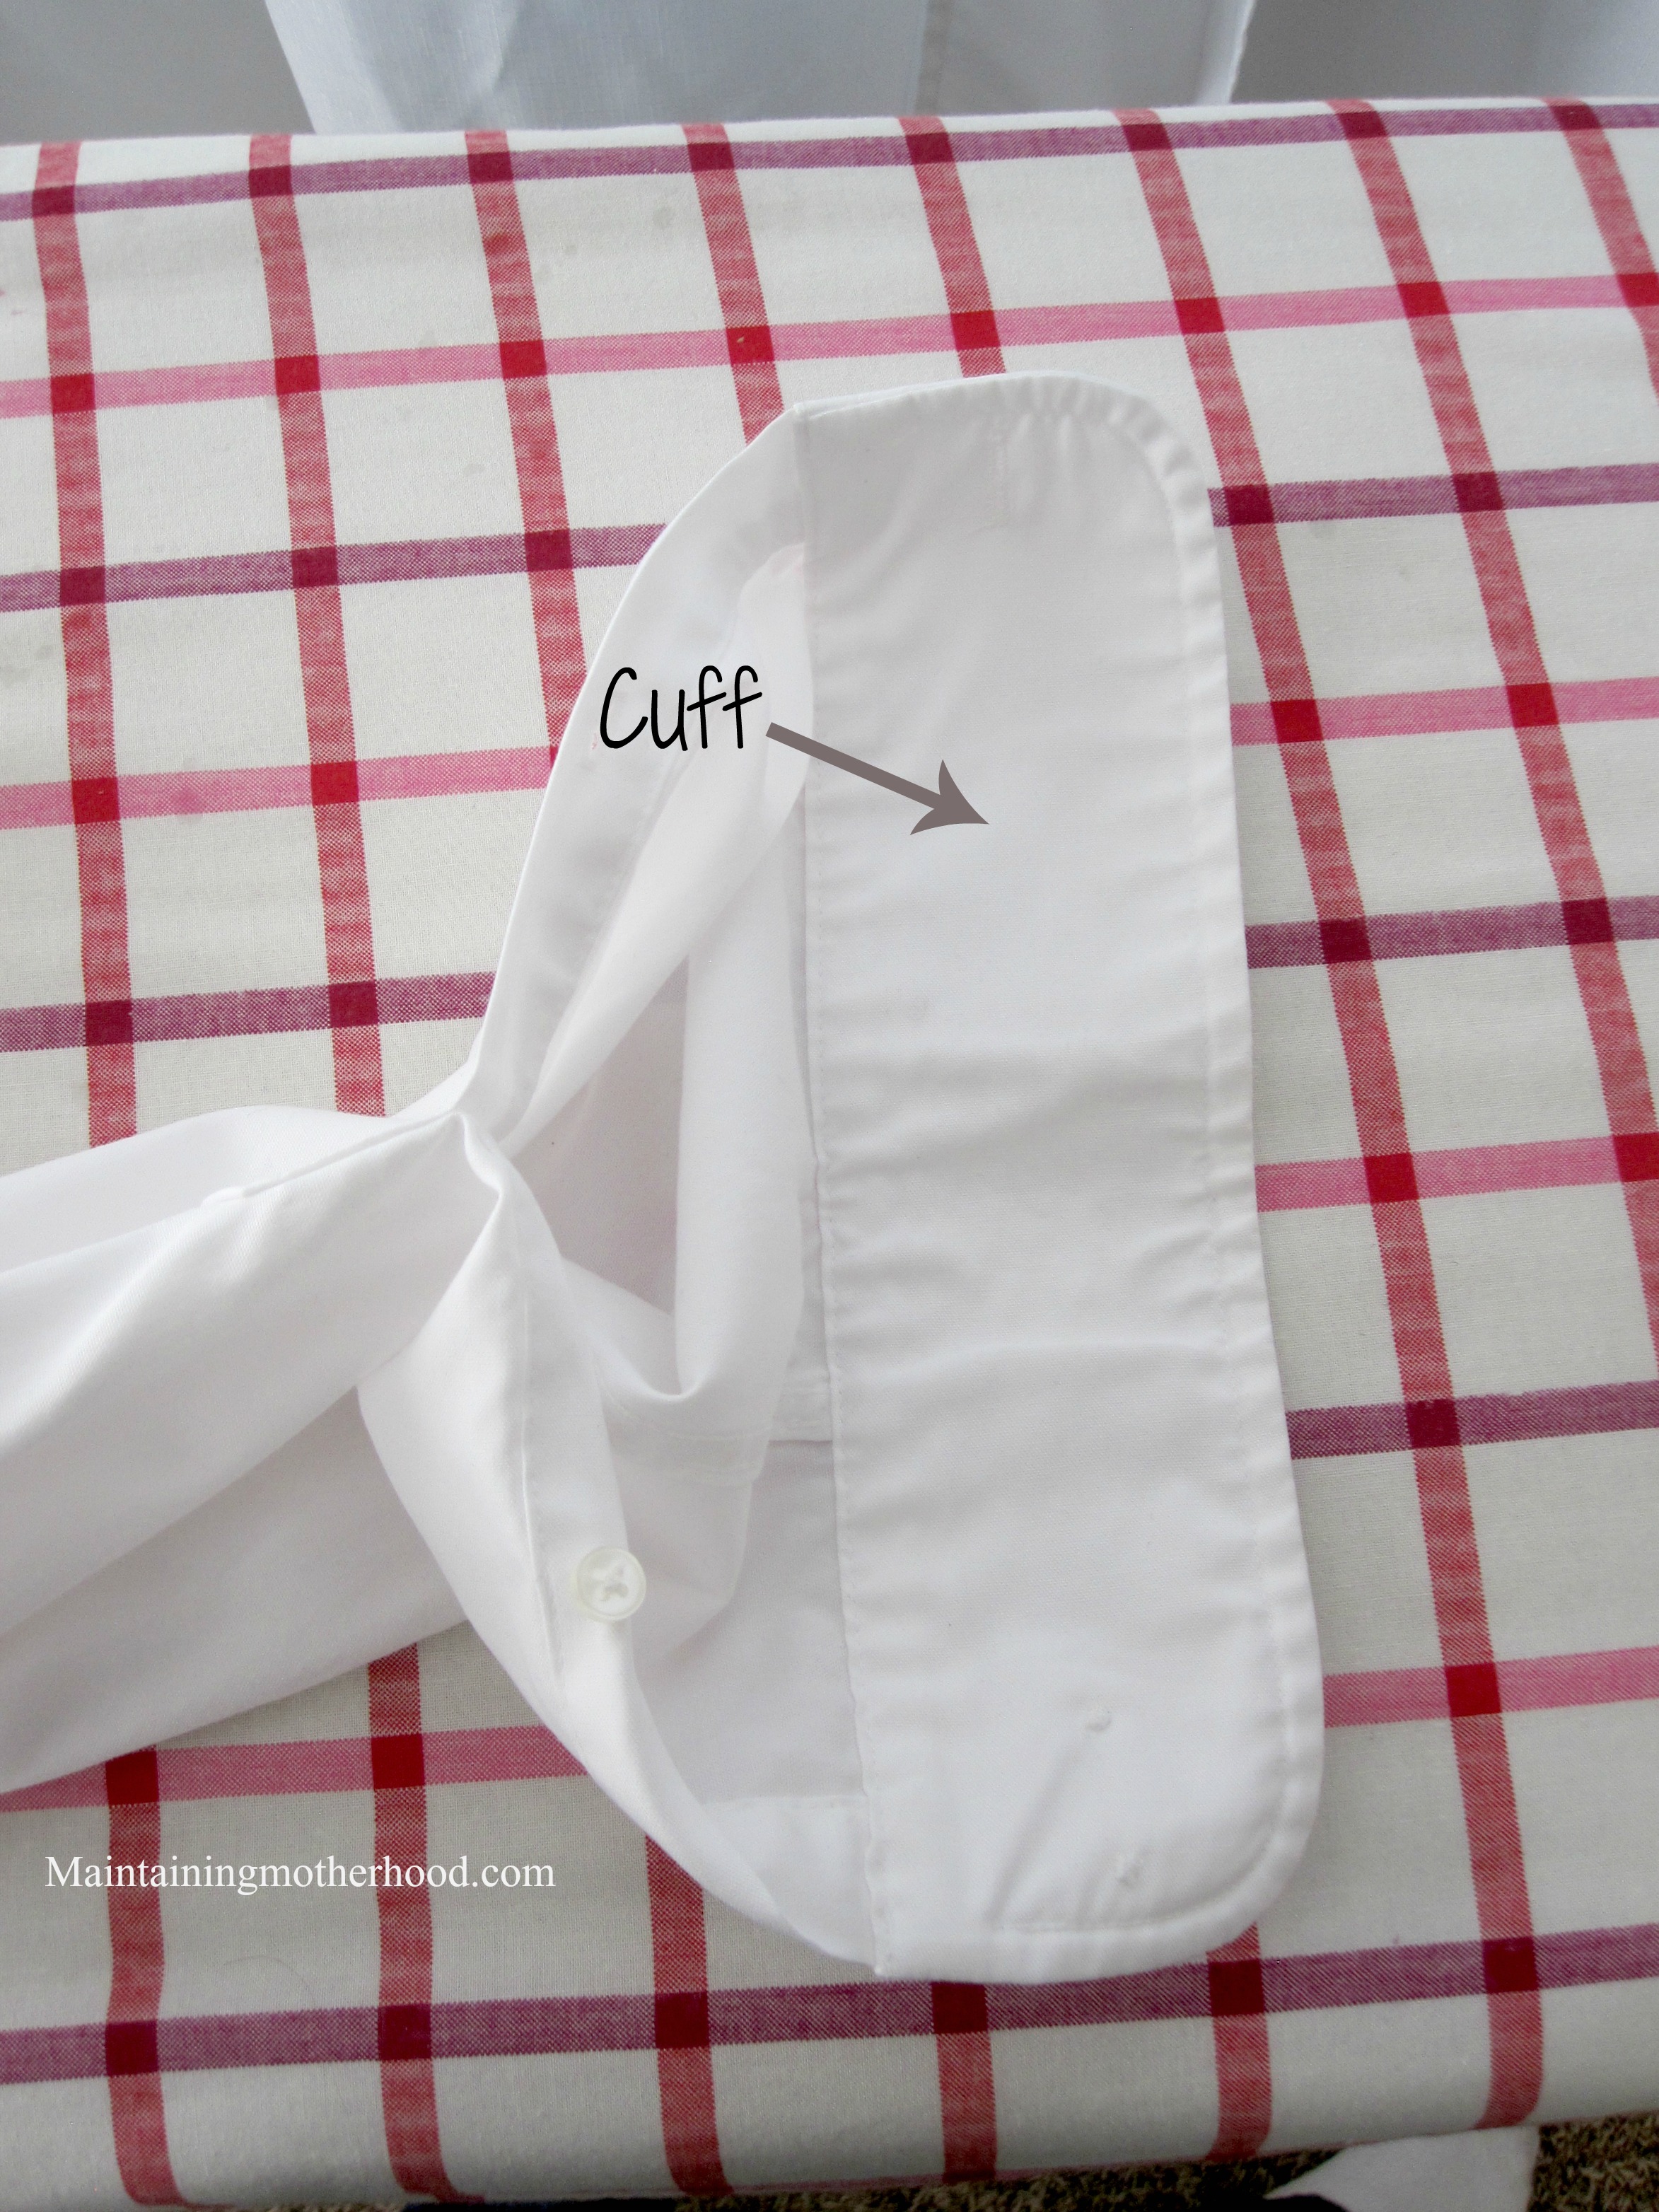
Unbutton all sleeve and cuff buttons. Smooth out the cuff. Starch and iron the inside first. Turn sleeve over and repeat on the outside of the cuff. Again, make sure the fabric doesn’t bunch at the ends of the seams.
Iron the Sleeves
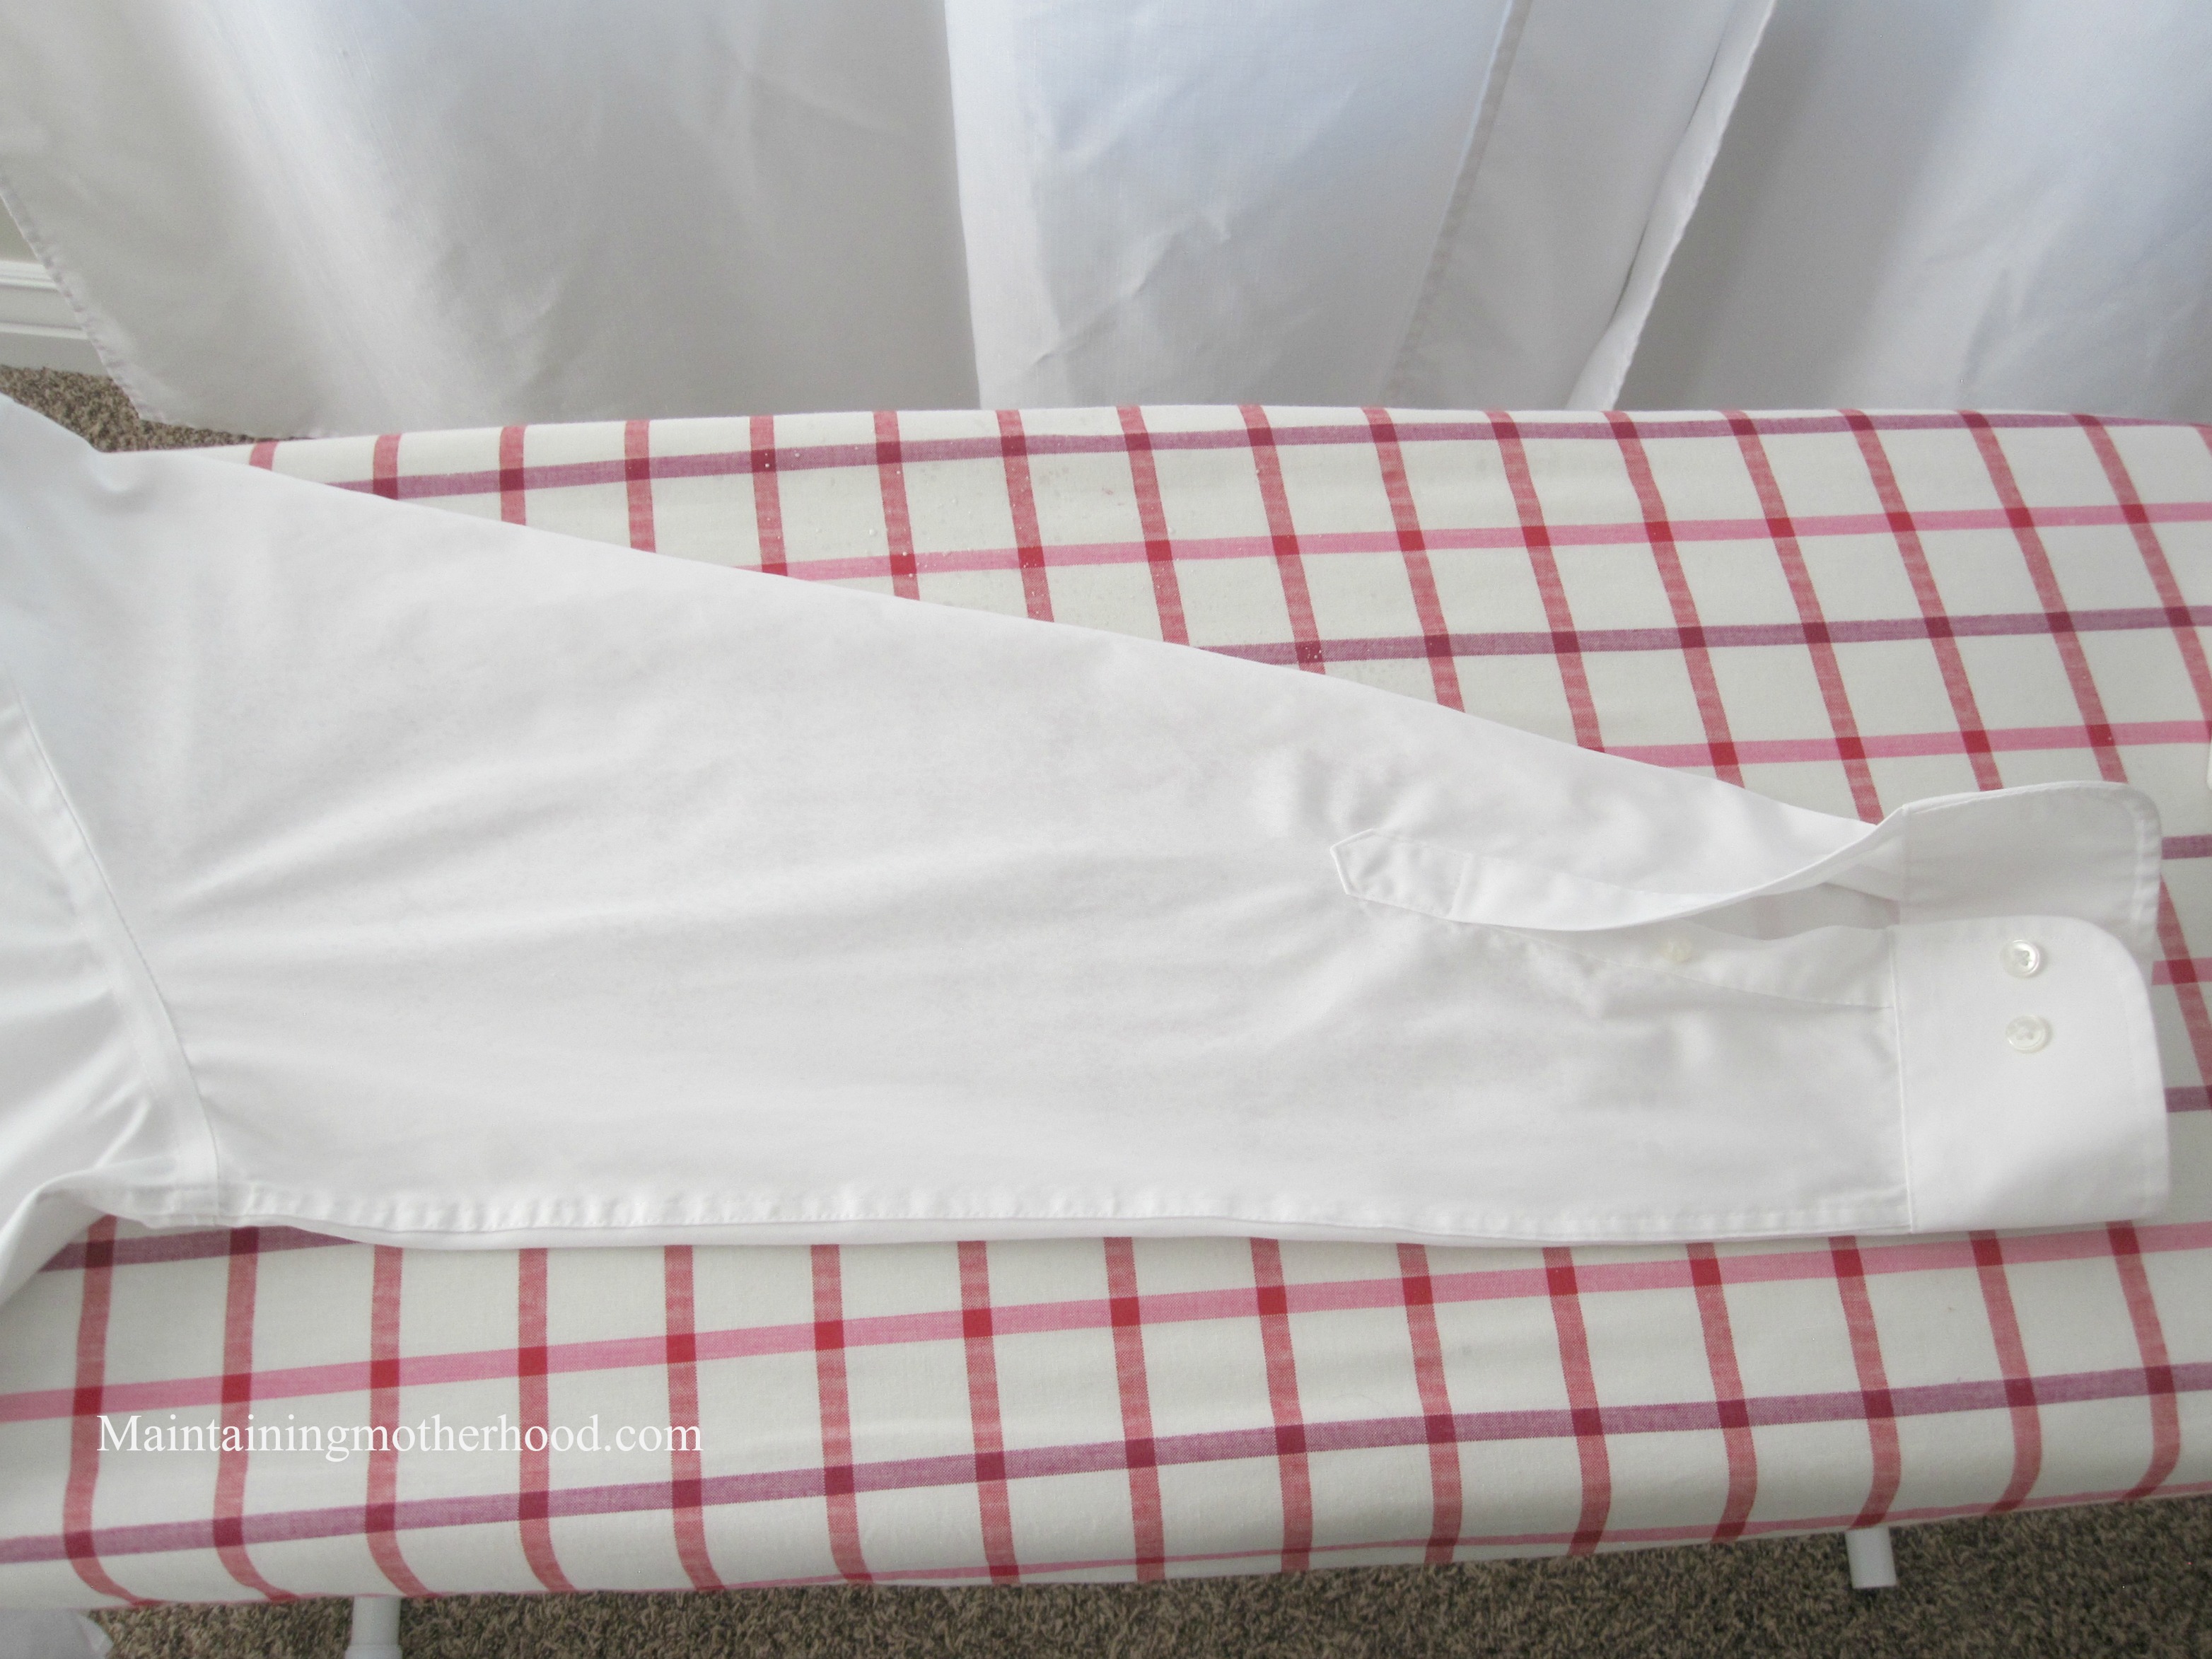
Lay out a sleeve and smooth out all wrinkles with your hand. Use the seam at the bottom as your guide and press with your hand a straight line across the top of the sleeve. Spray and iron. Make sure to iron well in the area where the button is. Turn the sleeve over and repeat on the other side. Be careful to use the same crease you just made on the first side.
Iron the Top Left Side of the Shirt
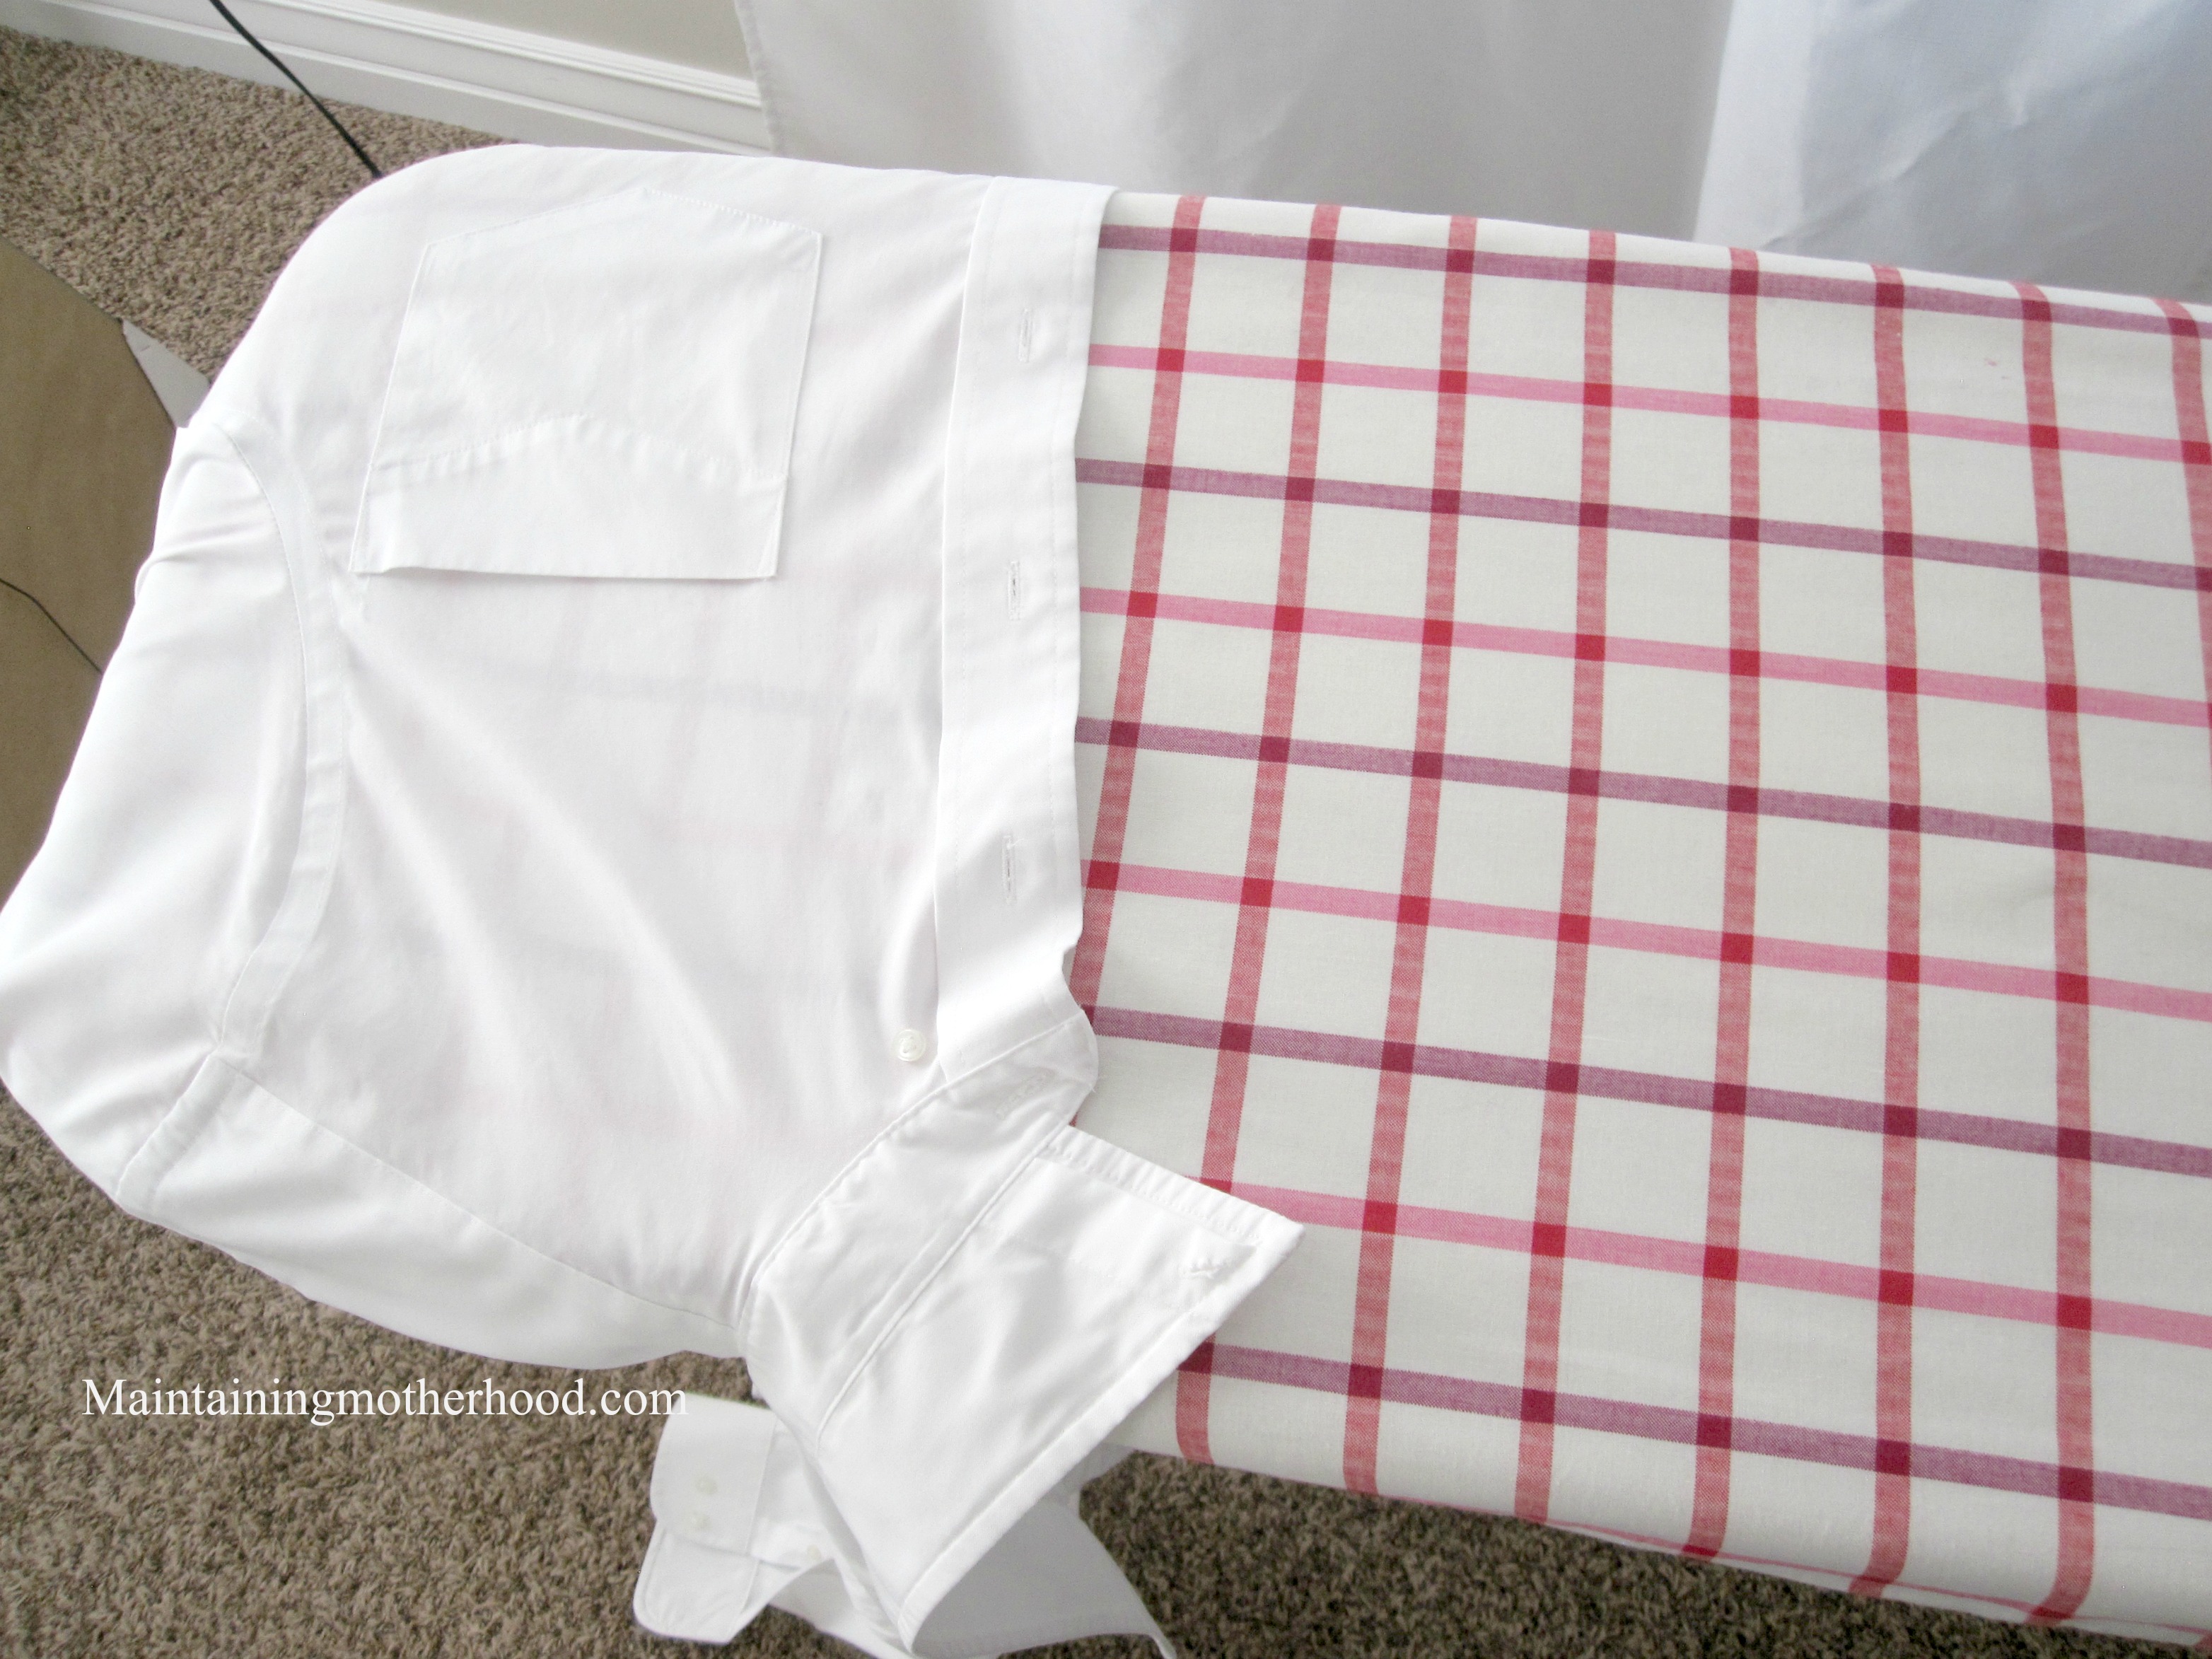
Using the wide end of the ironing board, spread out the left side of the shirt. This is usually the side with the pocket. Smooth, spray and iron all along the pocket area. Pay special attention to making the button hole area nice and wrinkle free. Turn shirt lengthwise and finish ironing this side.
Iron Back Side of Shirt
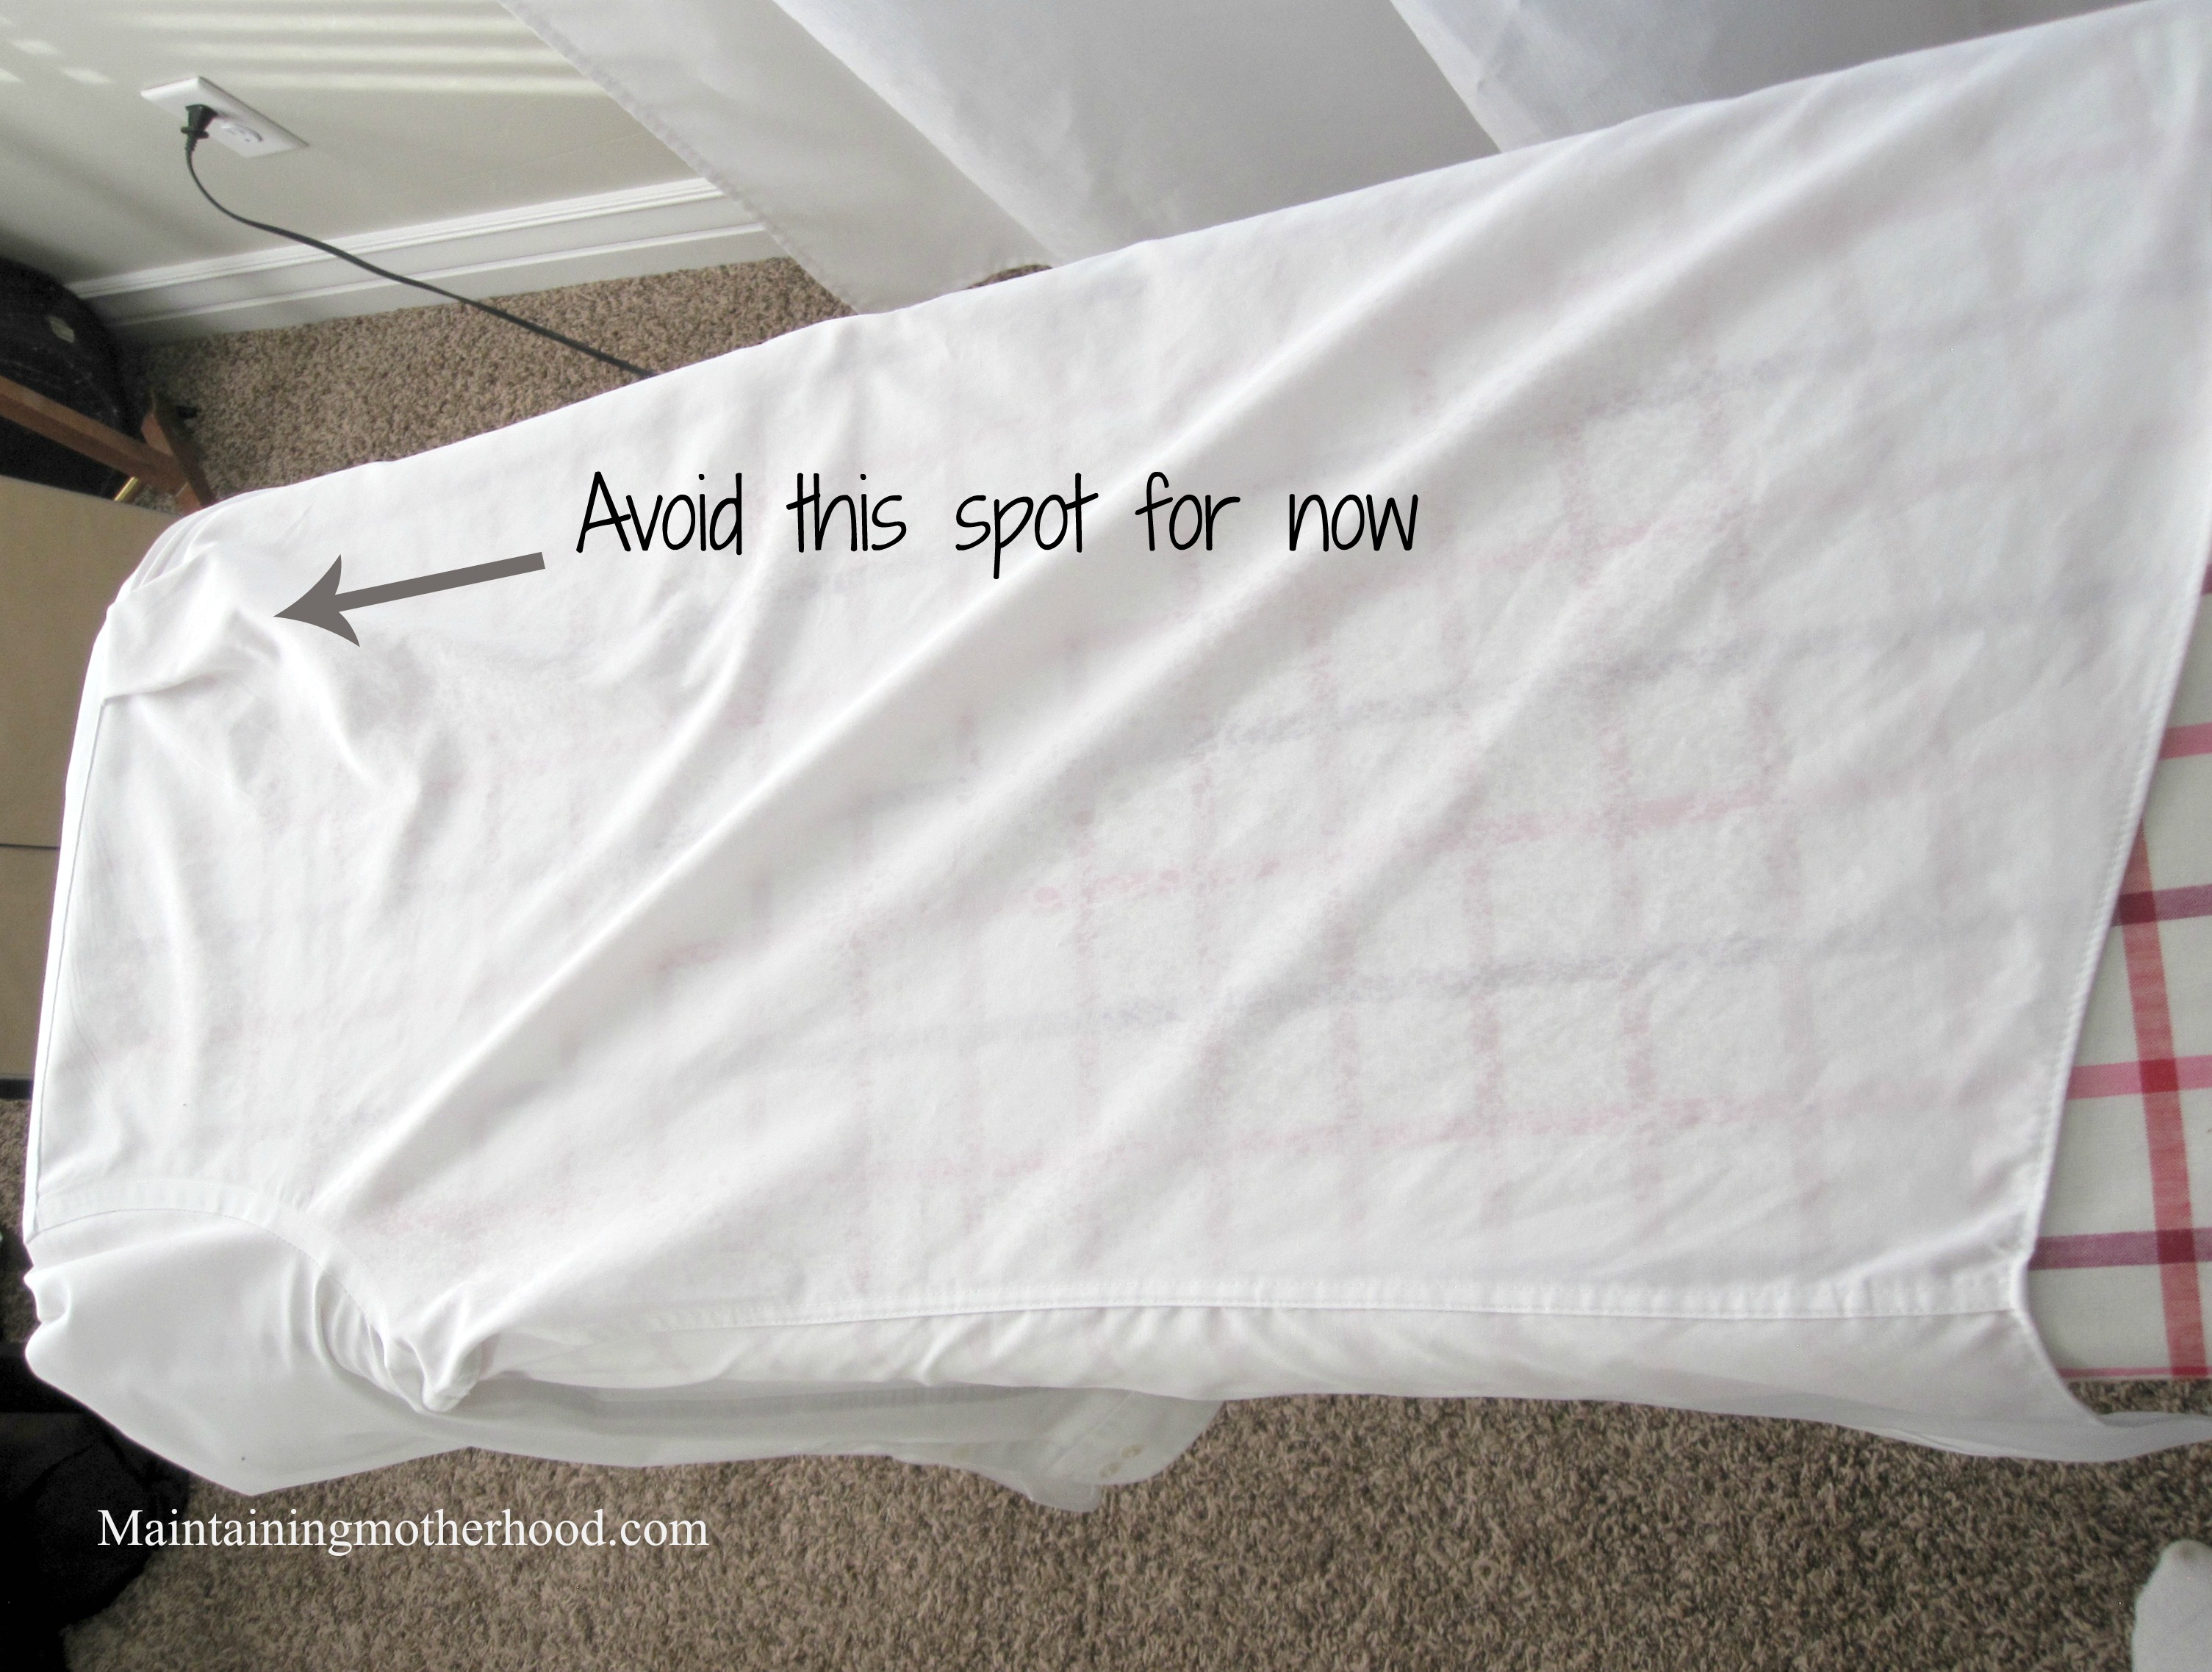
Gently lift the shirt (so you don’t wrinkle side you just ironed) and lay the back of the shirt on the board with the shoulders across the wide part of the ironing board. Smooth the shirt running the seam all along the side of the board. Spray and iron. At this point, don’t worry about the sewn-in crease at the top of the shirt. Just avoid ironing right near the crease for this step.
Iron Back Middle of Shirt
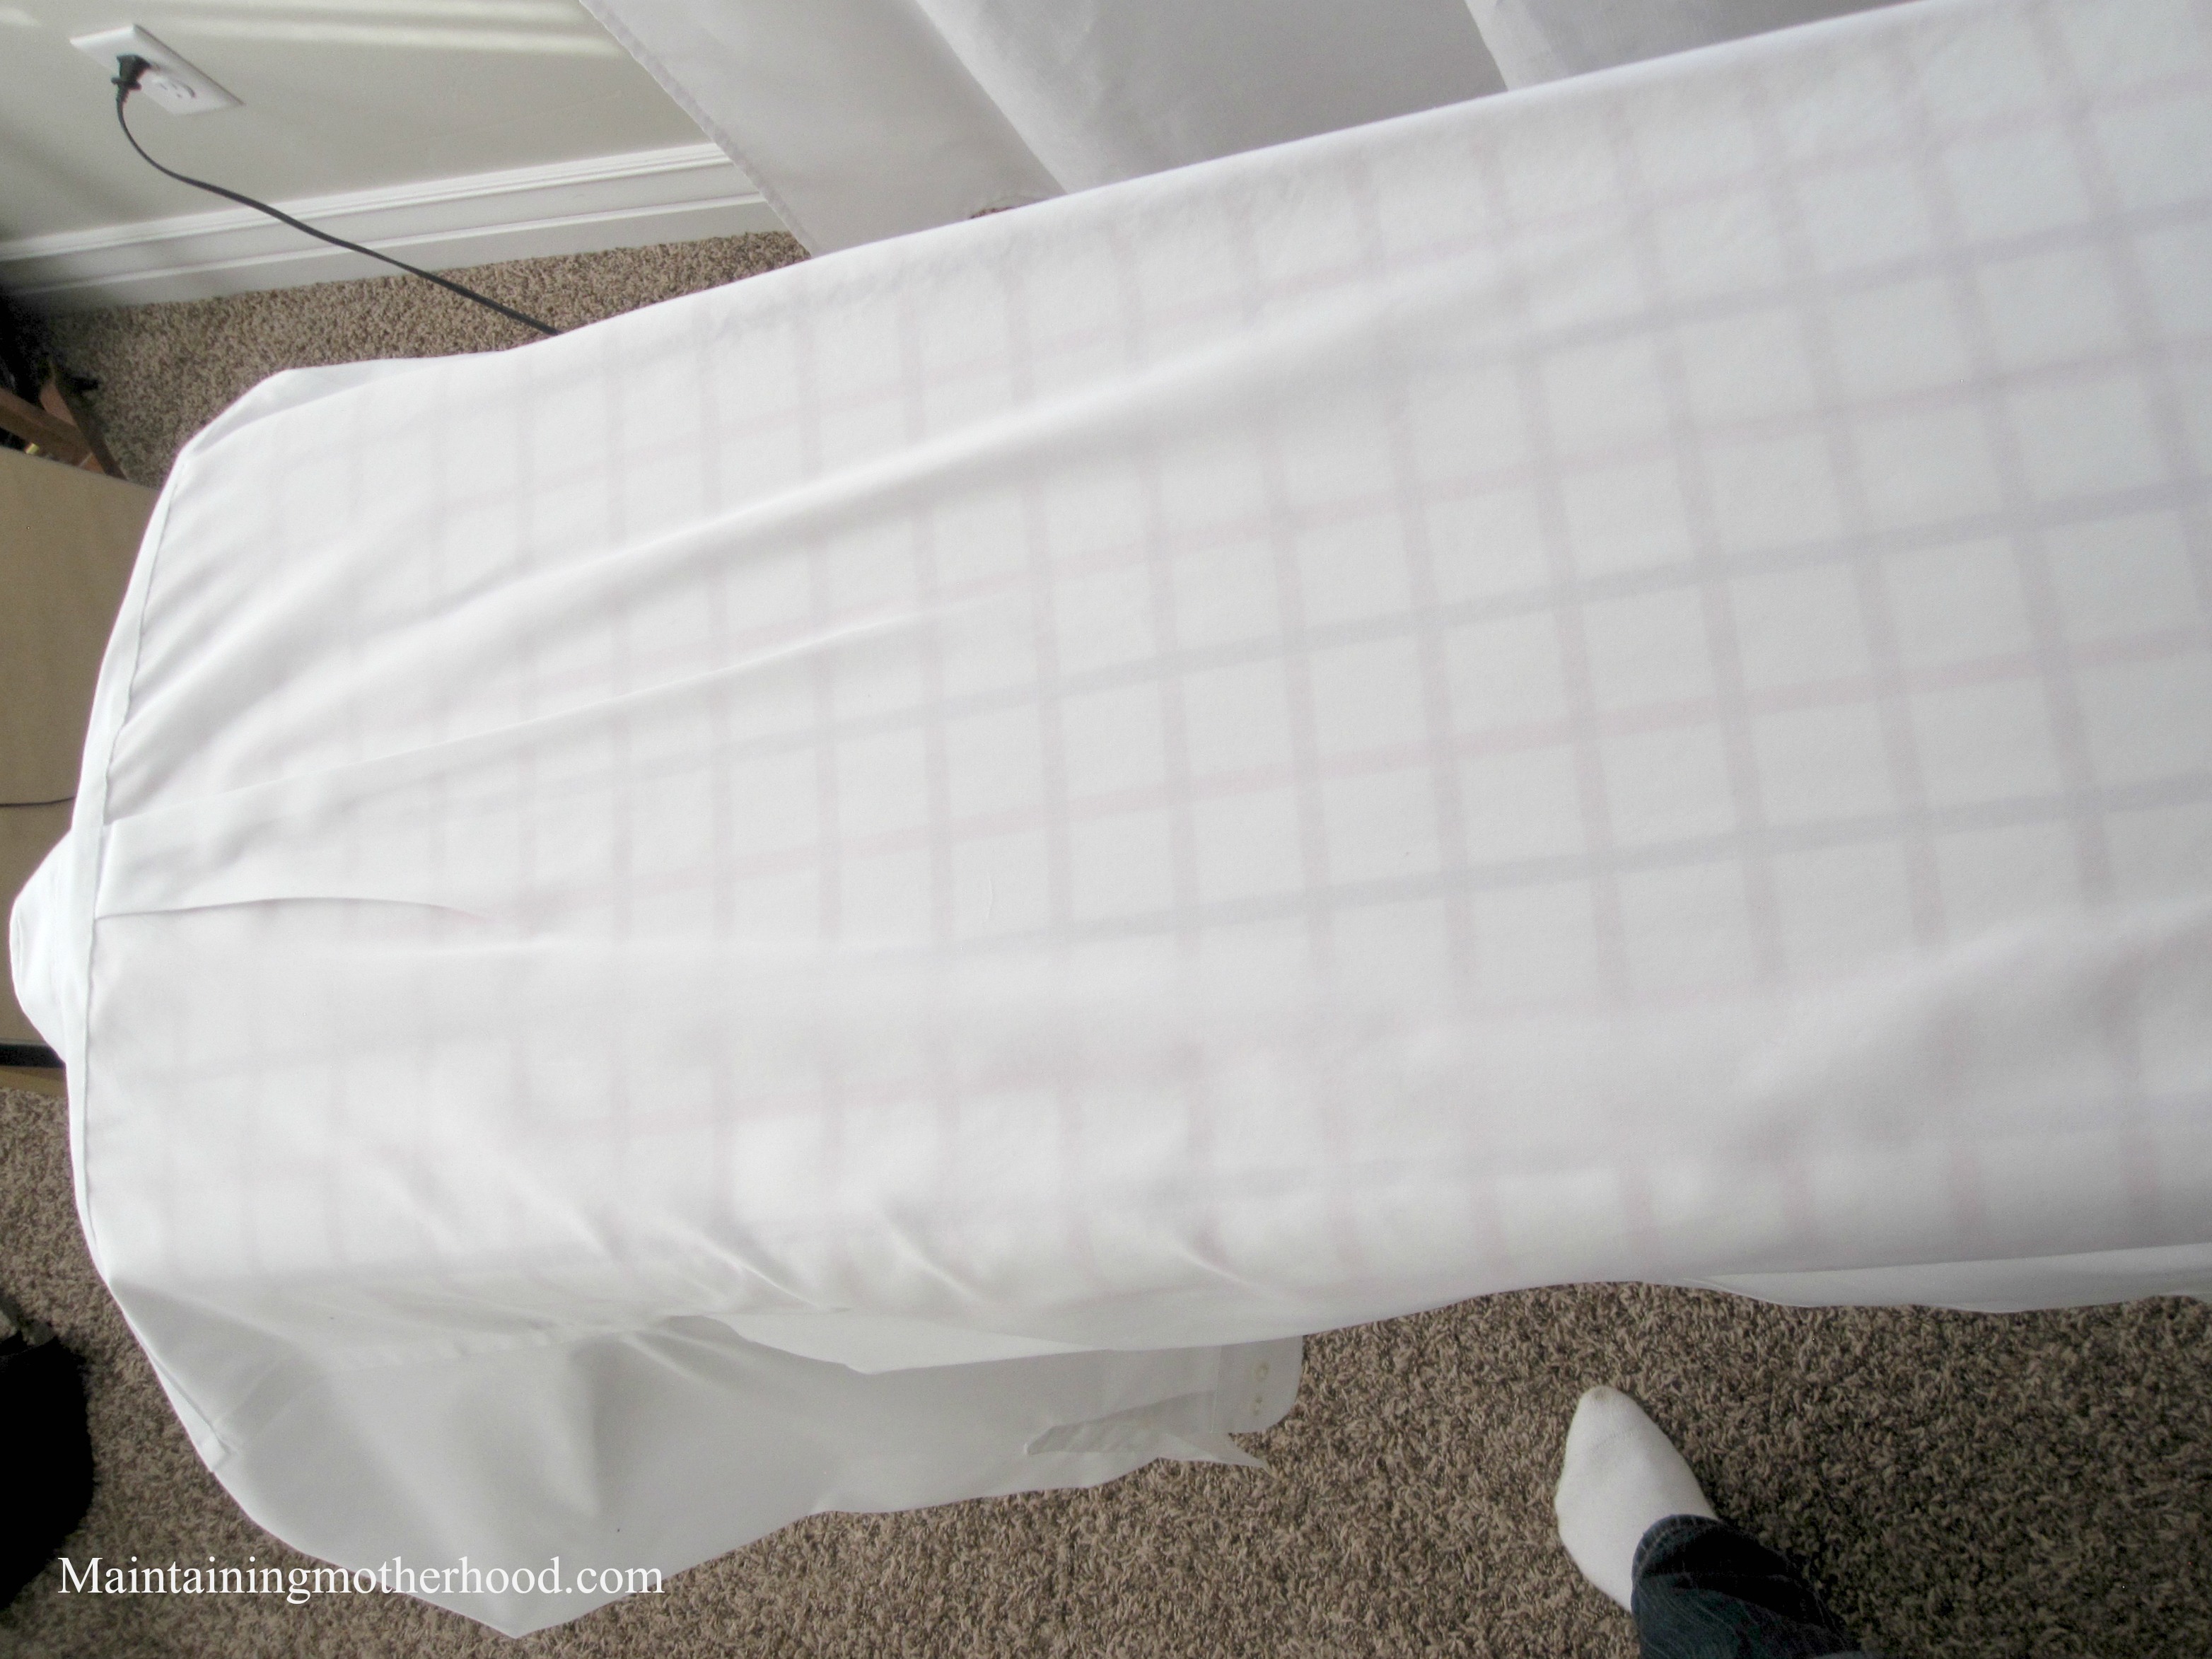
Center the shirt on the board. Smooth the shirt out paying special attention to the sewn-in crease at the top of the shirt. Spray and start ironing at the crease and move to the bottom. Hold the bottom of the shirt tight with one hand to show where the natural creases would fall on the shirt and simply press those in.
Iron Back Side and Right Side
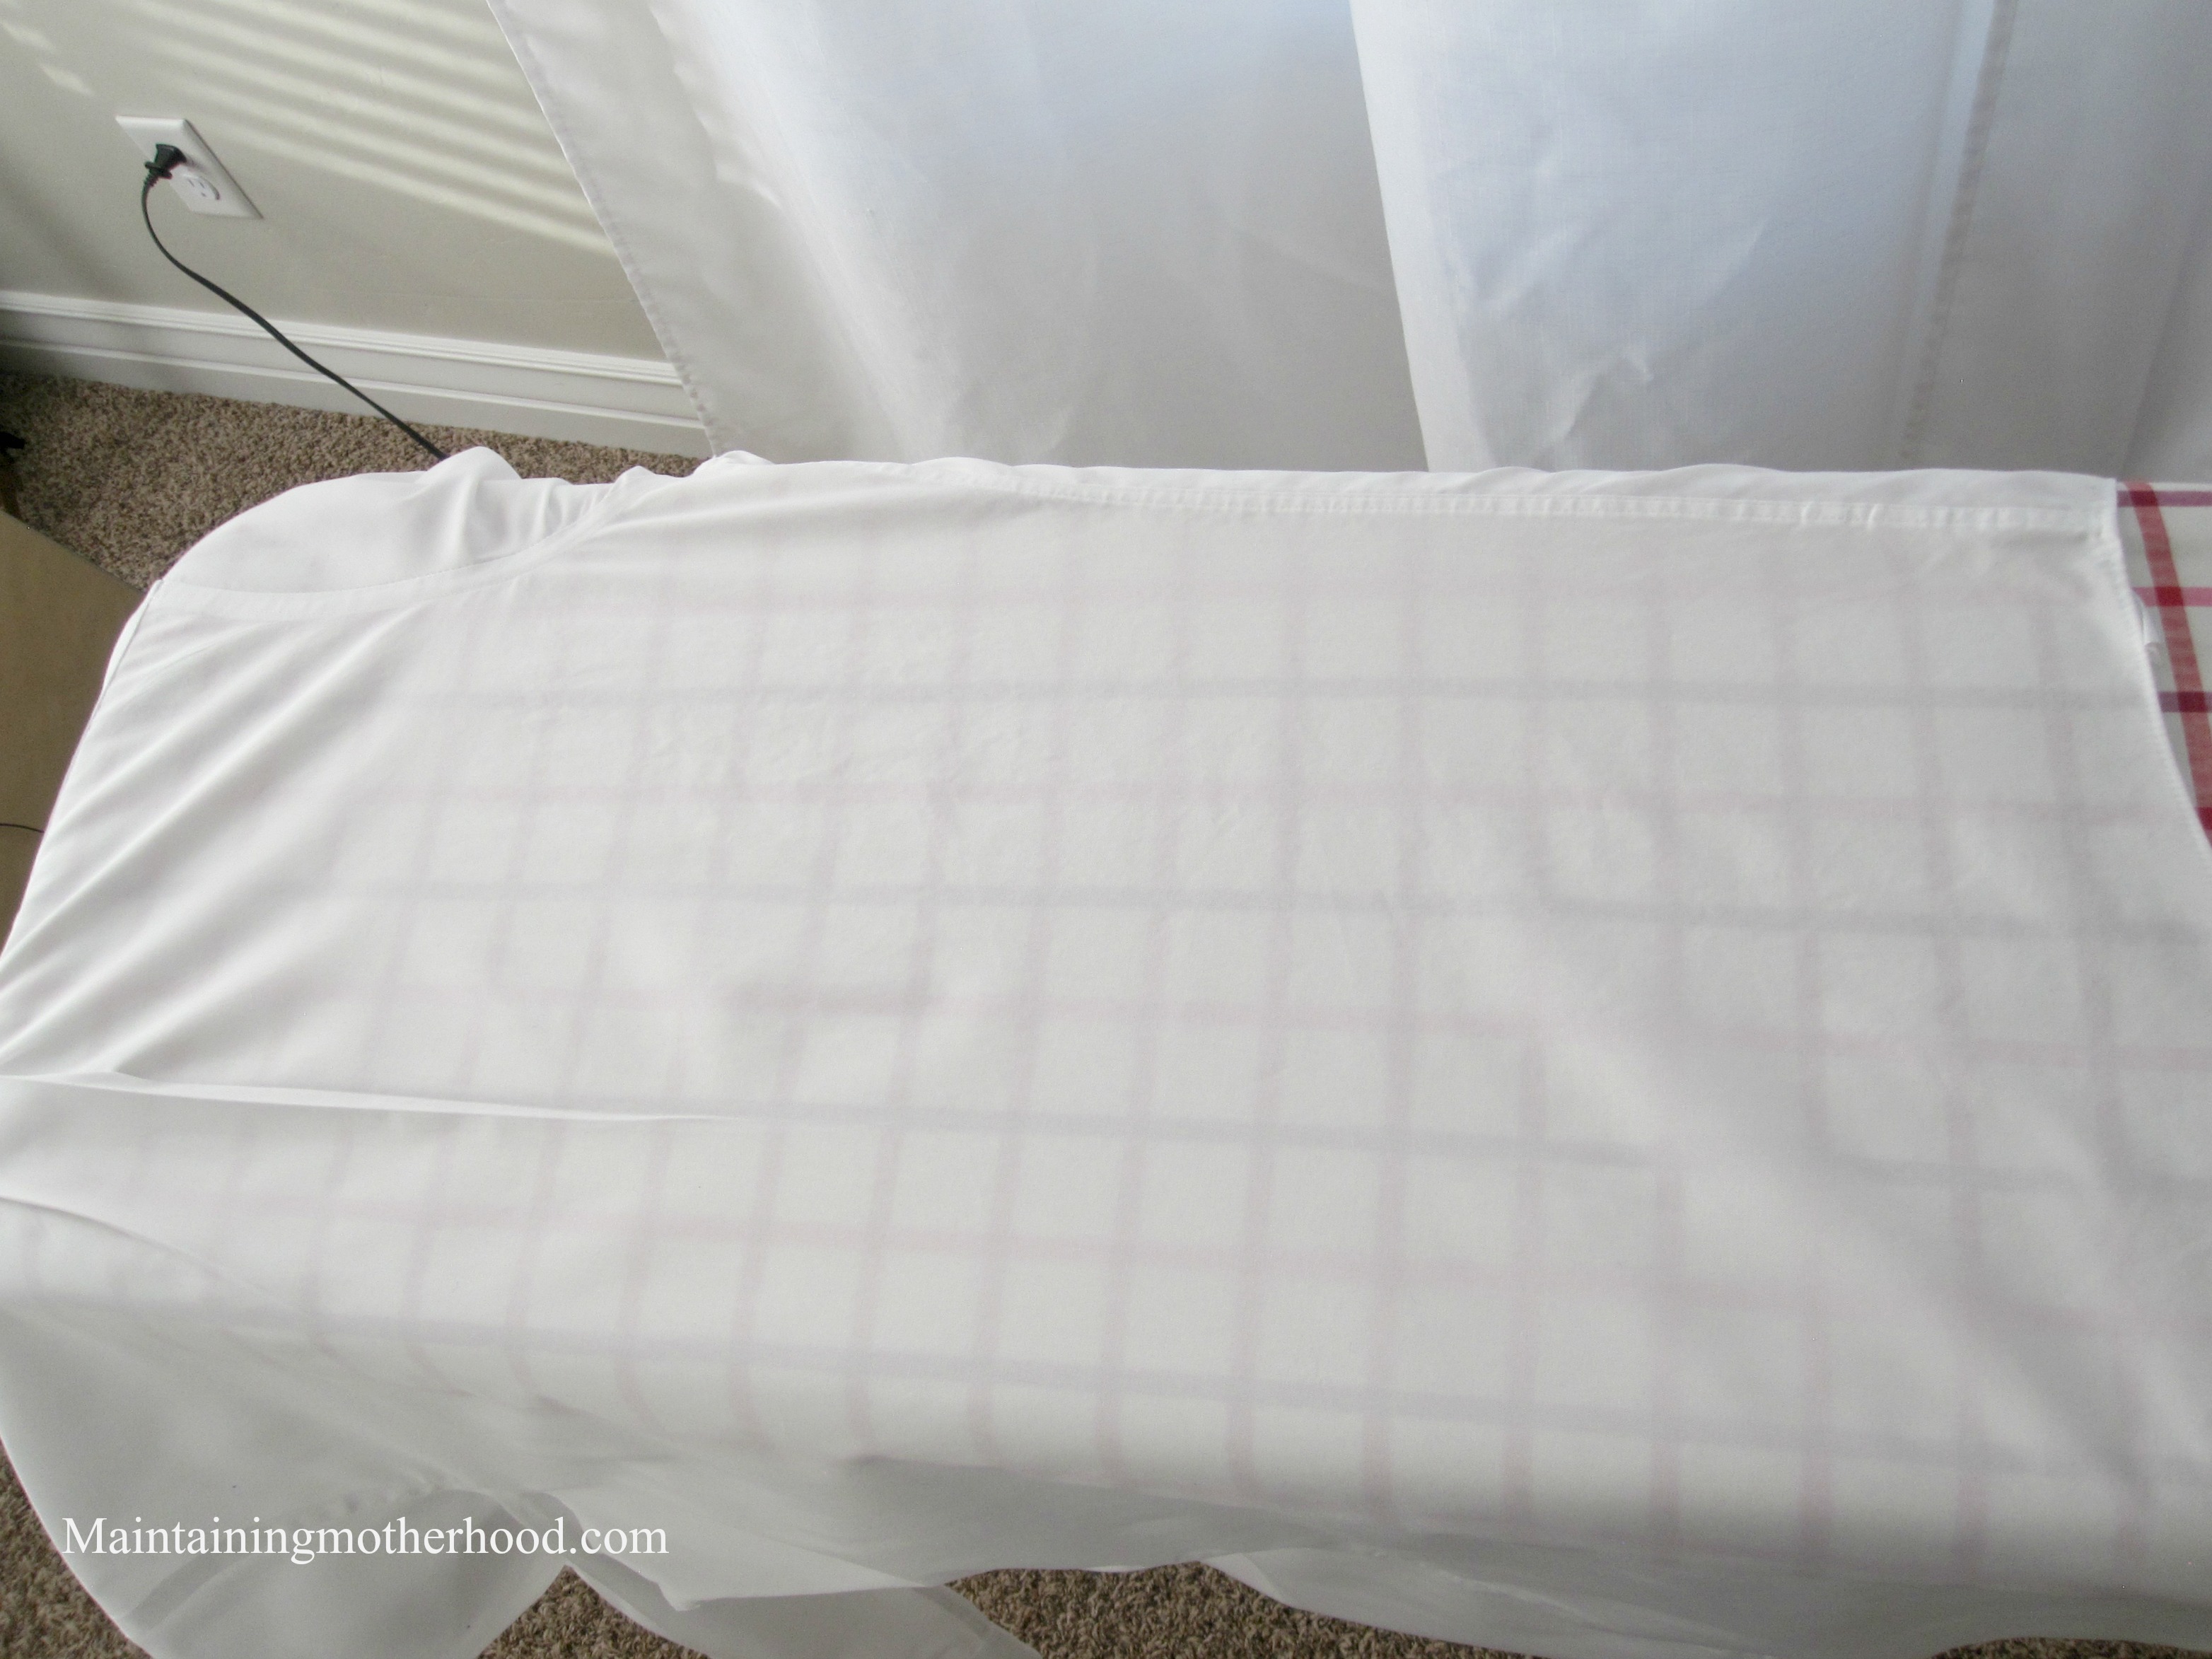
I wanted to include this picture to show how low that back crease should go. Doesn’t it look nice? Be careful as you are moving the shirt along the board that you are not undoing the hard work you just did. Keep the rest of the shirt as wrinkle free as you can while you finish ironing. Follow the steps above to finish ironing the rest of the back and the other side. Don’t iron on top of the buttons, but make sure to iron right up and around them.
Hang the Shirt Up
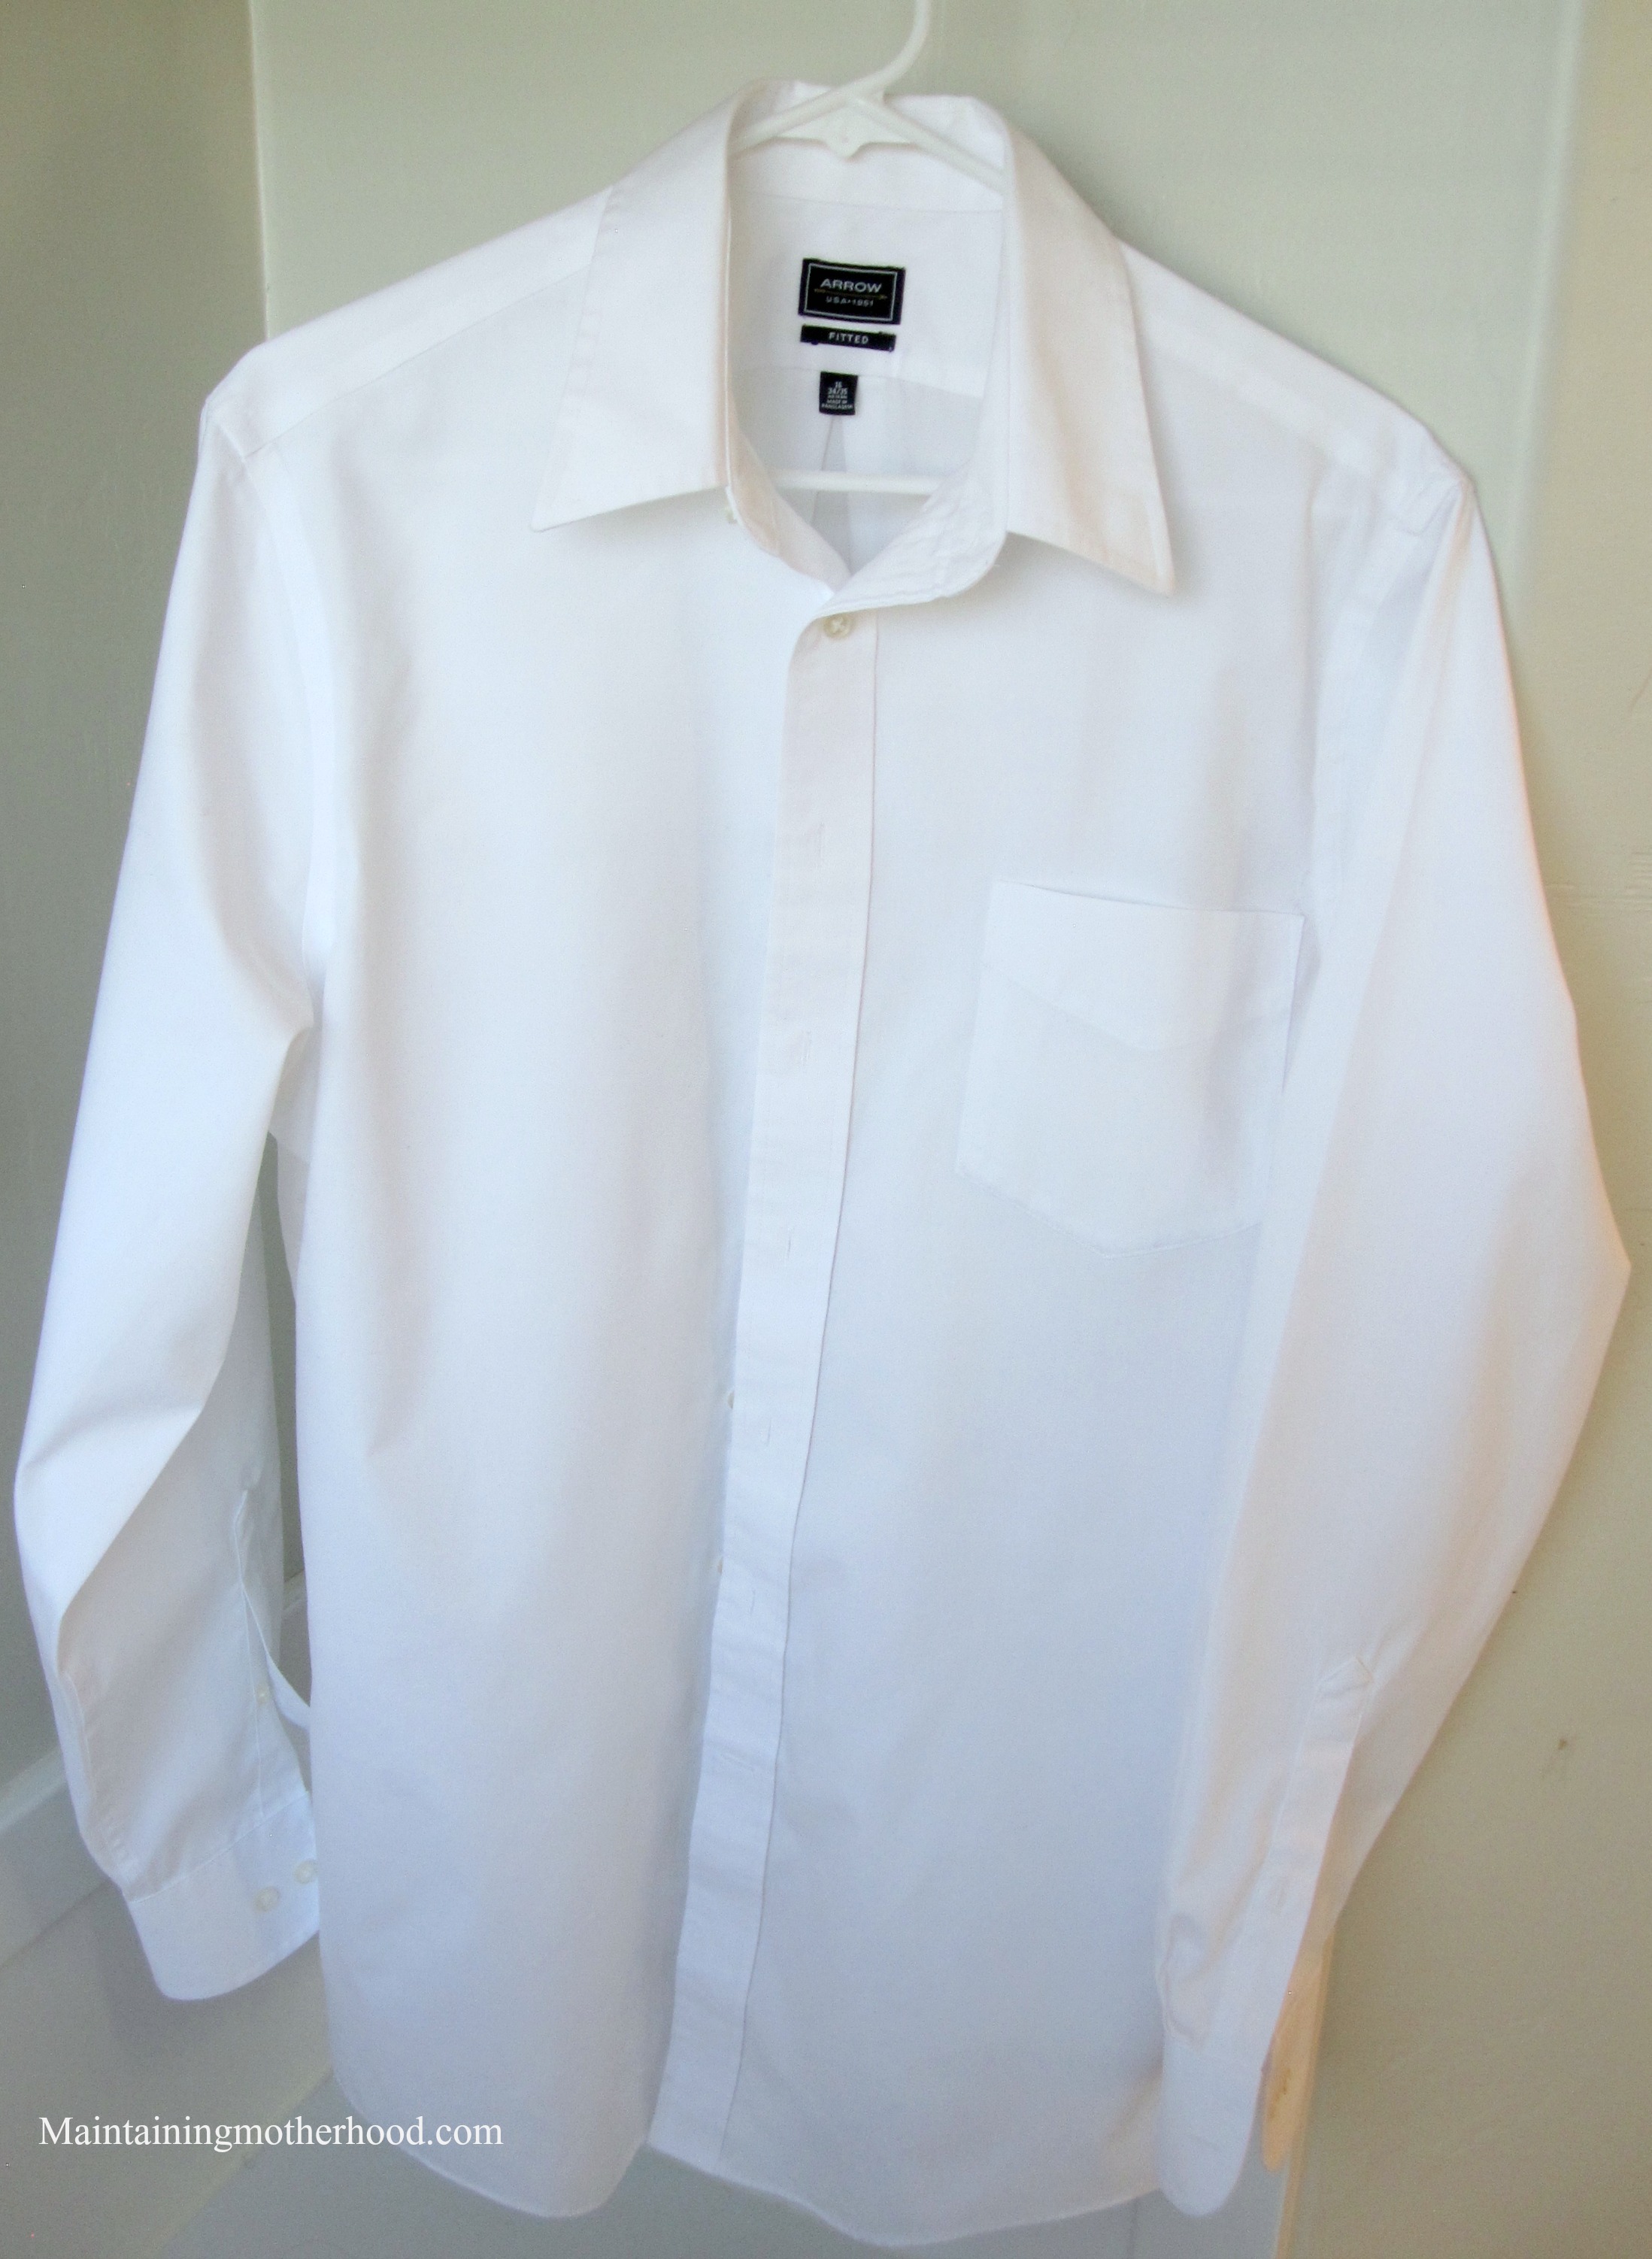
Yes, this is a step. If you carelessly hang up the shirt, it will ruin all the hard work you just did. Hang up the shirt taking special care that the shoulders are smoothed out. Ensure there is enough room in the closet on either side of the shirt so it hangs without getting smashed and creased. Button the second button down to keep it from falling off the hanger.
And who doesn’t like a before and after?
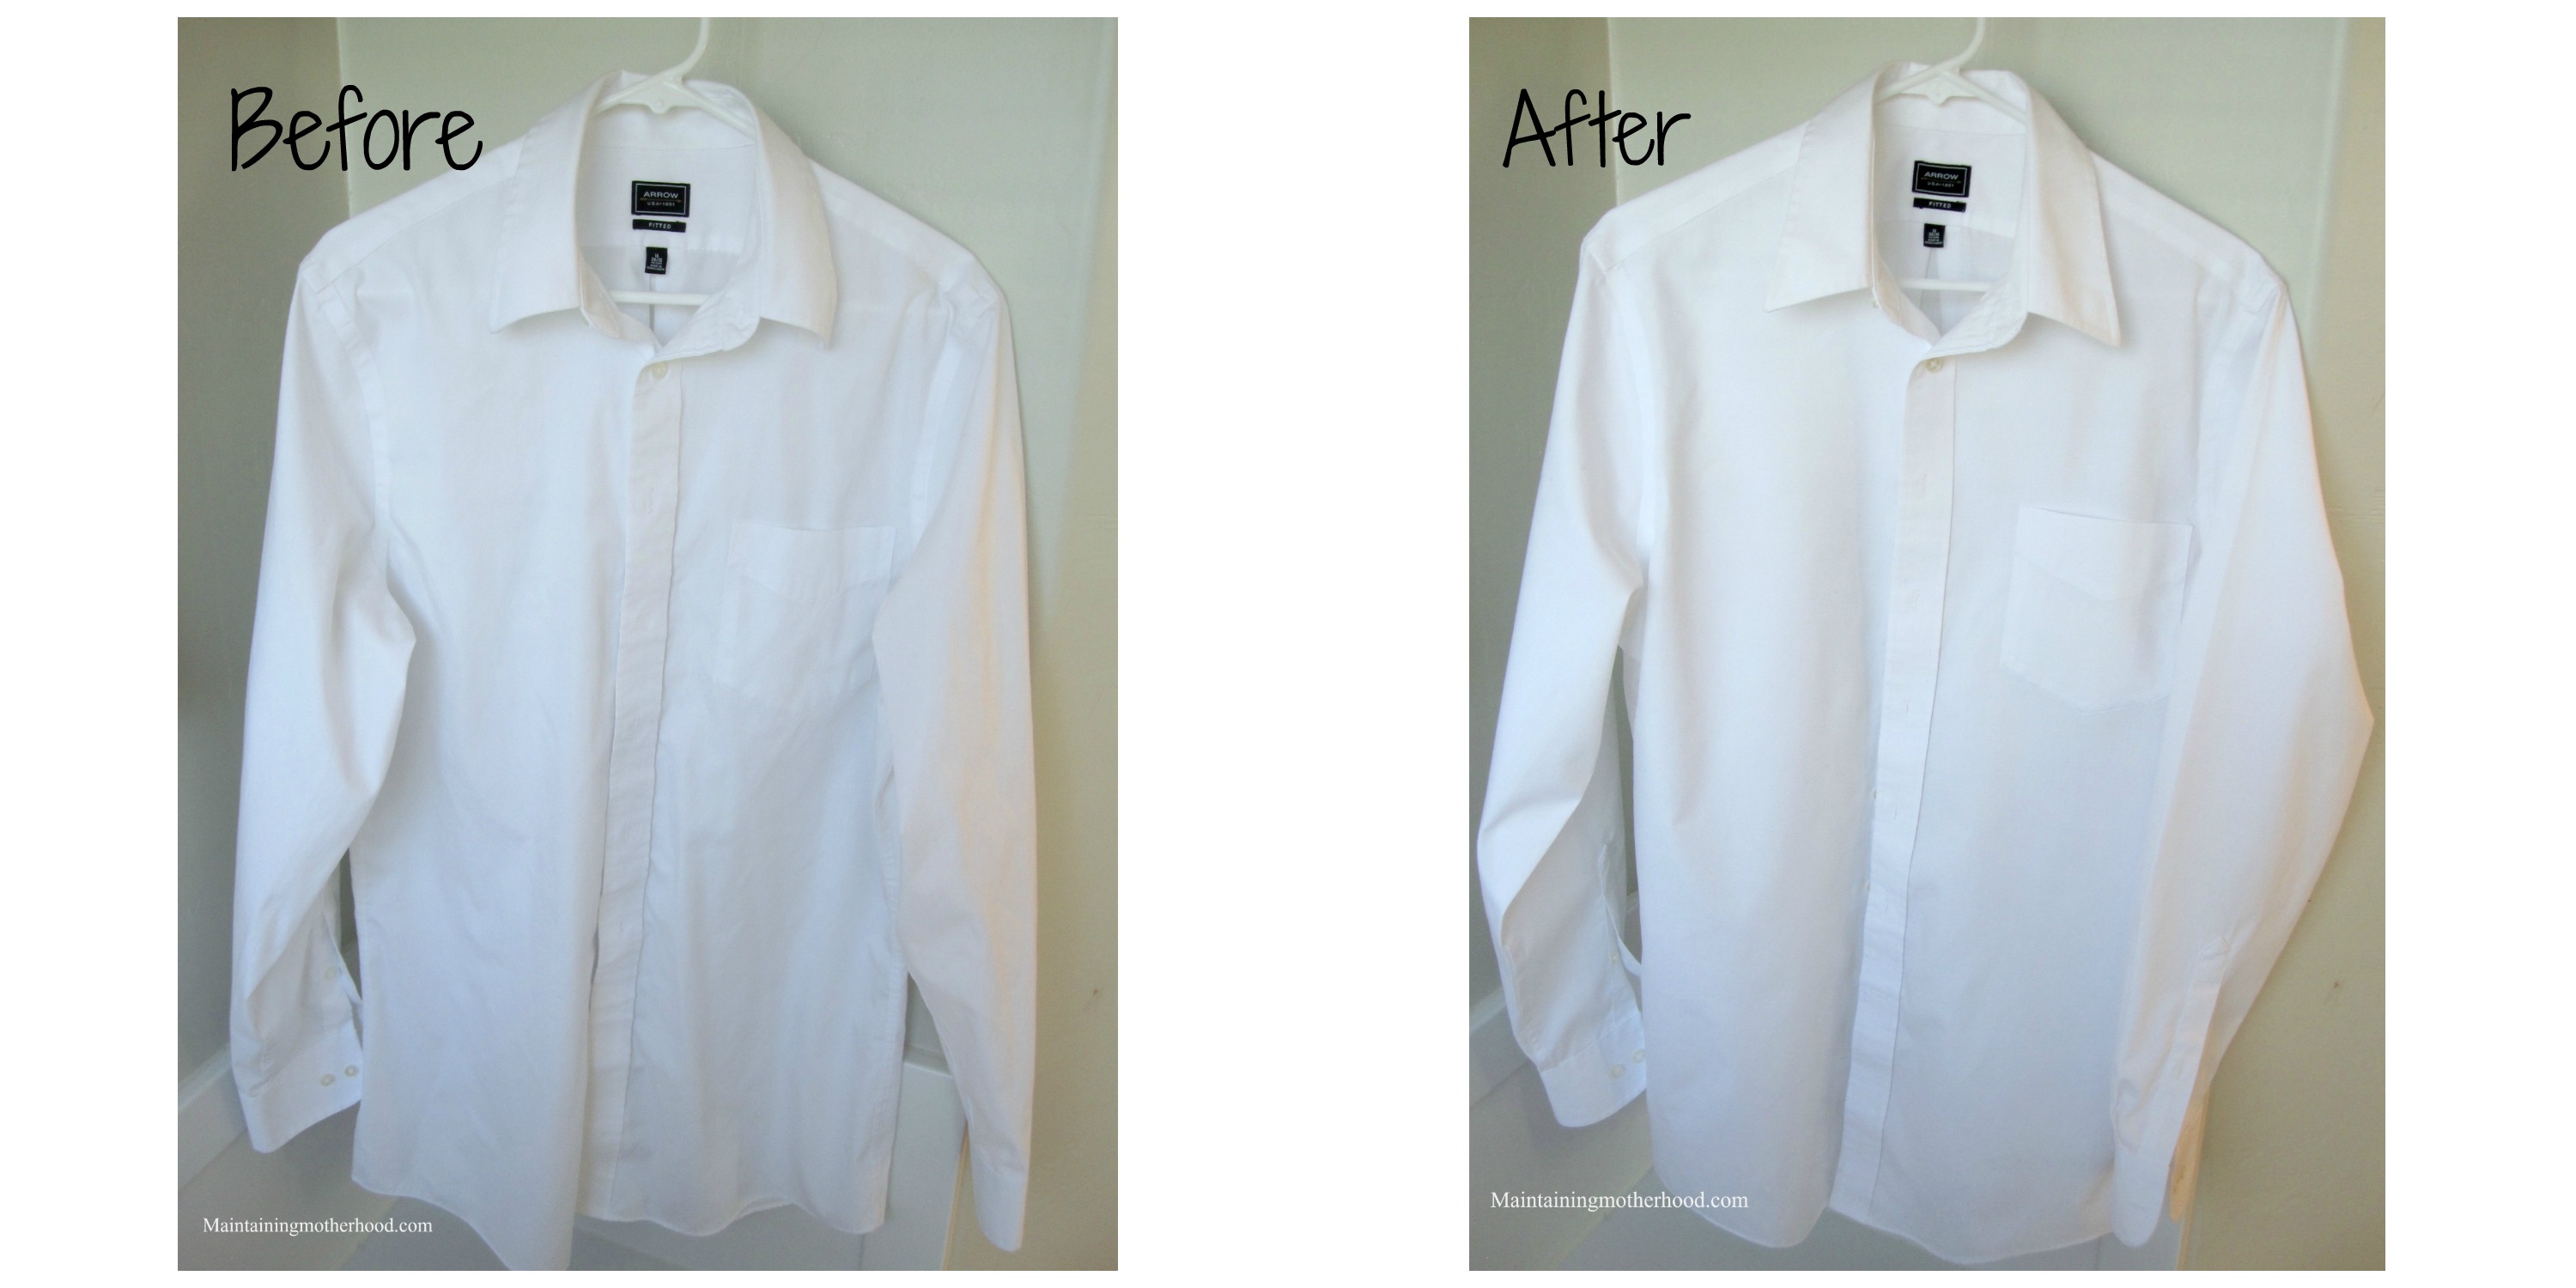
This is a “wrinkle-free” shirt. Ironing the shirt sure makes a crisp difference though! And, if you are wondering how we keep our white shirts so white, check out the best laundry whitener ever!




Ofcourse i knew this *rolls eyes*
((Secretly reads and rereads and bookmarks this page) :p
Haha! Glad you found it helpful.
This is so helpful, I always want to iron my boyfriends work shirts but I have been doing it so wrong! Haha oops.
Hopefully the instructions are easy to follow!
Wonderfully done. I’m a seamstress so I do a ton of ironing while sewing, but its always fun seeing if others iron like me too. You did a great job!
Woohoo! Thanks! I love seeing the difference a good ironing job can make!
This makes me think of my mom. She always made me iron all of my clothes before I left the house!
Good for your mom. Little do my kids know, this is an upcoming skill for them to learn too!
This is a subject close to my heart cheers.
Thanks
I wanted to thank you for this fantastic read!! I undoubtedly appreciating every little bit of it I have you bookmarked
to take a look at new material you post.
I never knew where the seam should be folded on the sleeve. Stitching front of fold or back of it. I went hunting on Pinterest and you showed it perfectly! Thanks!!!
So glad I could help you!