
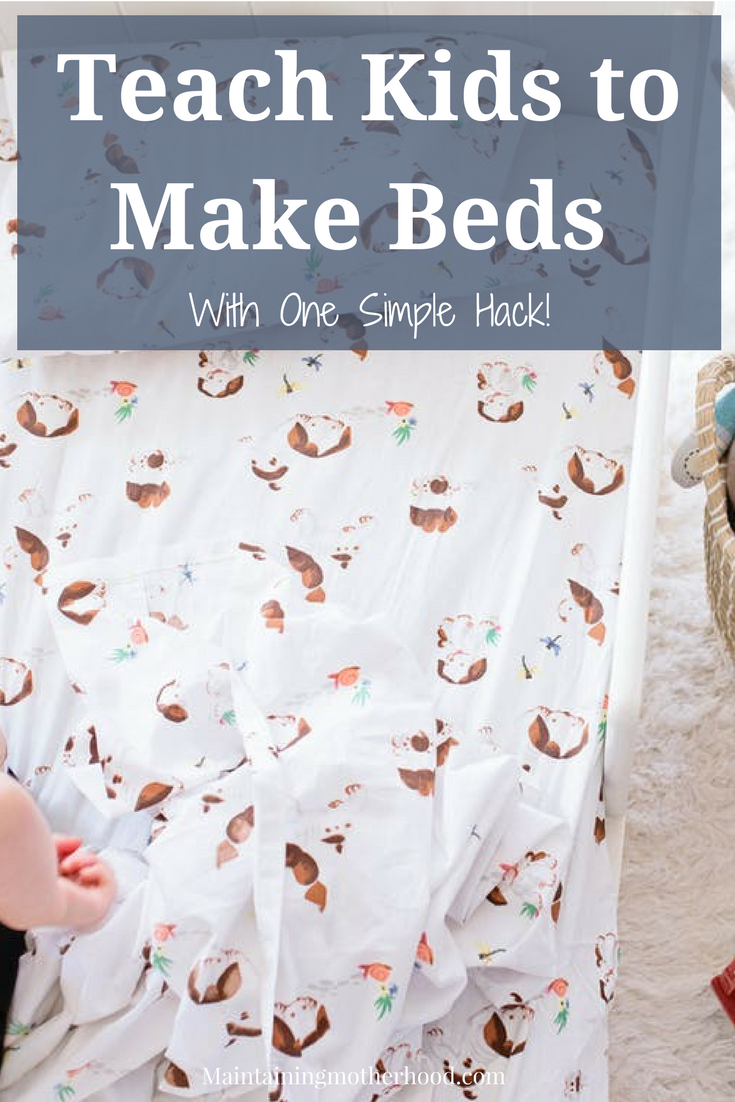
Do you dread changing sheets on the kids’ beds? Try this easy bed making hack which will simplify your laundry day and bed making routine!
There are many tasks that are okay to do every once in awhile. When you have to do these tasks on large scale terms though, these tasks become daunting. Take brushing kids’ teeth before bed, clipping finger nails and toe nails, haircuts for example. Yep, all those things need to be done regularly, and in my case for six kids. But today, we are tackling the the chore of laundering sheets and making up the beds again. And teaching kids to make their bed every single day…
Laundry is the never ending task. While I’ve explained our laundry system before, I am going to show you the biggest game changer you have ever seen involving changing the sheets. This little trick is going to make that task not such a dreaded one. Bunk beds, I’ve got you covered too. If you can put a fitted sheet on, you’ve got this. And no I’m not talking about Beddy’s, because those are pretty pricey! This is a hack that you can do using your existing sheets.
Simplest Bed Making Ever
Basically what we are going to do is sew the top flat sheet and the bottom fitted sheet together. Why?
This keeps the sheets from coming untucked at night. They are always “tucked in” because they are sewn to the fitted sheet which always stays put.
Simpler bed making. When you are on the top bunk instead of putting the fitted sheet on and then trying to cram the sheets and then the blankets under, it’s all one piece!
Better yet, your kids will have better success putting the sheets on their own beds! An added benefit is it is much more simple to make their beds each morning with this system.
I’m seriously SO excited to share this with you!
Step by Step
First off, all you need is a regular sheet set (flat sheet and fitted sheet). We didn’t buy new ones, we just used what we already had.
Fold each sheet in half to find the middle of the sheet lengthwise and mark with a straight pin.
When you find the middle, put the two sheets together with both the right sides facing the same way. This is how it is going to look on the bed. If you want the pattern side showing on top, make sure you have it laid out that way.
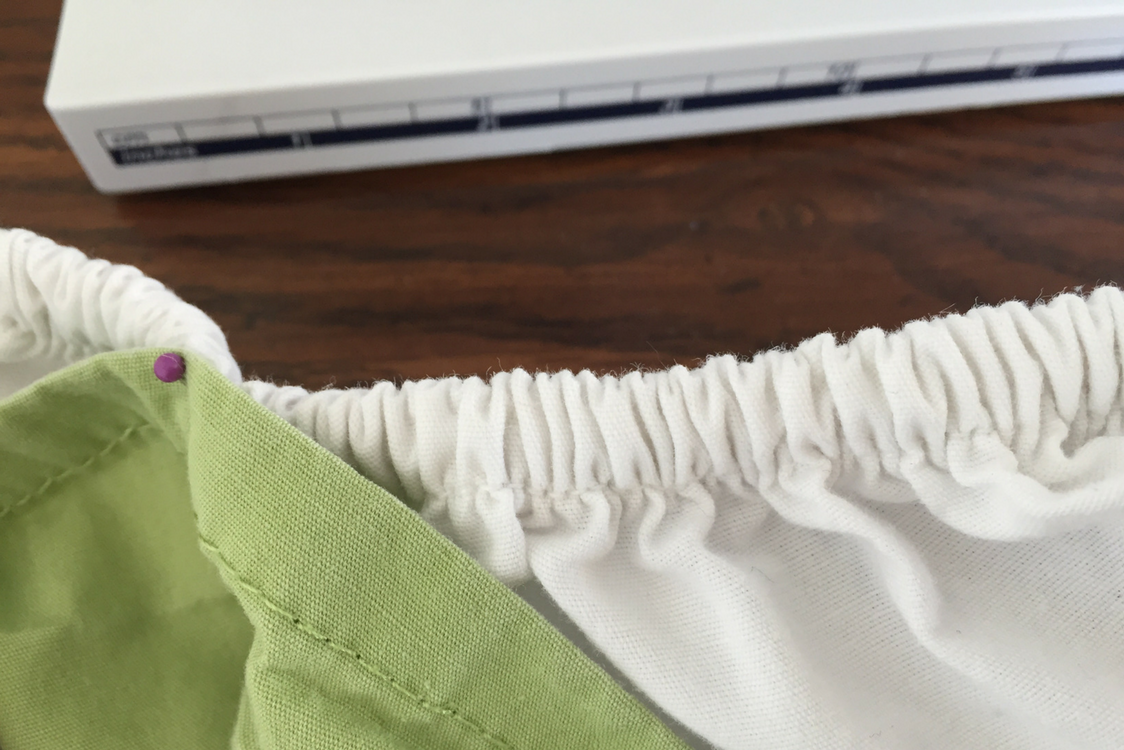
Next, you want to stretch out that fitted sheet and pin it so that it is easier to sew.
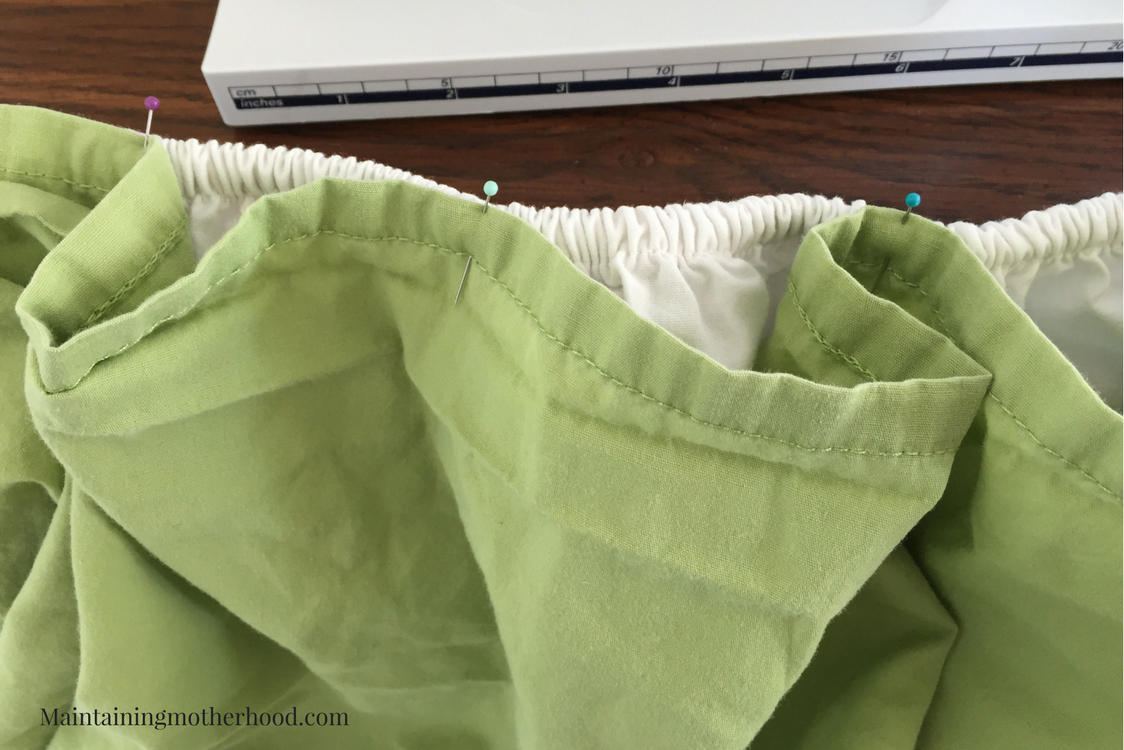
Stretch out and sew along the edge. I just use a straight stitch and sew right next to the elastic.
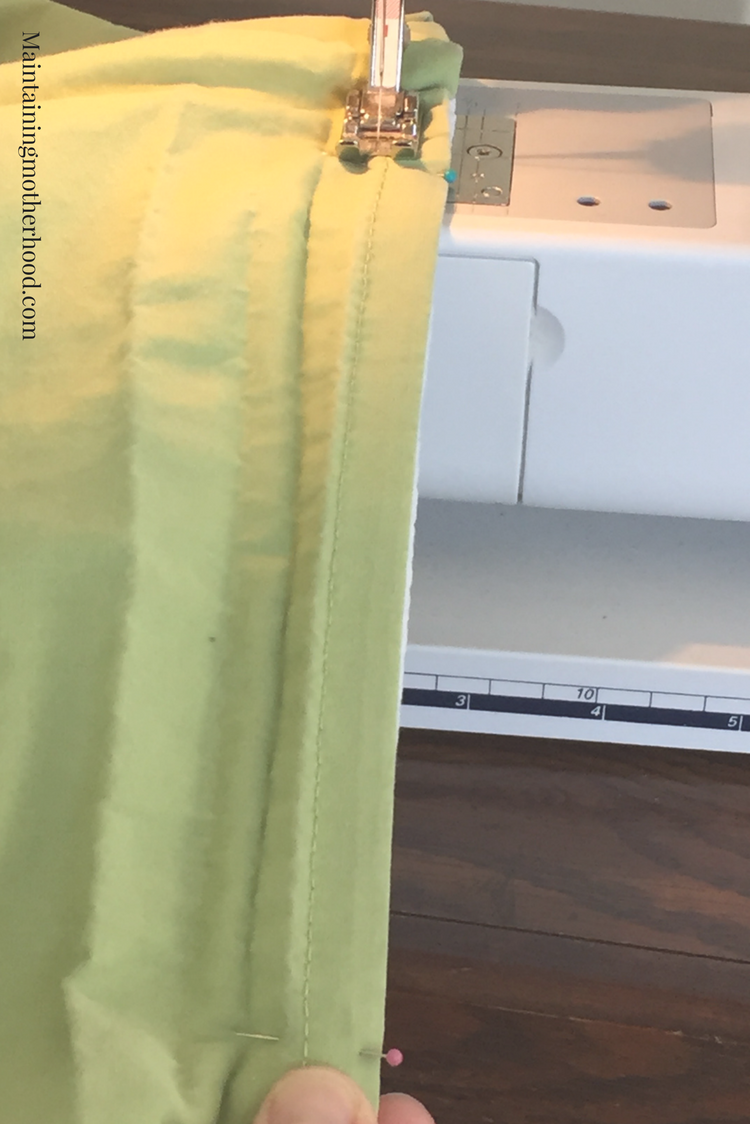
Sew an extra reinforced stitch at each end to make sure the sheets don’t come unstitched or rip.
And just like that, you are done! All you have to do is put the fitted sheet on just like normal and your top sheet is firmly attached.

Some Questions You May Have
What kind of sheets are best?
The only sheets that have ever ripped for me are the jersey knit fabric sheets, so I would steer clear of those. I personally prefer cotton sheets to microfiber sheets. Other than that, a uniform pattern that can easily be rotated in a room rearrangement. When I made ours, I just used whatever sheets we had on hand. When these wear out, I want all white sheets so I don’t have to differentiate between boy and girl beds.
What if I want to rearrange the room and the back of the sheet is on the wrong side?
By finding the middle of each sheet first, you have the same amount of sheet overlapping on each end. There is plenty of sheet to fold over a comforter at the top for decoration. If you don’t like the way the hem looks on one end, you could always sew it to match on both ends before you start sewing the sheets together.
Is it easy to make the bed?
Most definitely yes! The kids just tug on the top sheet until it is straight. Then all they have to do is lay their top blanket on over the top. Easy peasy!
I hope you try this out! It has been a lifesaver. Before kids were constantly asking me to re-tuck in their sheets at night and beds were being made very sloppily. And not that I love doing the laundry, but making beds is definitely simplified with this approach!
Do you have a simple way to make beds?


Hello, do I understand correctly that only the sides of the sheets are sewn together? Also, do you leave about a foot of space on each end?
What I usually do is find the middle of the long sides of the flat sheet and the fitted sheet. That is where I start pinning from. That way, you can put the sheets on any bed no matter which way the bed is facing. I don’t sew all the way to the seam on the fitted sheet. I stop just a bit before that. It will leave a little bit of the flat sheet hanging off of each side, which I like because you can get that finished look of folding the flat sheet down when making the bed. I also only sew one side together. Otherwise it creates a tube which would be really hard to get in and out of. I hope this makes sense to you. Let me know if you have any other questions!
Am I understanding correctly that you sew just the bottom half of one side down to the other sheet? Could you possibly update this post with a drawn diagram of where you’re sewing?
I am so sorry the images weren’t showing up for you! Thanks for letting me know there was a problem. I have updated the post to include the images again. Let me know if you have further questions!