

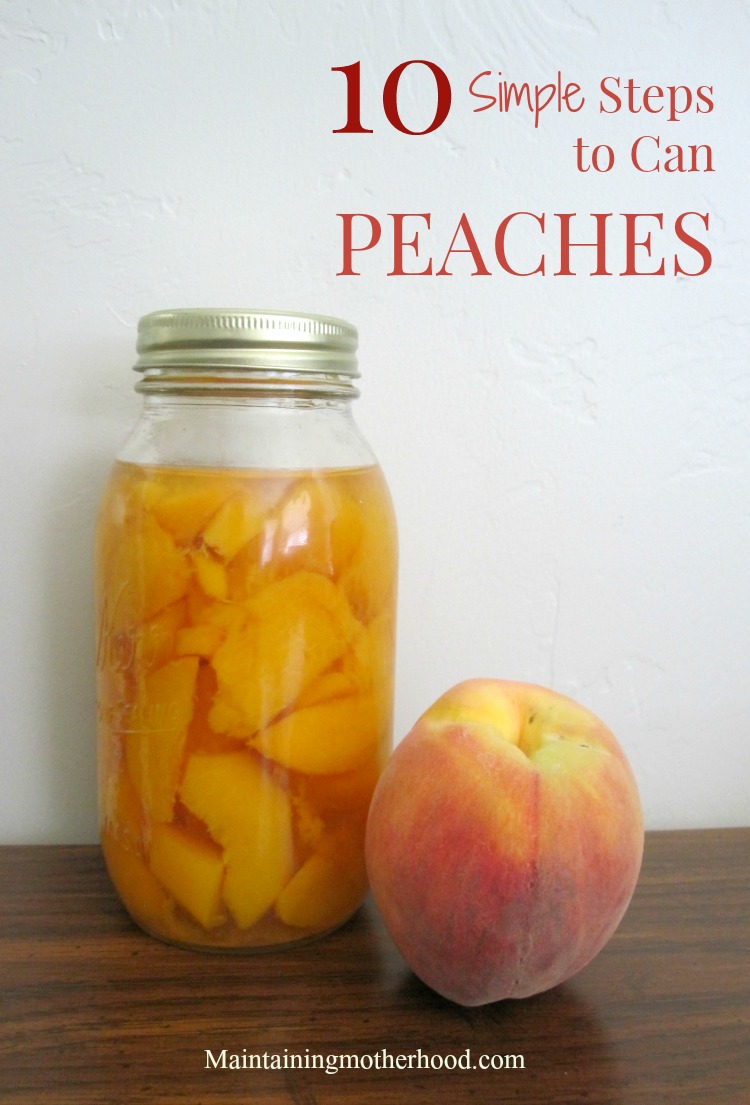
Want to savor the taste of summer all winter long? Enjoy canned peaches long after peach season. Learn how to can peaches in 10 simple steps.
I feel like canning is kind of a lost art form these days. It’s one of those things that brings a flood of memories from my childhood though. I LOVE the smell of applesauce and grape juice in the fall. Canning peaches doesn’t have a smell per se, but the taste is very nostalgic.
Canning can be a bit of a scary task at first. We’ve all heard the stories of botulism or other food borne illnesses that come from people’s home canned foods. If you do it right, you don’t need to worry. I was so worried about doing it wrong that I took a class before attempting to can on my own. You can look up your local university agricultural extension to find out about classes in your area, or look on their website and find TONS of free resources. A great website to get you started is the National Center for Home Food Preservation.
Now, you may be thinking “there are so many other tutorials on how to can or preserve food on the internet, why is this going to be any different?” Well, whenever I can, I do it on a pretty large scale. I generally can around 50 quarts of fruit by myself in 1 day, so I have had to come up with some pretty efficient techniques without taking short cuts and risking the safety of the food.
So, let’s get started!
Step 1. Find fruit. Preferably free fruit.
I grew up with Grandparents who had a fruit orchard in their backyard, so we would always get free fruit. For whatever reason, the surplus that they had every year has stuck with me. I am known to scout around the neighborhood and knock on random people’s doors and ask if I can have their fruit for free. Most people are just happy to get rid of it so they don’t have to pick the rotten fruit up off the ground! Lucky for me, I had a neighbor contact me this year and ask if I wanted their left over peaches.
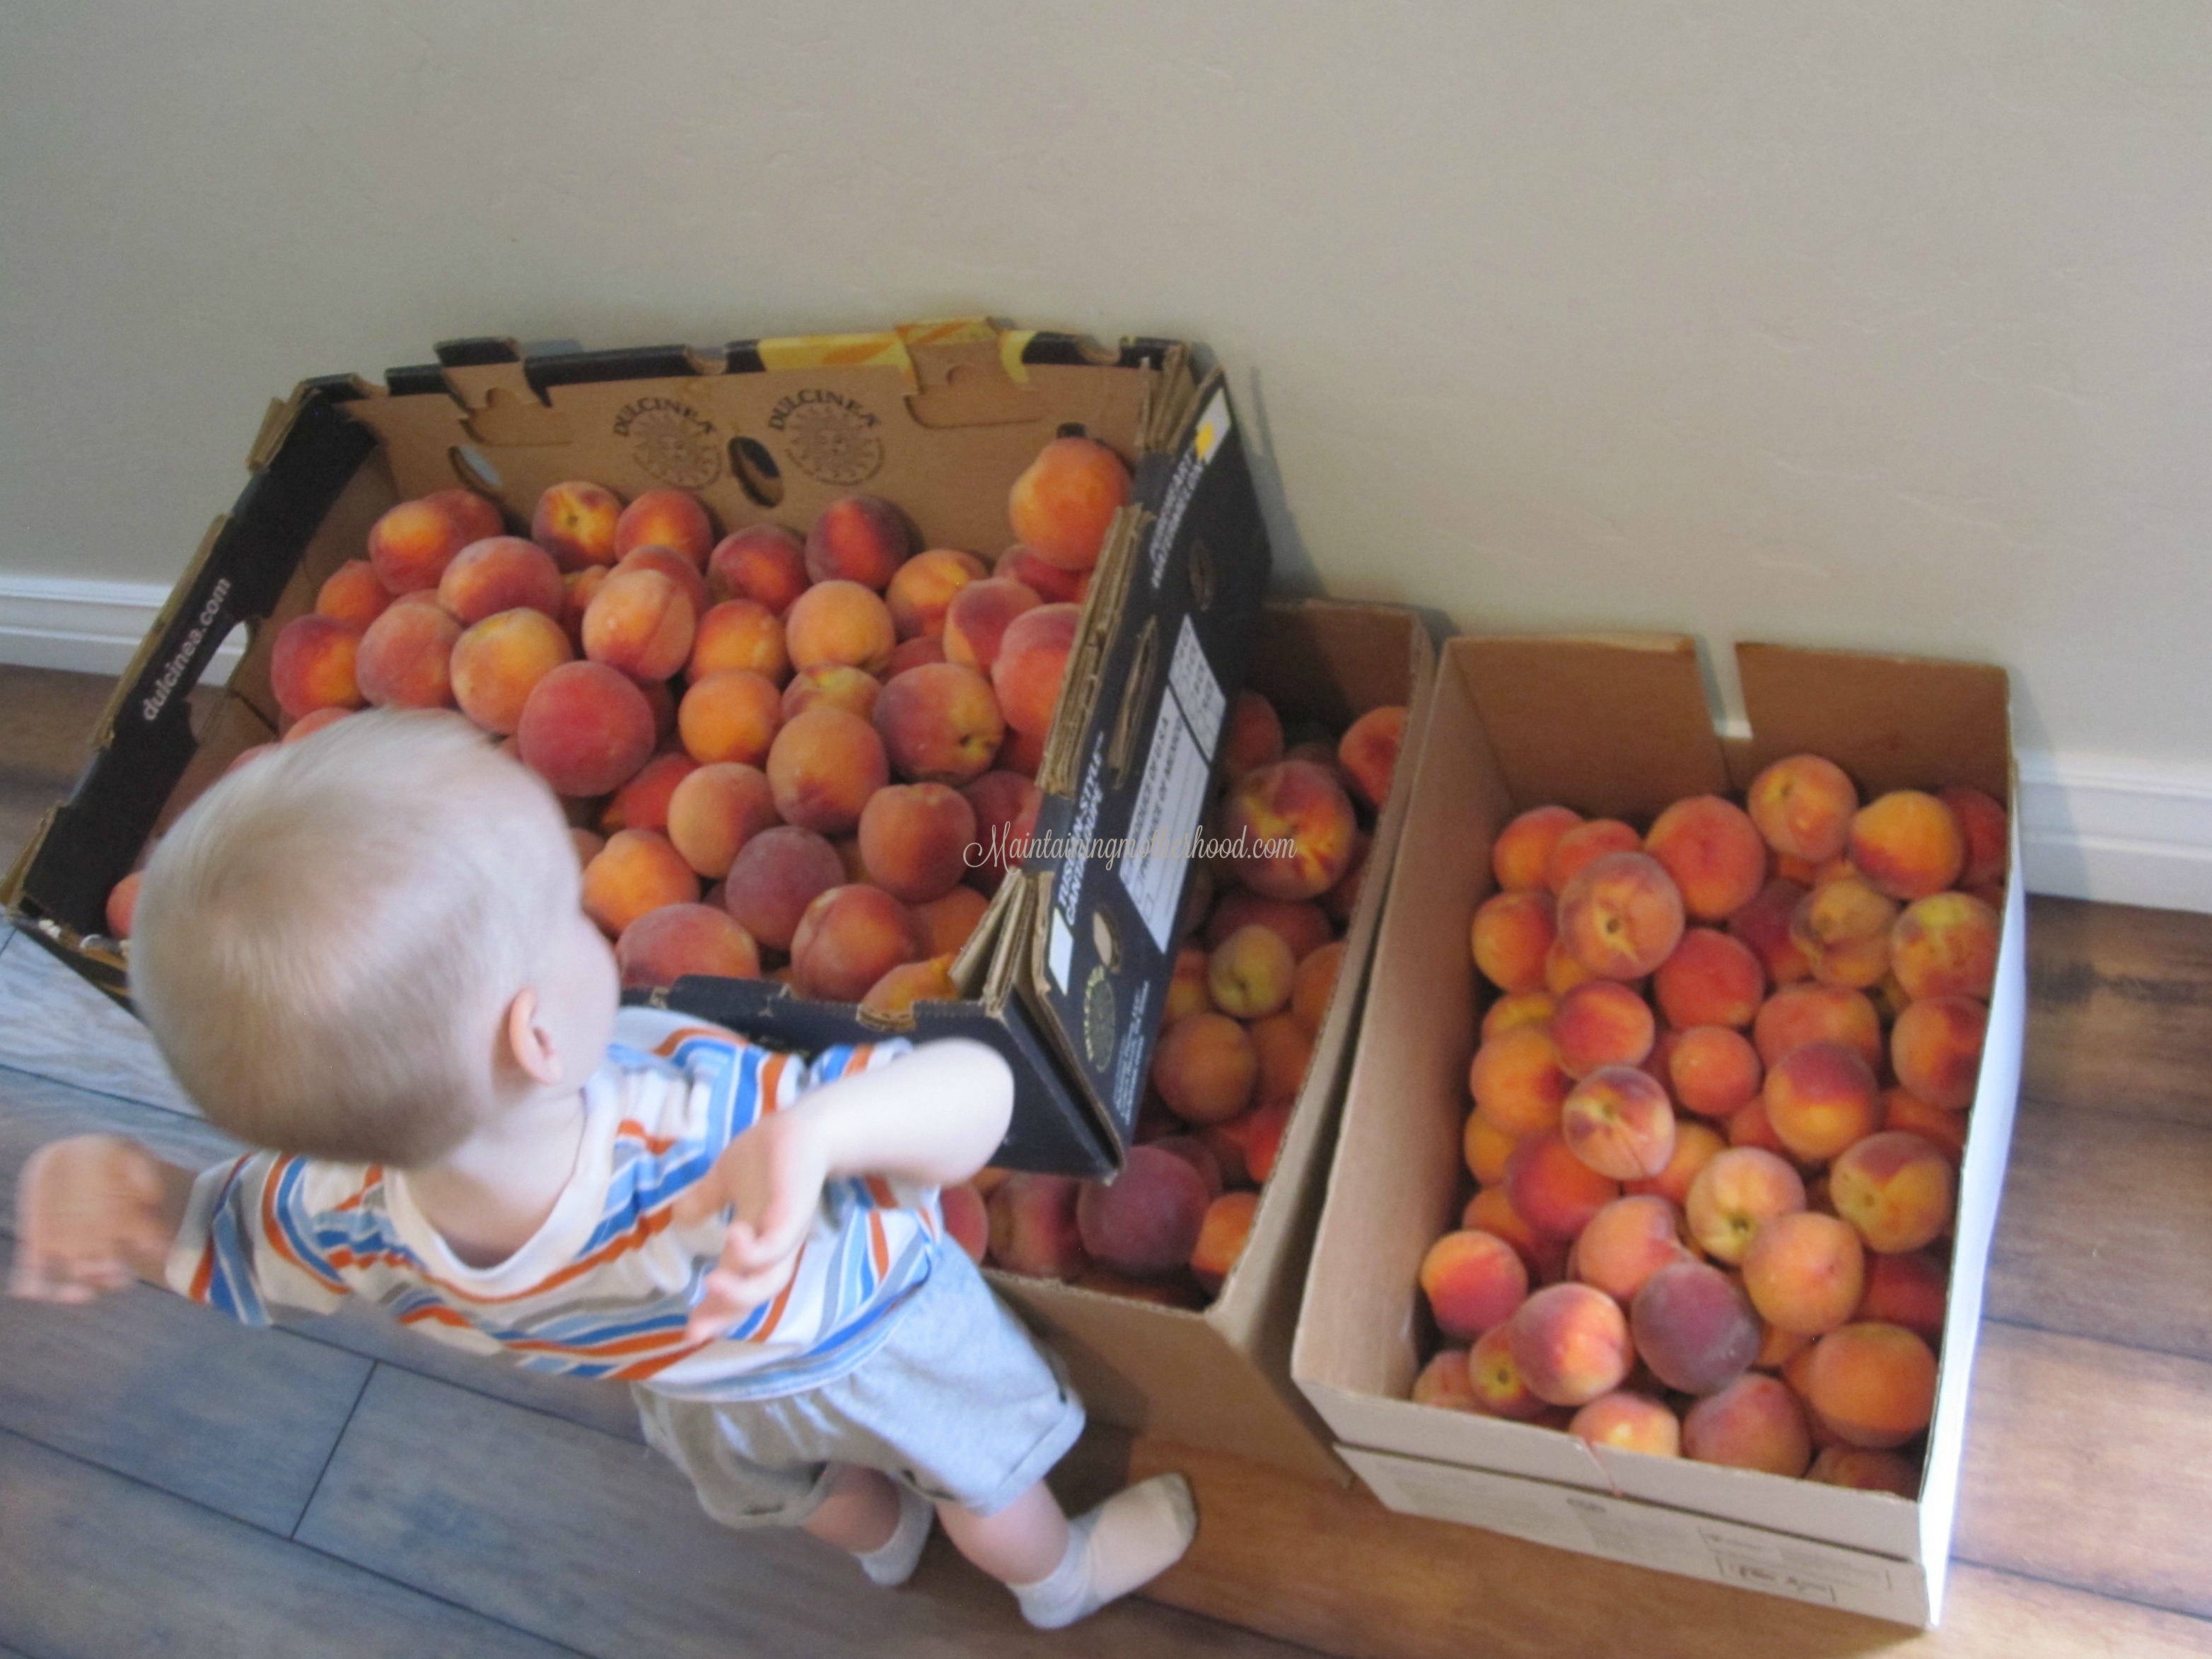
Step 2. Pick fruit.
I went with three little helpers and was able to pick about 4 1/2 boxes in just 45 minutes. Not too shabby considering we had to establish some ground rules: no taking a bite out of each peach, and no playing basketball or any other tossing-a-round-object-into-a-basket sport.
Step 3. Clean your kitchen, sterilize jars, and set up your stations.
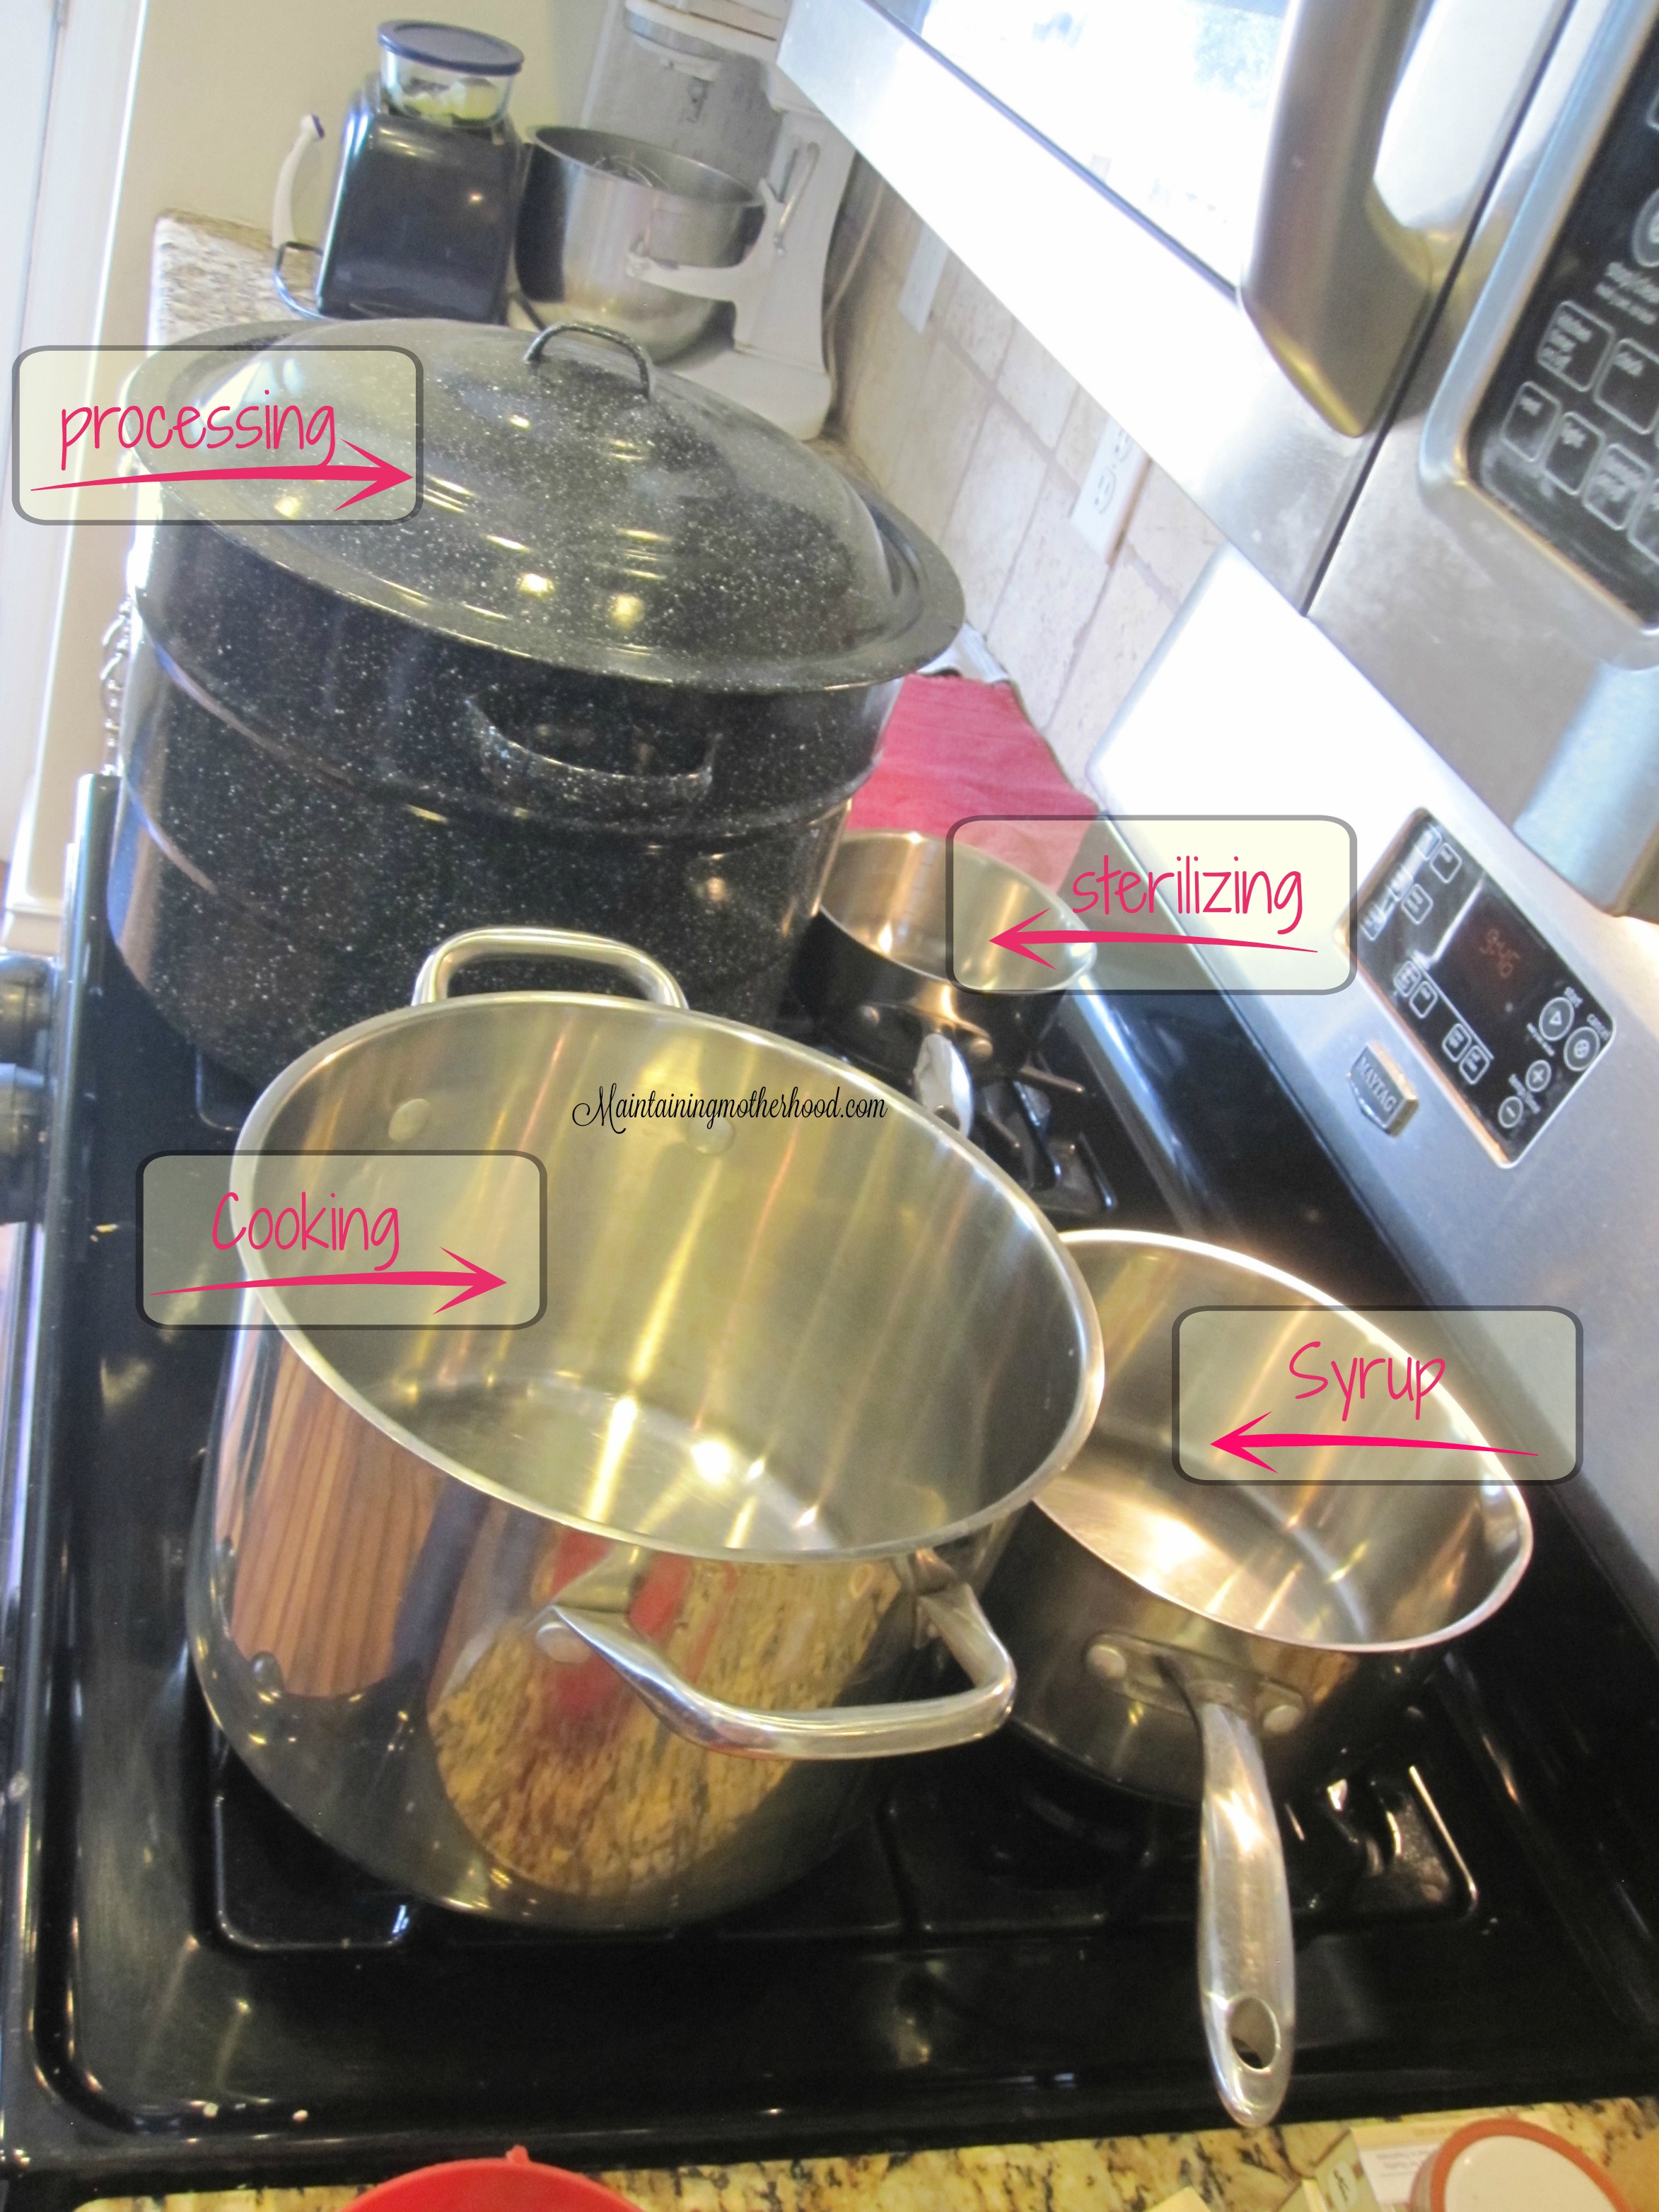
I actually did this step before I picked the peaches so that I could come home and jump right in. My kitchen sinks were scrubbed, counters cleared off, and a load of jars washing and sterilizing in the dishwasher. I then set up stations for
- washing peaches-gently rinse peaches as I put them in the sink
- cooking peaches-bring a large pot of water to a boil
- cooling peaches-other side of sink filled with just enough cold water to cover the peaches
- peeling and cutting peaches-cutting board, knife, garbage can, and funnel to easily put peaches into the jars
- sterilizing lids-bring a small pot of water to boiling, add a few rings(free of rust and dents) and lids (brand new unless specifically made to be reused) and reduce heat to simmer
- making syrup-choose which syrup mixture you will make (extra light to extra heavy) and keep simmering
- cooling station-thick towel layers on the counter that will not be disturbed for 24 hours
Step 4. Wash peaches.
You don’t have to be super picky about this step since you are going to be boiling the peaches. Do a light rinse as you fill the sink with the peaches to get off any bird poop, bugs, or dirt that may be on the peaches. (gross, I know)
Step 5. Boil and chill.
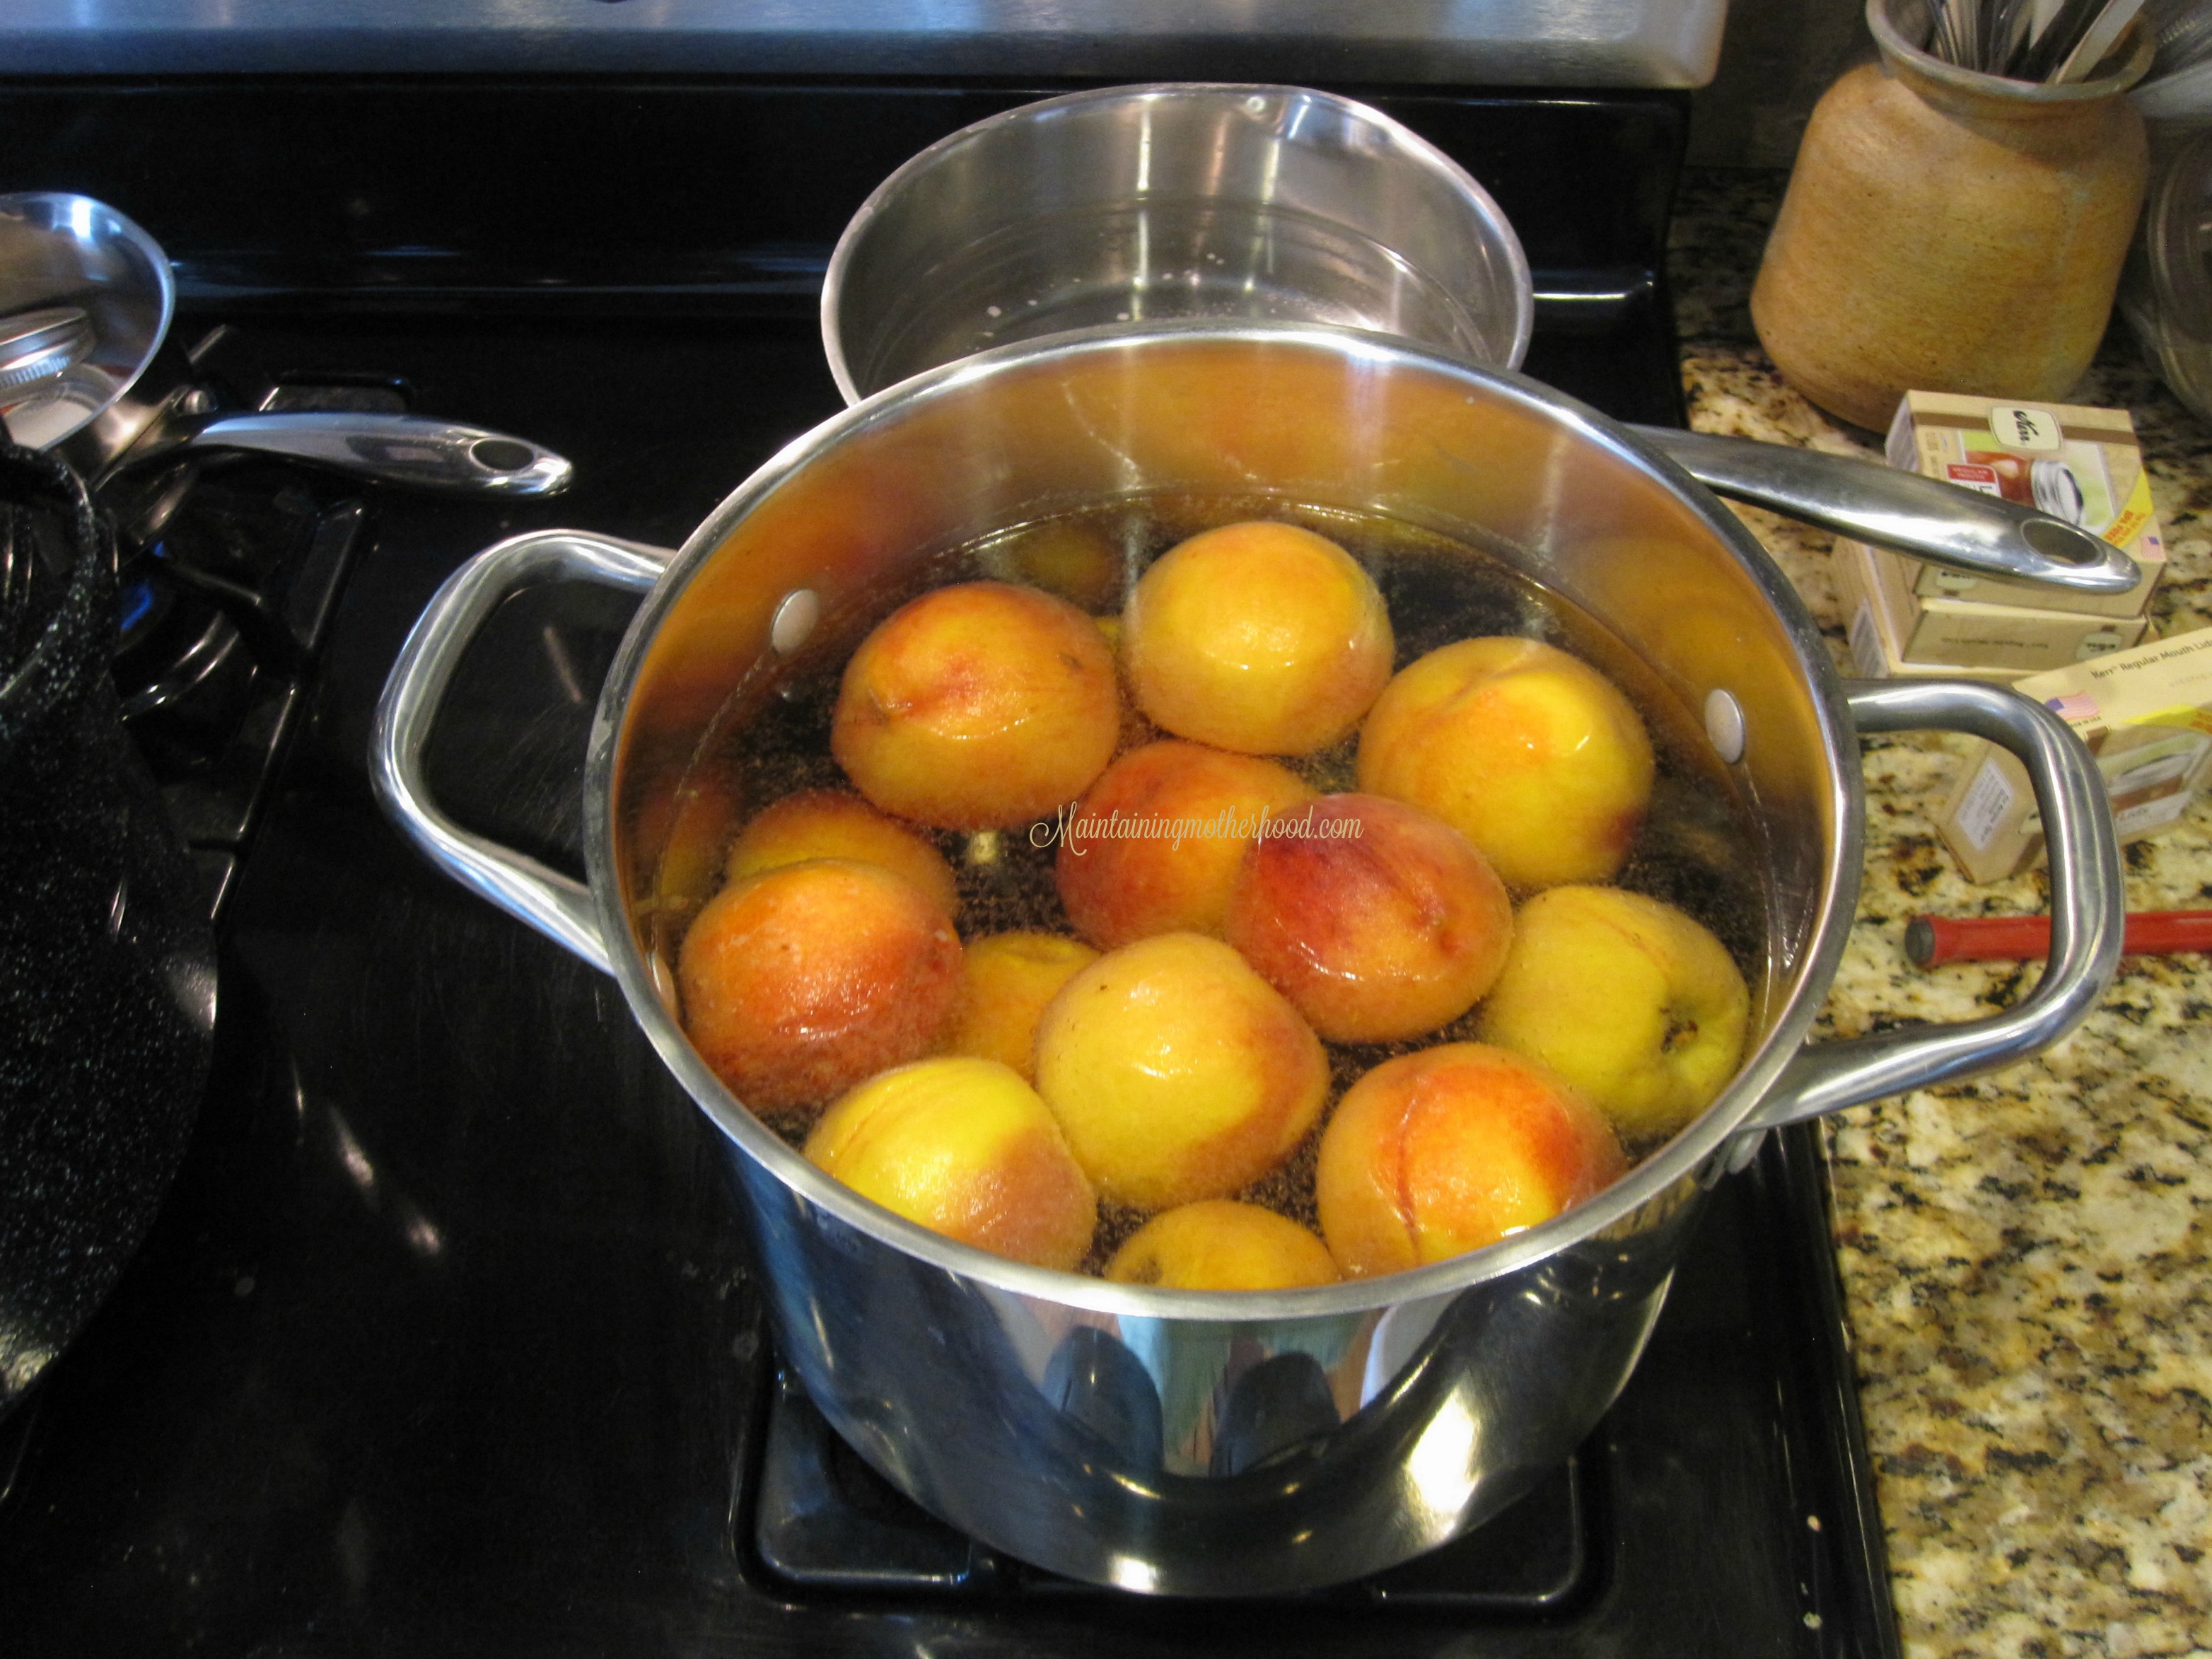
The regulations say to dip them in boiling water for 30-60 seconds, but because I am doing it myself, they generally sit in the boiling water a little bit longer, which is totally fine. Remove them from the boiling water with a slotted spoon and immediately put them in cold water so the skins will just slip right off. (It’s pretty amazing). Some people like to have a large bowl with water that they constantly are refilling with ice cubes, but I have found that it is just as effective for me to have a sink filled with cold water. The water warms up as you continually add boiling hot peaches to it. So I simply drain the water, and fill it to just cover the peaches with cold water again.

Step 6. Slip skins, pit, and slice.
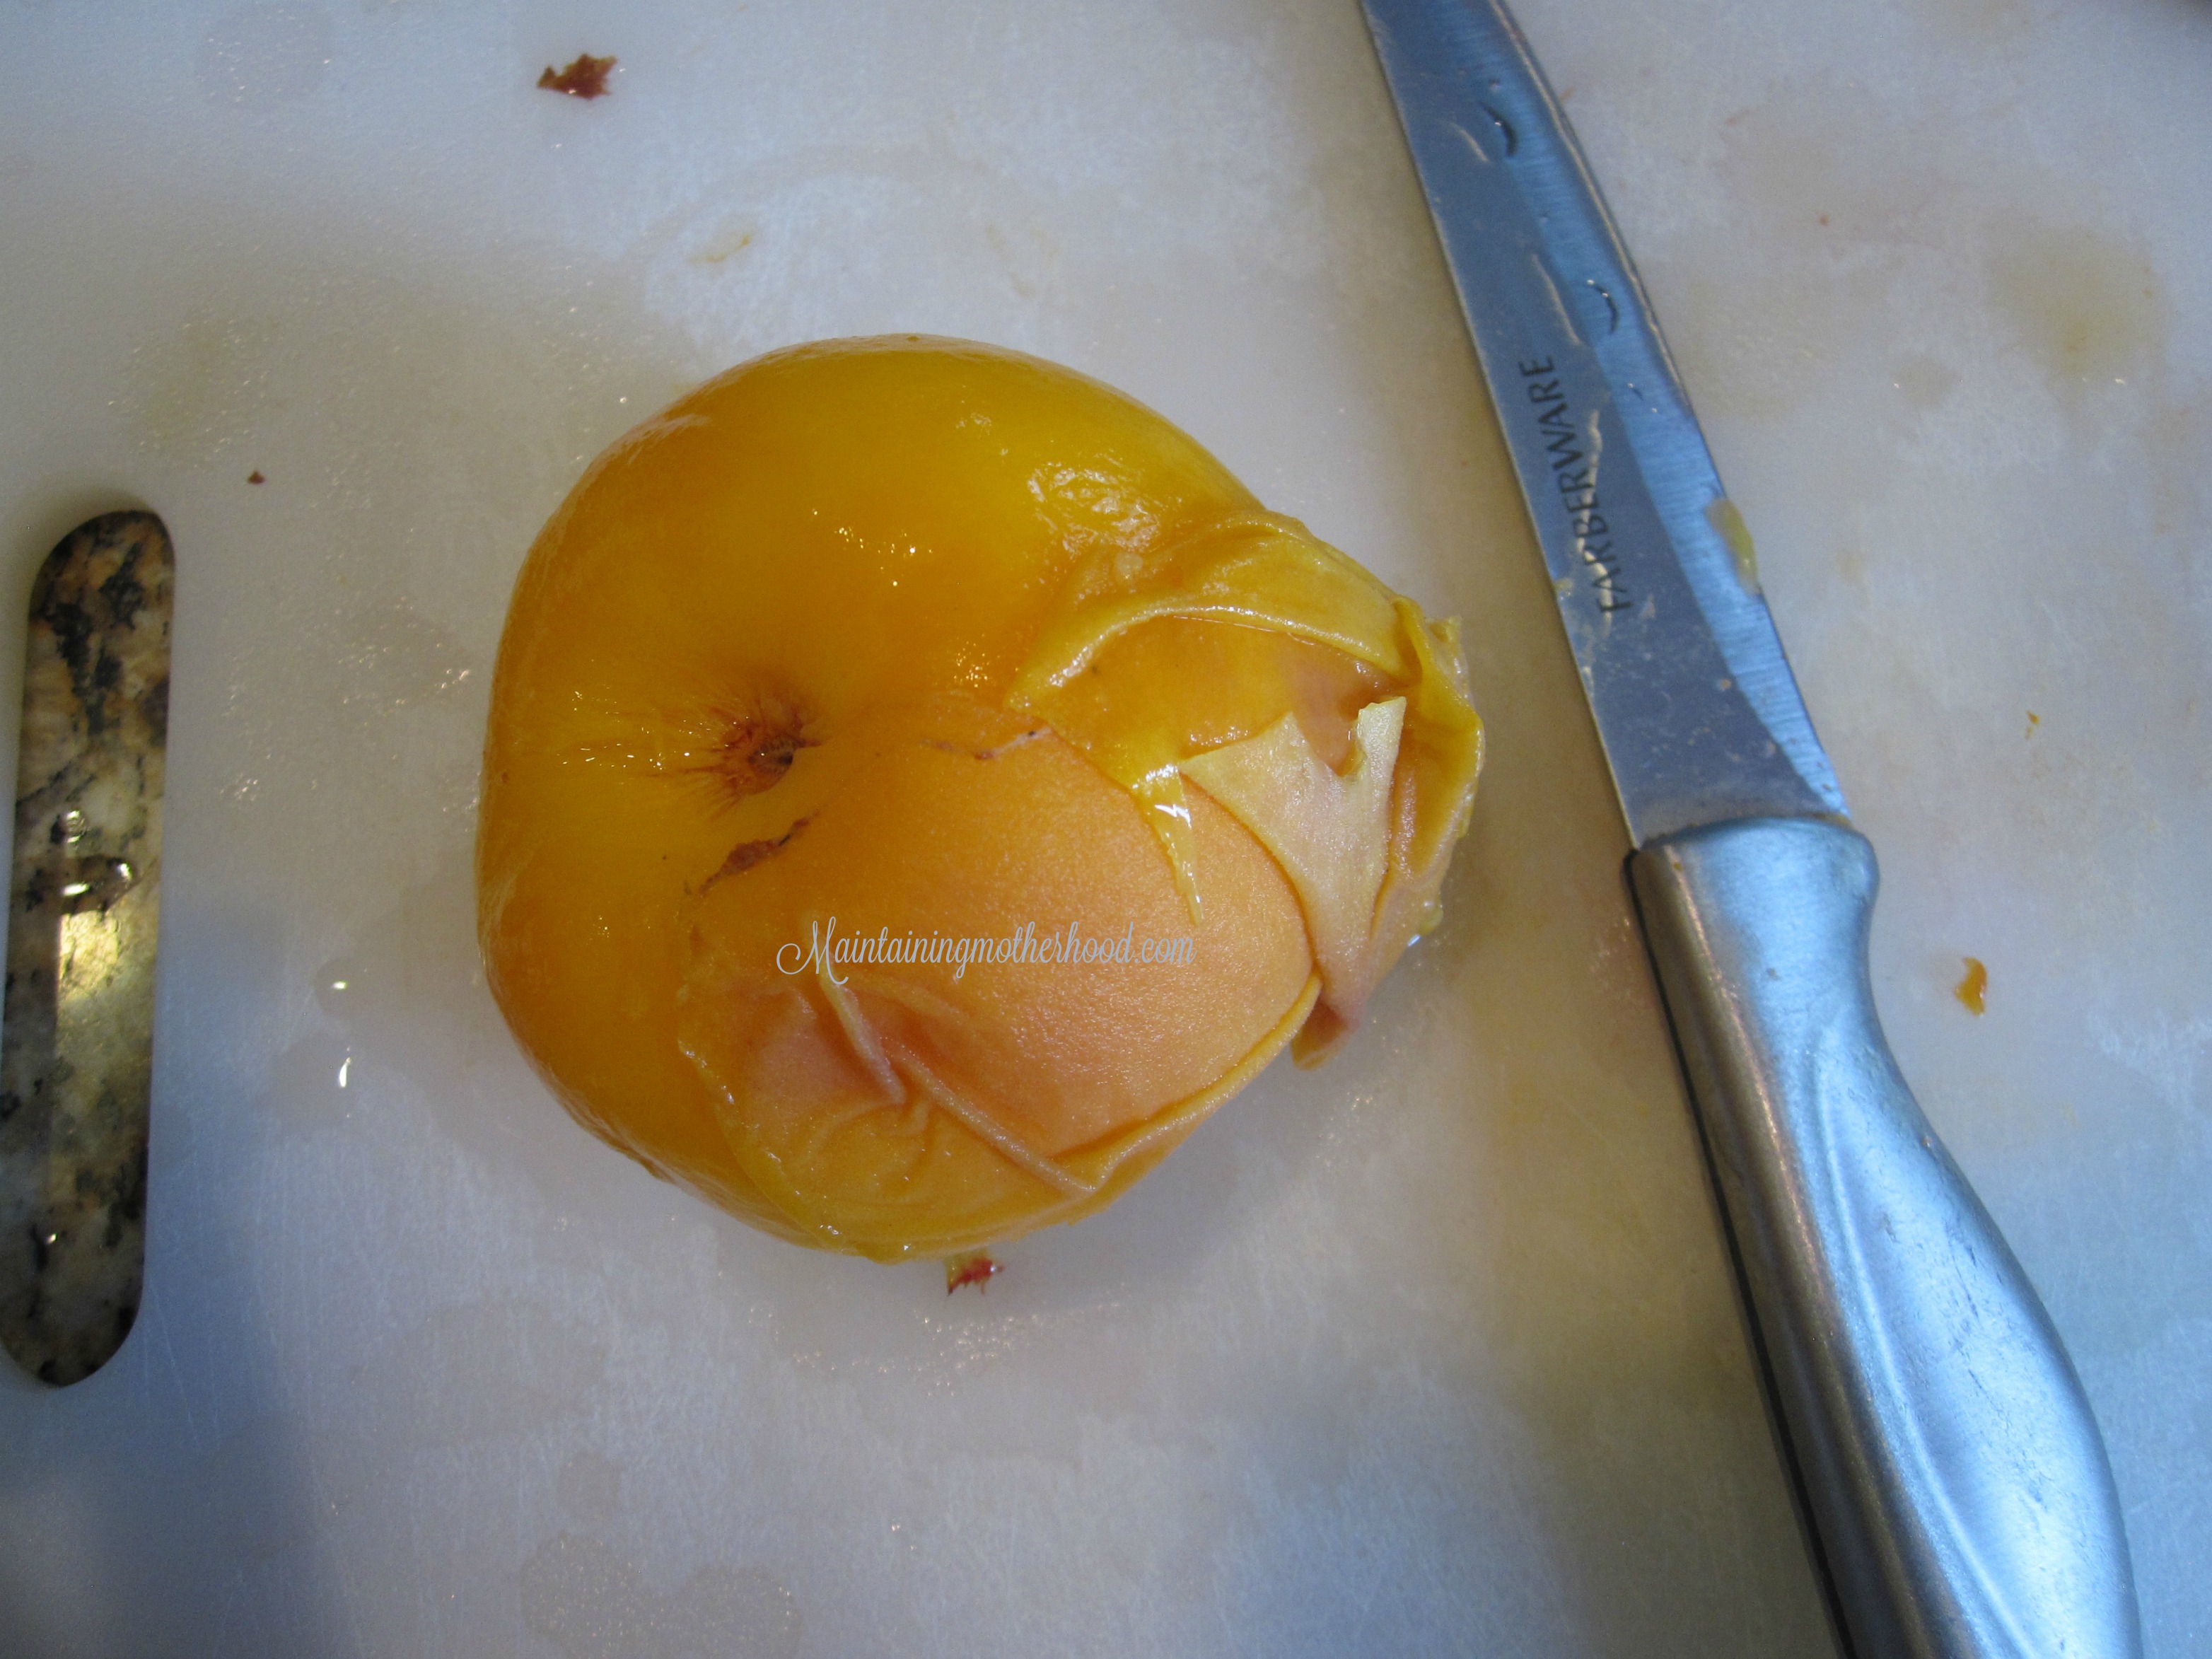
Cut around the middle of the peach. This will give you a little bit of the skin to start with just in case it doesn’t slip right off. If the peaches were ripe enough, the skins should slip right off, otherwise, just carve it off with your knife. Cut out any bad parts, poop trails from worms, or parts around the pit that were extra mushy. Depending on how big the peach is, I generally cut each half into thirds or fourths. Some people cut them in halves, but these are for my kids to eat, and I don’t want to be constantly cutting them into smaller slices every time I feed them to the kids.
Step 7. Fill jars with peaches and syrup.
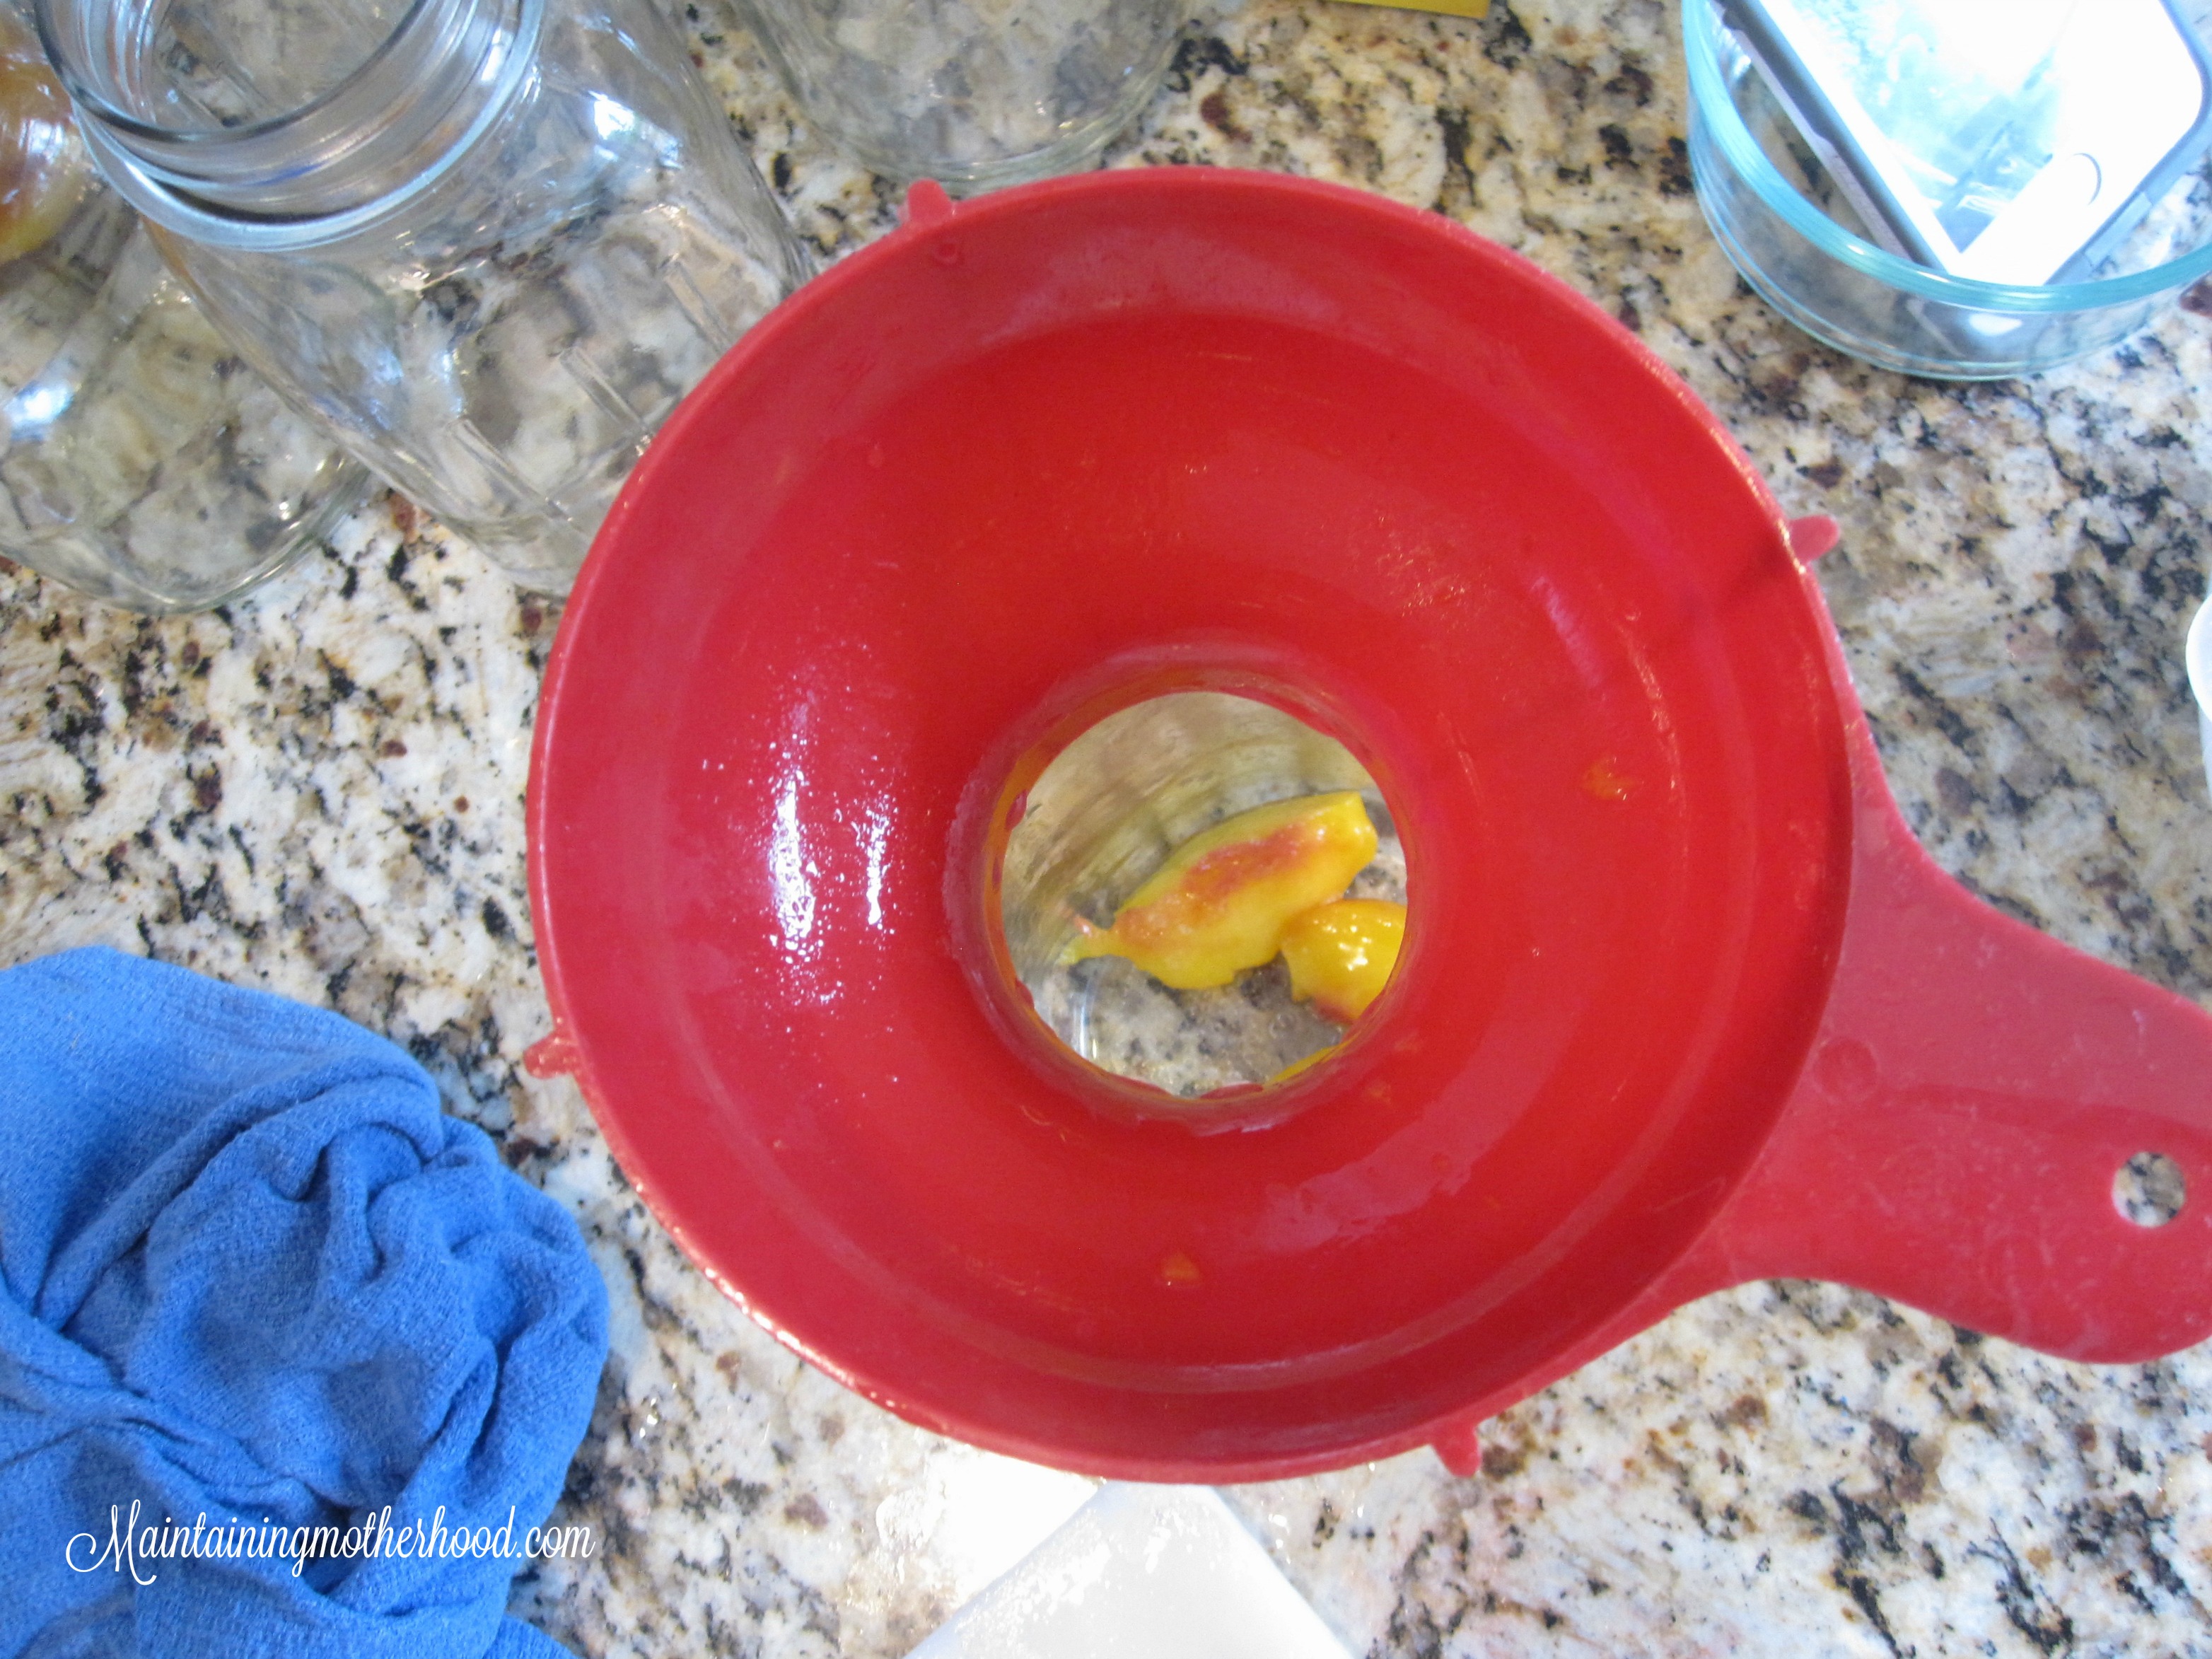
While slicing the peaches, slice them right into the jars. This way, as soon as a jar is filled with peaches you can fill it with liquid and close the lid. This step saves you from having to have one extra station where to cook the peaches in a syrup so they don’t turn brown. The peaches are generally still hot when putting them into the jars. Grab jars straight from the hot dishwasher, then you don’t have to worry about the jars shattering when you add the hot syrup.
I use the extra light syrup to fill my jars, so that it is the least amount of sugar. I figure the fruit itself is very sweet if picked when ripe, so I don’t need any additional sweetness. Here is a chart of the different syrup recipes:
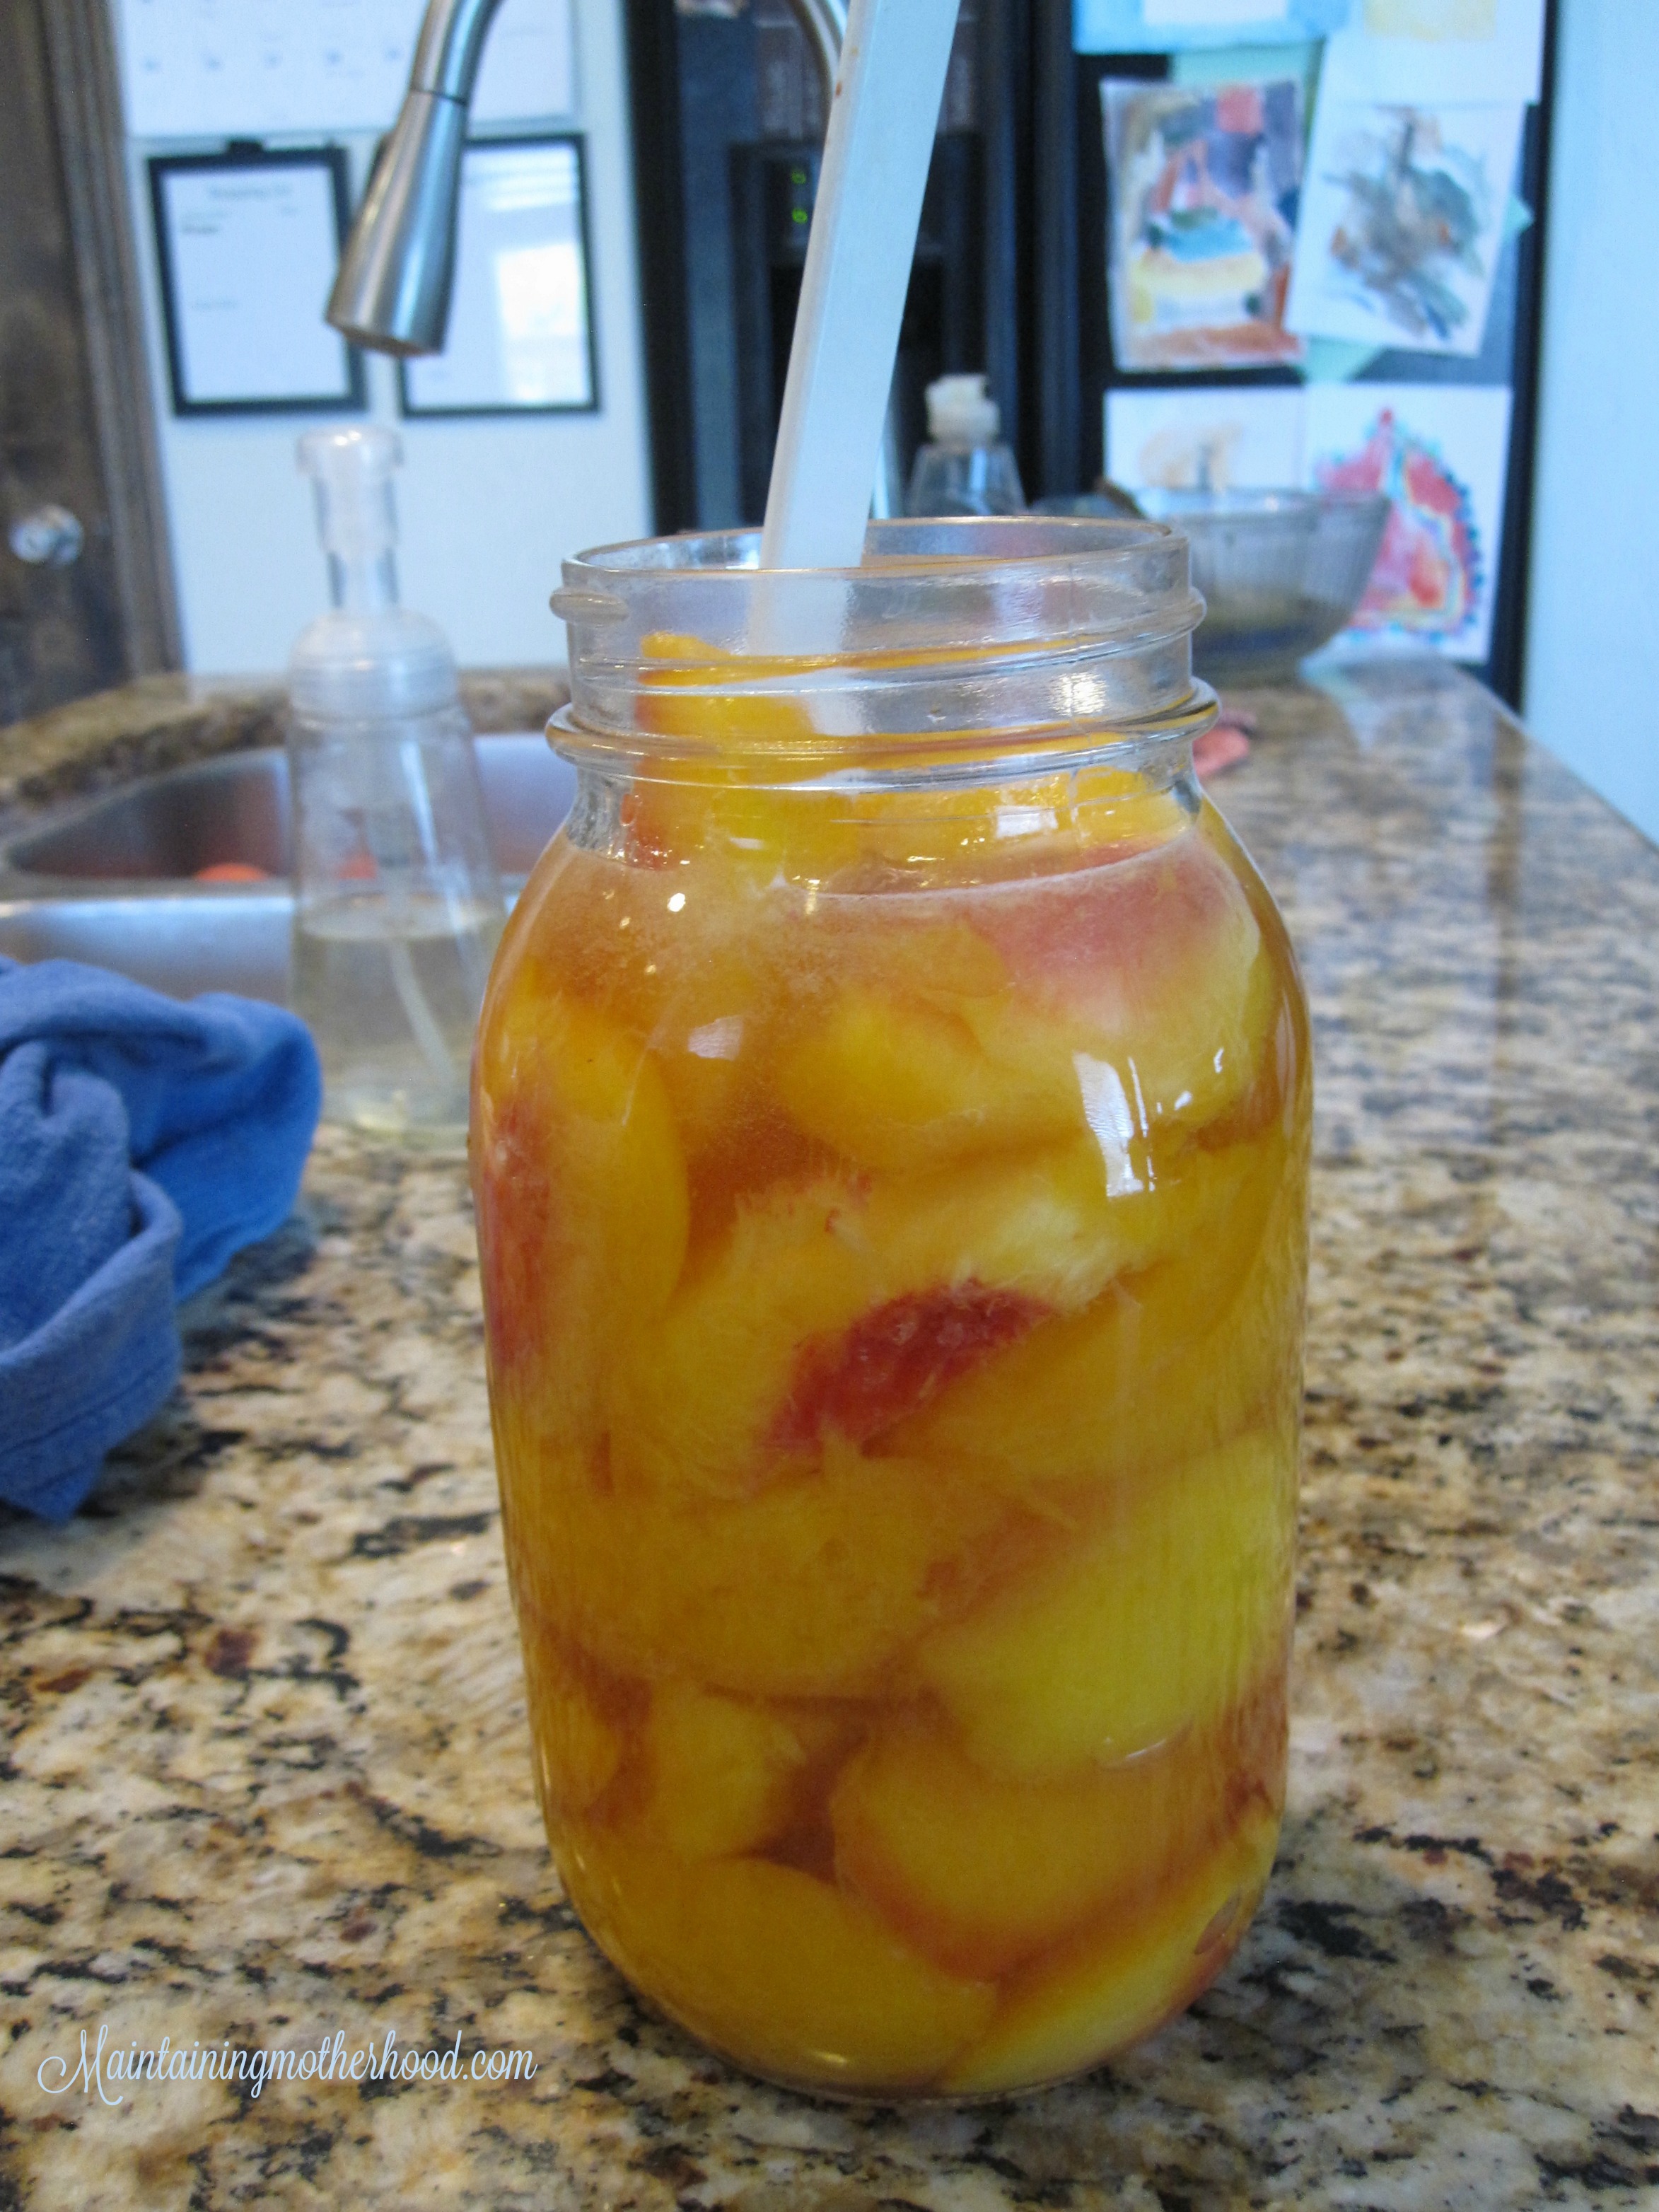
Fill the syrup leaving a 1/2 inch of headspace (which means the space from the top of the jar and generally takes you to a little below the last lip of the jar). Run a rubber spatula around the inside edge of the jar to remove any air bubbles. Next, remove a ring and a lid with those cool little magnet wands. Put them on the jar “finger tight”: not too tight and not too loose, but just right, and set them aside.
Step 8. Process the jars in a water bath canner.
Here is where I ALWAYS have to use Google to remember what altitude I live at. Your altitude determines how long you will process your jars for. Here is a handy chart to help you out:
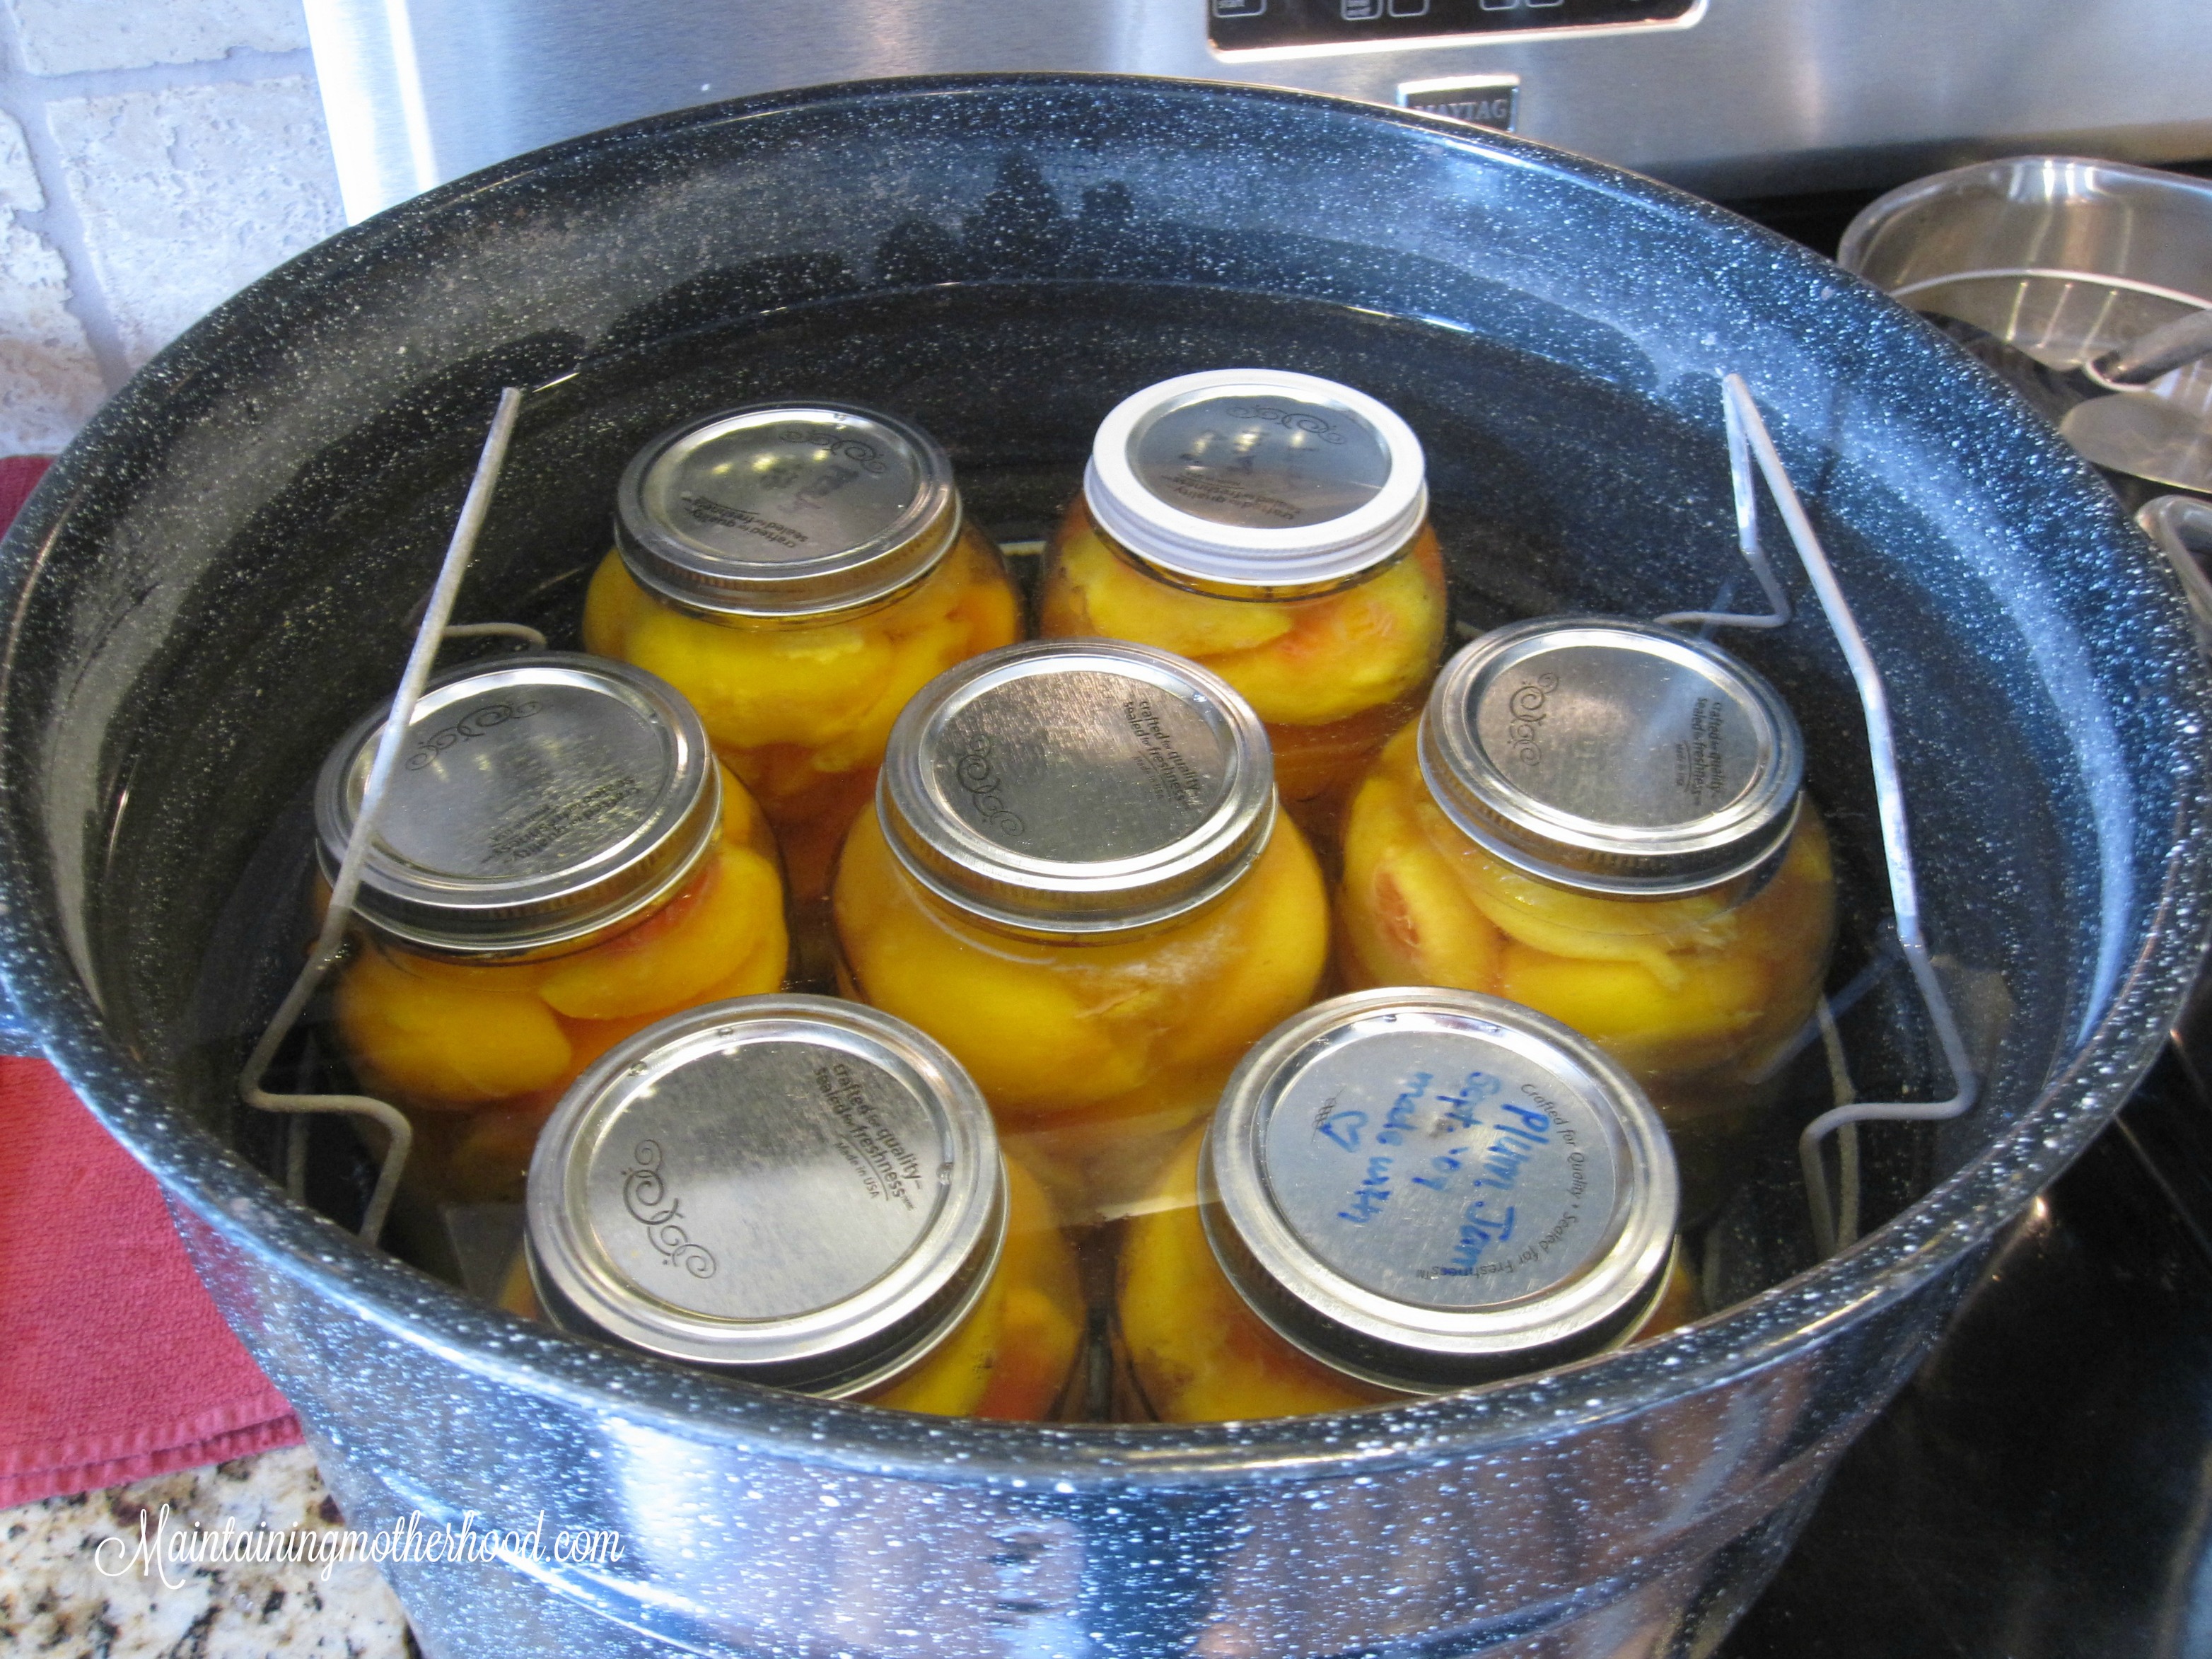
My water bath canner holds 7 jars. I generally have it filled about half-full with hot water. Put the jars in and then fill it the rest of the way with water. Make sure the lids are completely covered. Start the timer once a steady stream of steam is coming out from under the lid. You can also reduce the heat at this point, but make sure the water is still boiling inside. I reduce mine to about medium-high. Because I process one batch right after another, I will remove about half the water in the water bath canner in between batches and fill it up with cold water so the water is now VERY warm, but not hot enough to shatter the jars. This is especially important if they have been sitting and waiting their turn for awhile.
(PS, There is a lid on one of the jars that was previously used. As a general rule I do not reuse the lids since that brings risk of food poisoning. This lid however was used for a freezer jam, so it had not been previously sealed.)
Step 9. Remove jars from water bath canner.
After the jars have been processed, use the special jar tool to remove the jars from the water. You want to make sure the grippy, curved side is the side you are using to pick the jars up. The straight sides will make all your hard work crash to the floor. As you remove them, tip them just a bit so the water on top runs off and then set them in the cooling station cool for 24 hours before storing them for the winter.
Step 10. Label and store.
I always think that I will remember what I have preserved and when. (I think the same thing with freezer food, but after awhile if things haven’t been labeled, I just throw it out because it morphs into some weird icy thing that is beyond recognition.) So, just label it! Then, if you don’t finish all the canned goods before you process more of the same thing next year, you can make sure to eat the oldest food first.
My husband’s cousin taught me this great trick to write on a bunch of generic labels. I used fluorescent circle labels we had on hand, wrote what they were and when they were made, cut them in half and slapped them on.

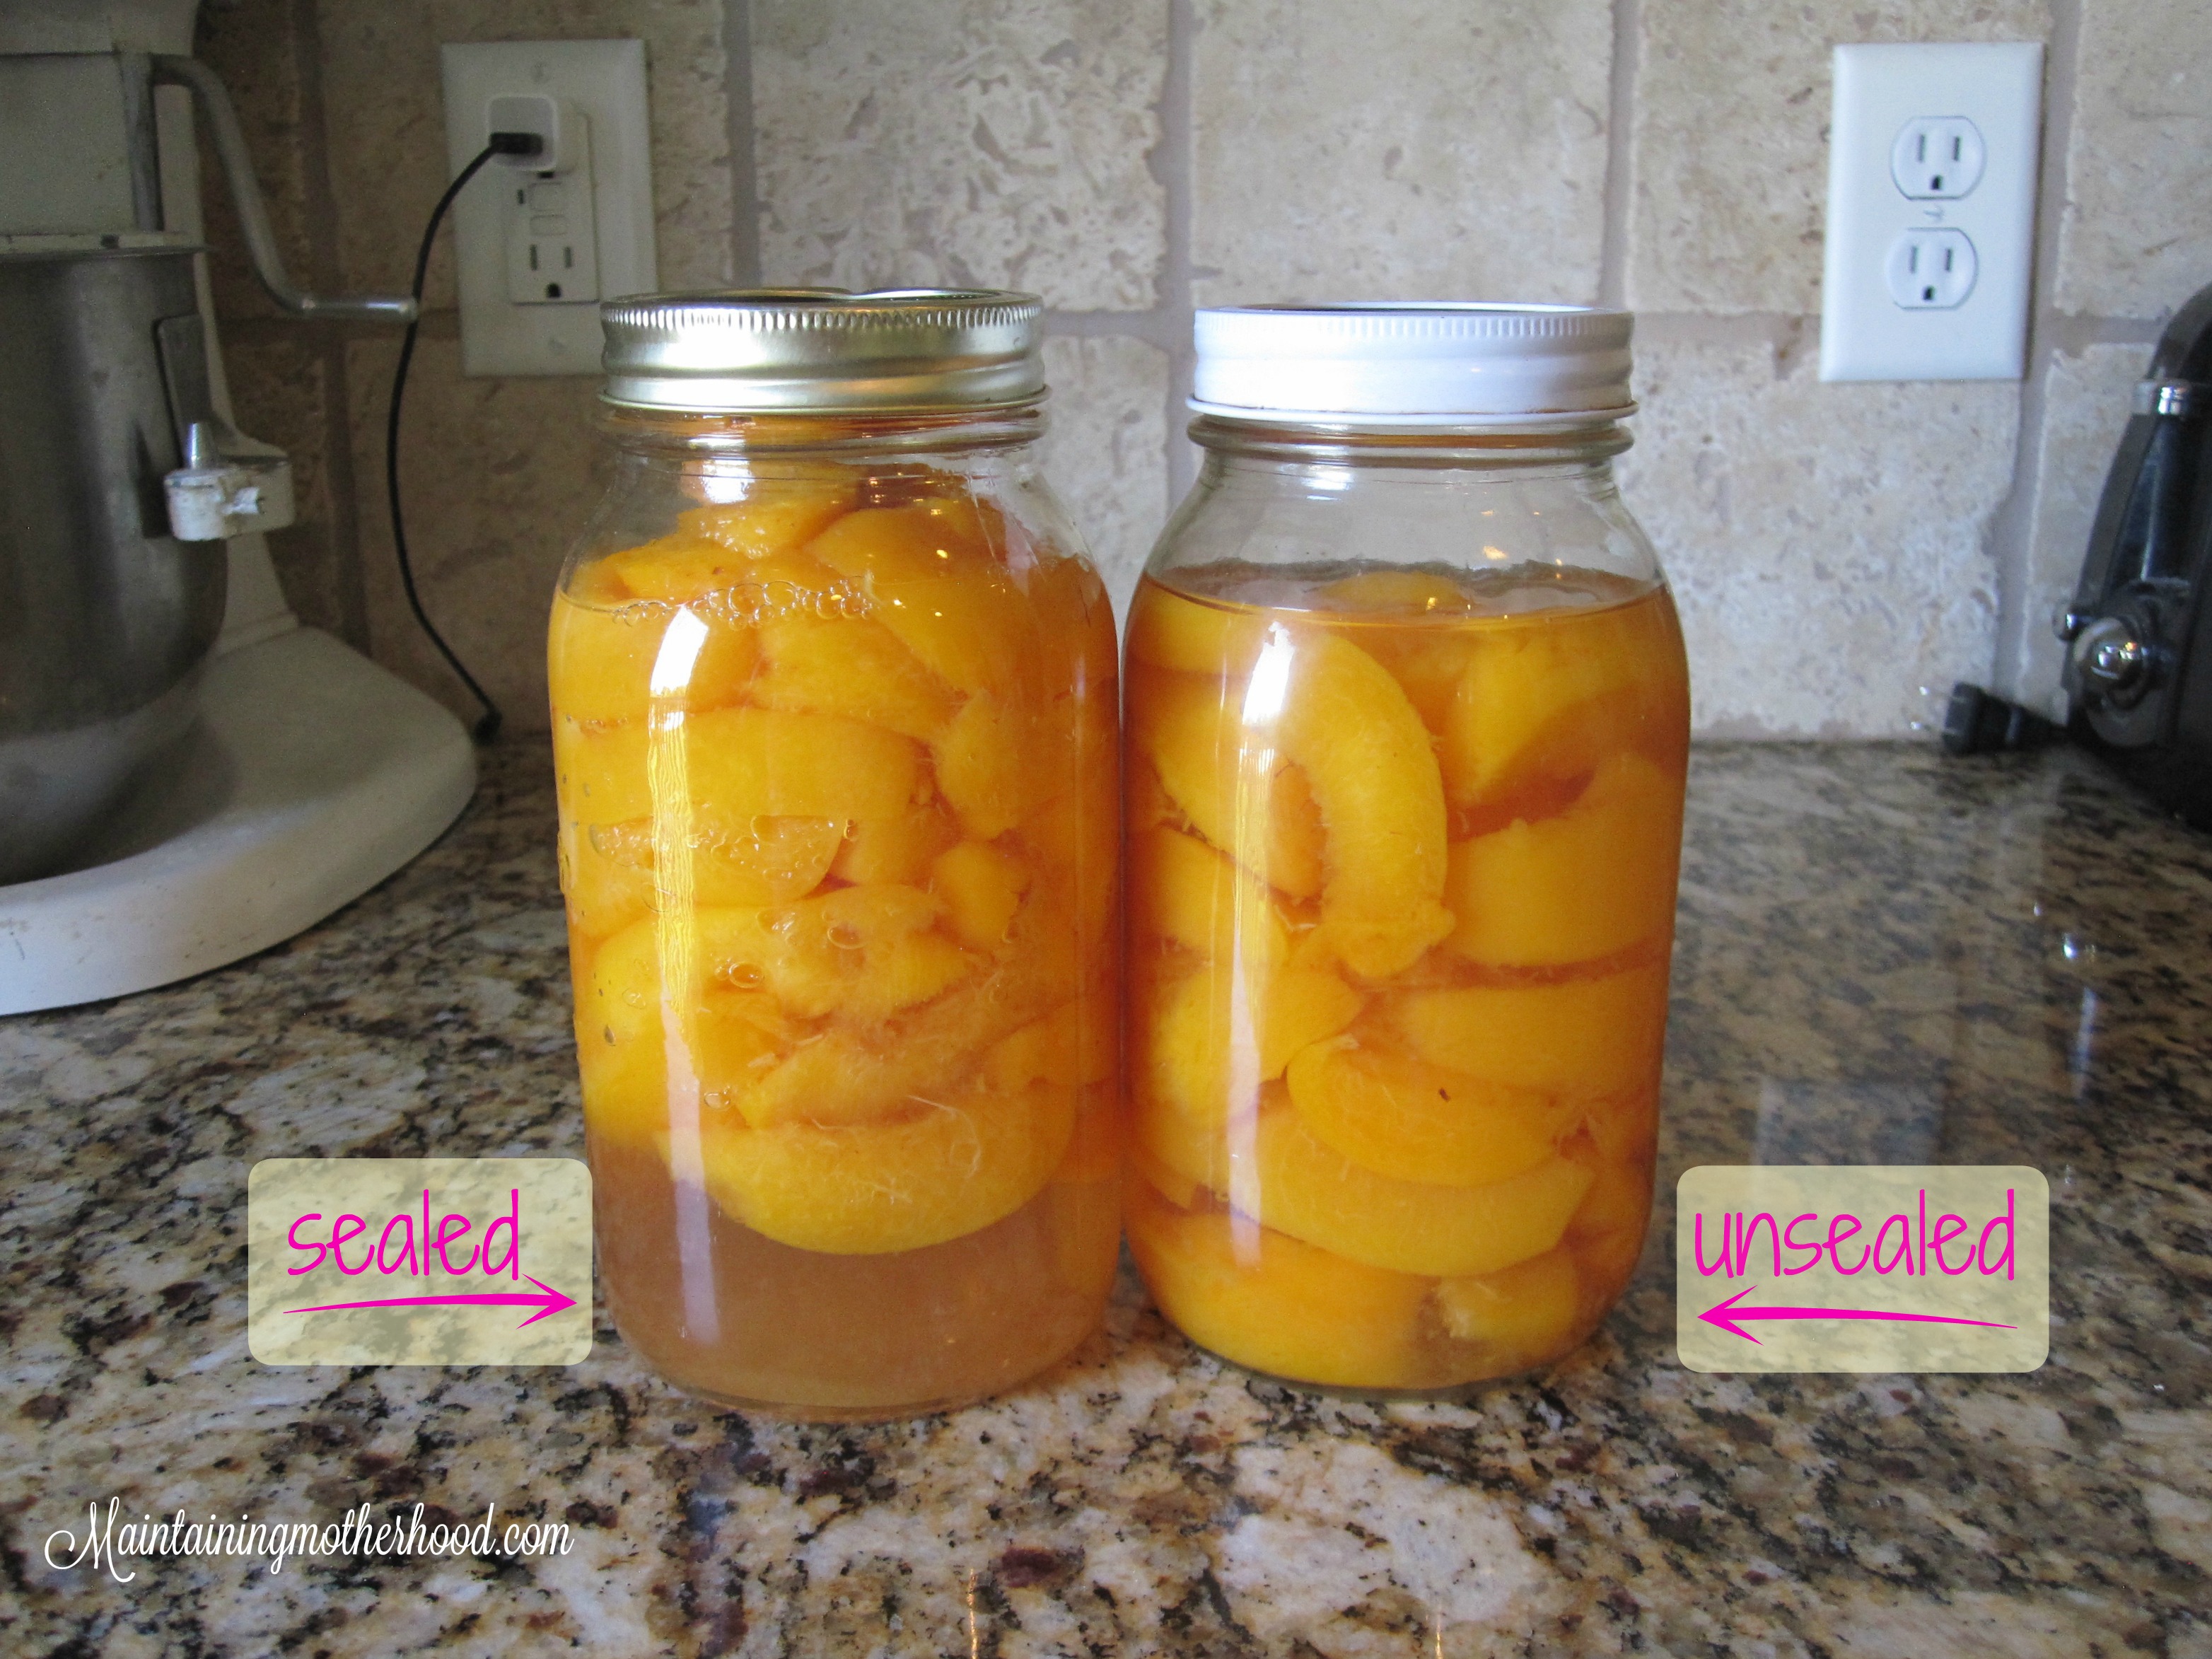
When I am putting my food away, I always check 2 things that help me know if the jar has sealed or not.
- The lid on top is firm. If you can push it and it makes a popping sounds, it is not sealed.
- The fruit is floating. The lid may still feel sealed, even though it isn’t completely.
If I have enough jars that haven’t sealed properly, I will process that batch again the next day, or store those jars in the fridge and enjoy them within a week or so.
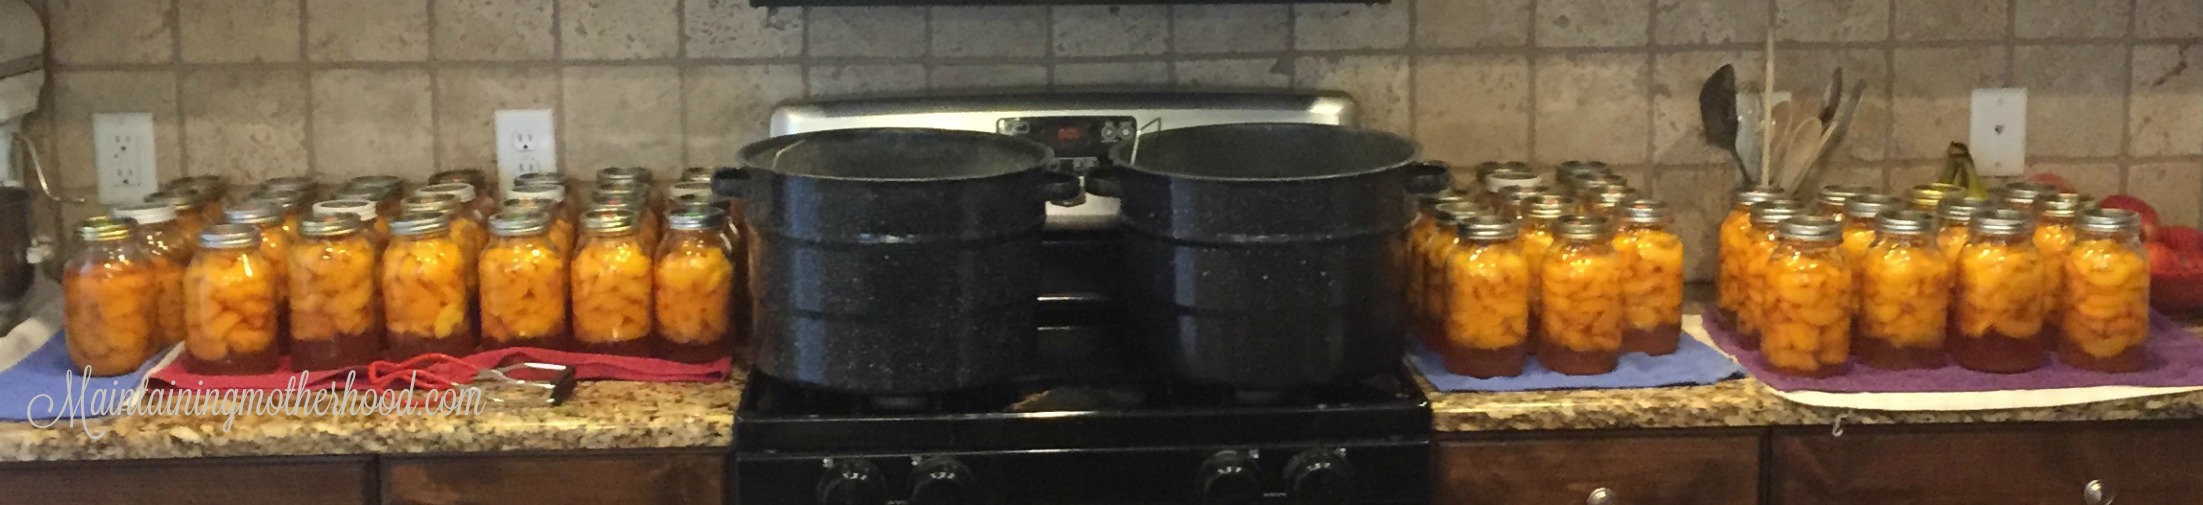
So, how did I do this year? I canned from about noon to 10:30 PM and then stayed up until about 12:30 processing the rest. I did get lonely after the kids were in bed and had a couple friends come over and help me which was awesome! In one day, we put up 54 quarts of peaches!
Hopefully you are feeling like you can conquer the world of canning peaches! We have already enjoyed them straight from the jar, in smoothies, and in a peach crisp! Yum!
How do you like to eat your canned peaches?


Thank you! This was very helpful.
You’re welcome! I’m so glad it was helpful!