Do you want an easy recipe to make delicious homemade applesauce? Here are 10 simple steps to walk you through how to can your own applesauce!
(This post contains affiliate links)
It’s apple season! We LOVE apples: dried, pies, crisps, applesauce, we love it all! Things get a bit crazy as we try to preserve the deliciousness of fresh fruit to last until the next harvest. Just like with canning peaches, I have outlined 10 simple steps to walk you through how to can your applesauce.
Step 1. Find Fruit. Preferably Free Fruit
We have been getting apples for the past 6 years from the same orchard. It provides the whole experience for us: kids climbing up ladders, throwing sticks for the dog, and being chased by sheep. It’s a fun time had by all! Unfortunately, this year they didn’t have a good crop, so looks like we will be driving around knocking on random people’s door asking if they are going to use their fruit!
Step 2. Pick Fruit
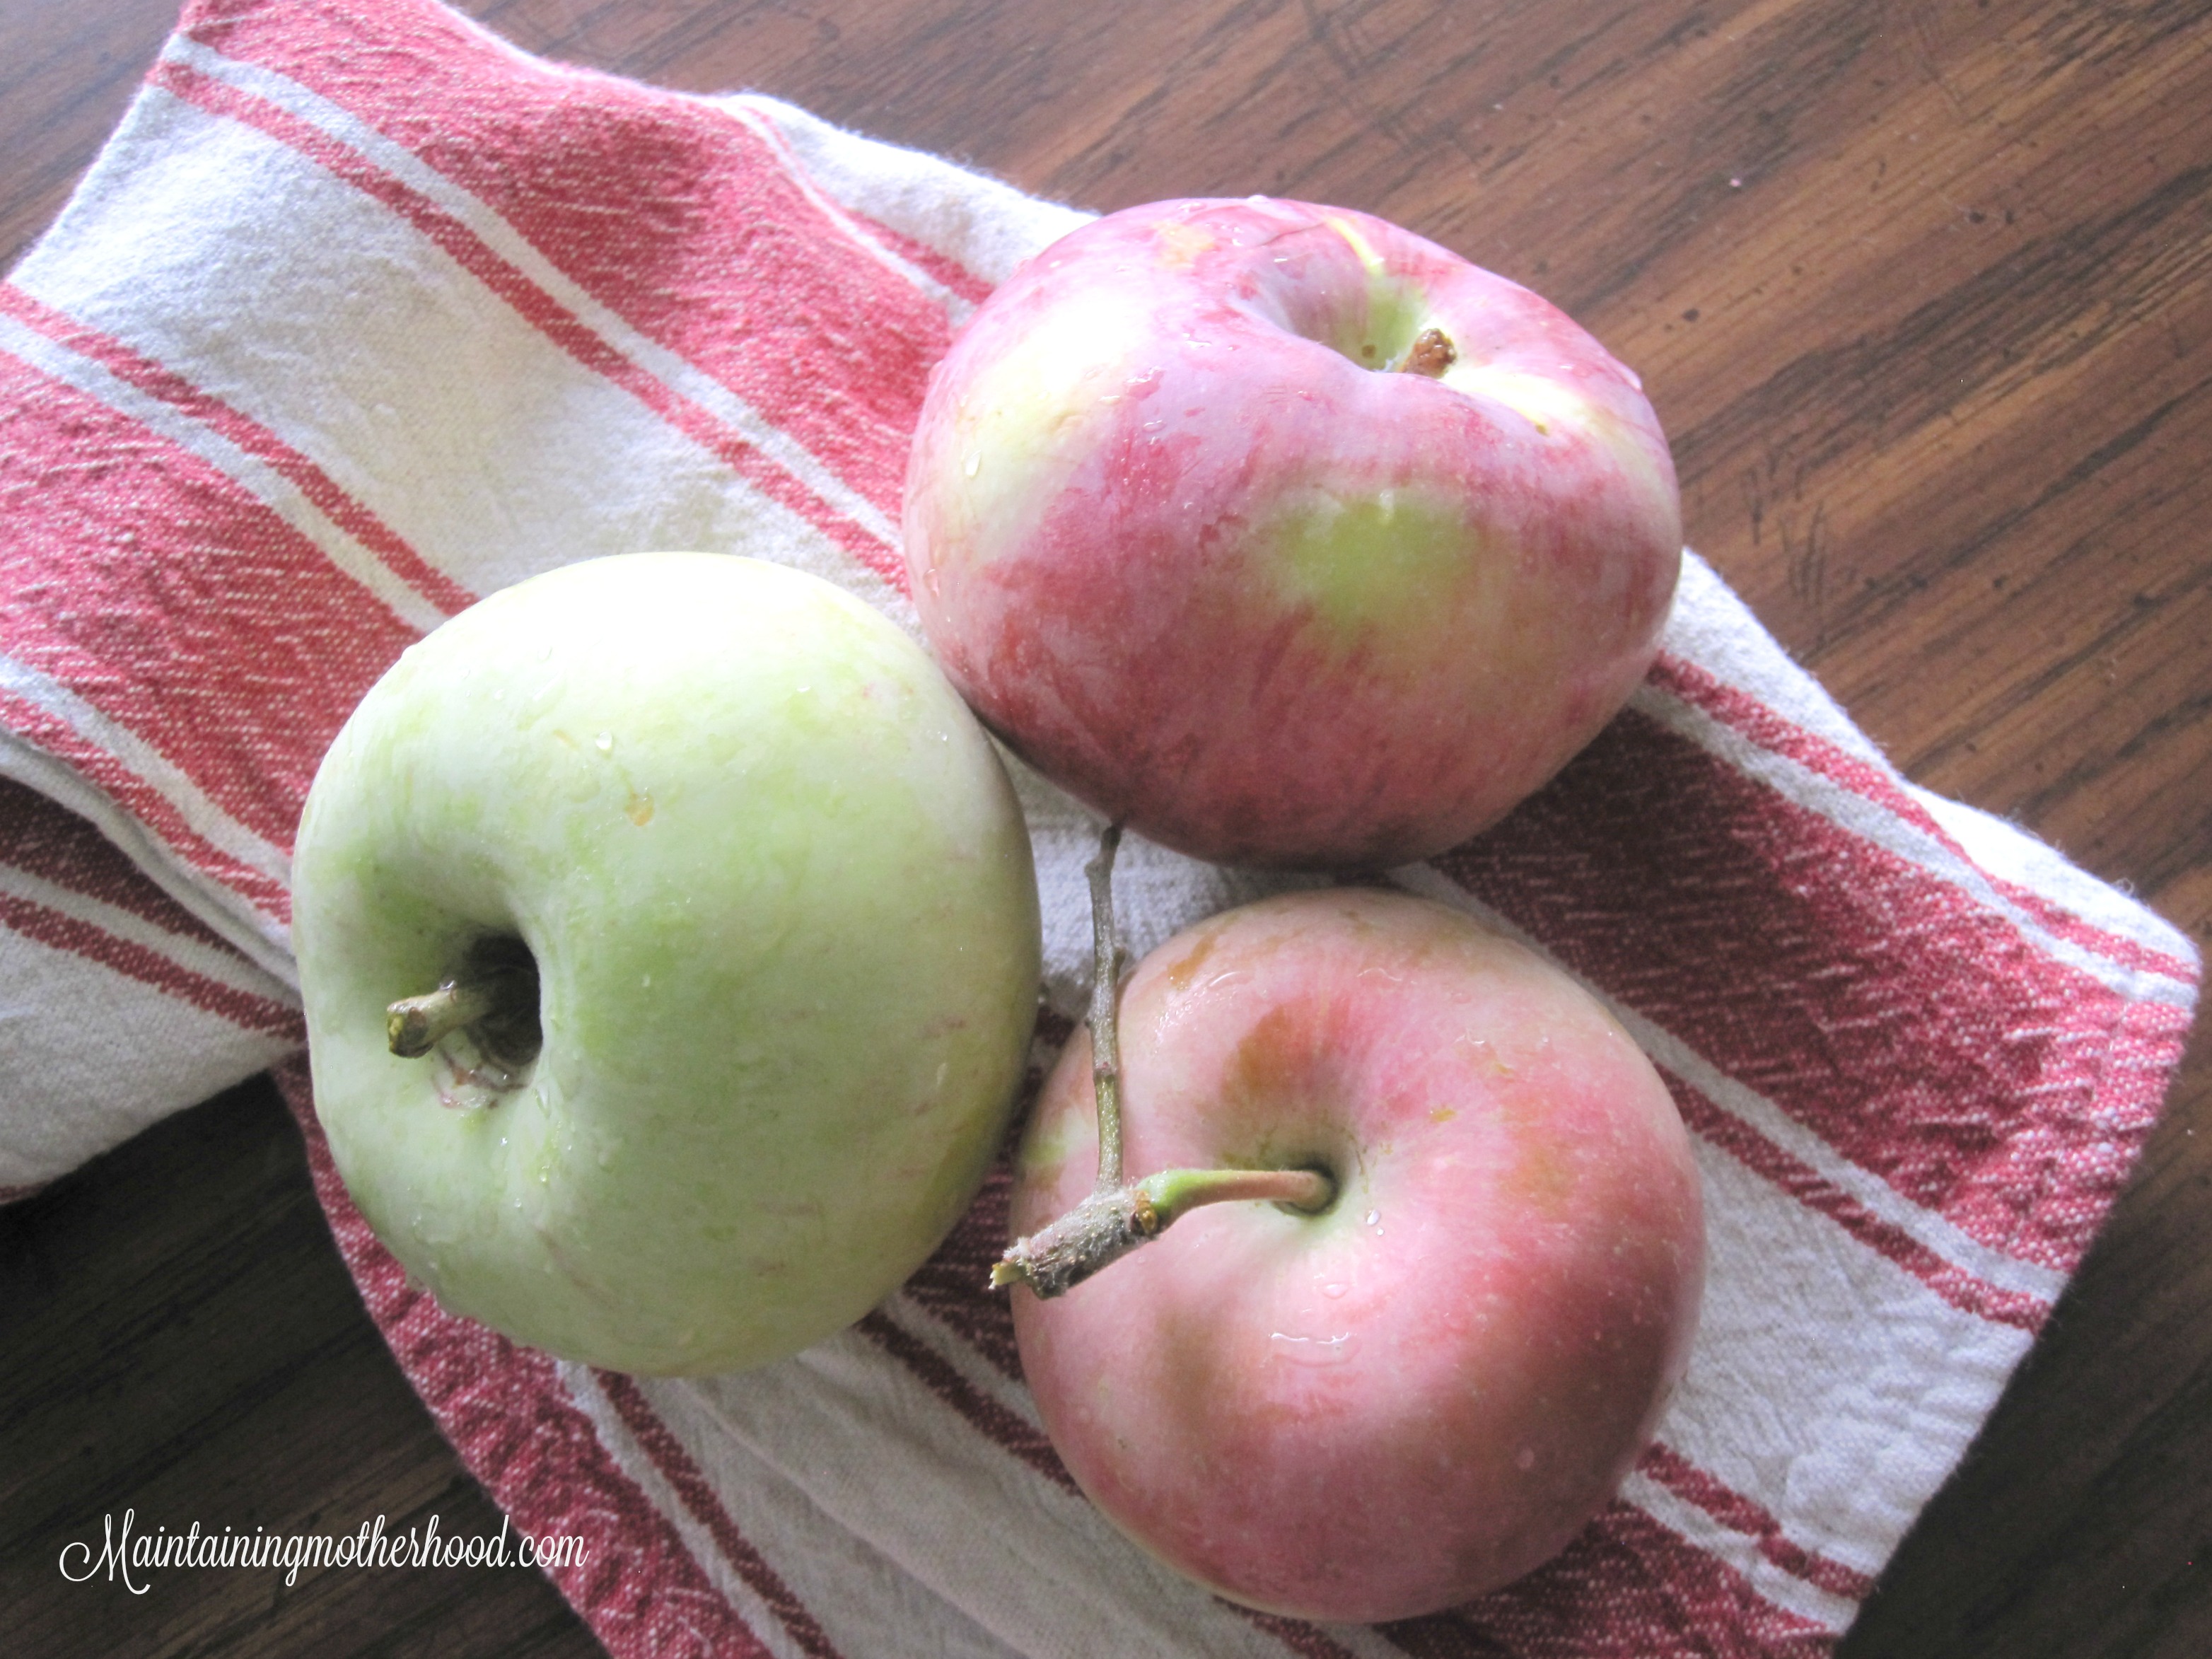
The apples that we usually get are the BEST apples I have ever canned applesauce with. The variety we get are Banana Apples. They are huge, and delicious. They are great because they are crisp and tart enough for pies, and they make a nice, thick applesauce.
We tried Red Delicious and Fuji this year too, but the banana apples were by far the best!
Step 3. Clean Kitchen, Sterilize Jars, Set Up Stations
Scrub kitchen sinks, clear the counters off, and have a load of jars washing and sterilizing in the dishwasher. Then set up stations for:
washing–colander in the sink
cutting and coring–cutting board, apple corer and slicer, knife
boiling-bring half a large pot to boil on the stove
straining-set up the Victorio strainer
sterilizing lids and rings-bring a small pot of water to boiling, add a few rings (free of rust and dents) and lids (brand new unless specifically made to be reused) and reduce heat to simmer
cooling-thick towel layers on the counter that will not be disturbed for 24 hours
Step 4. Wash Apples
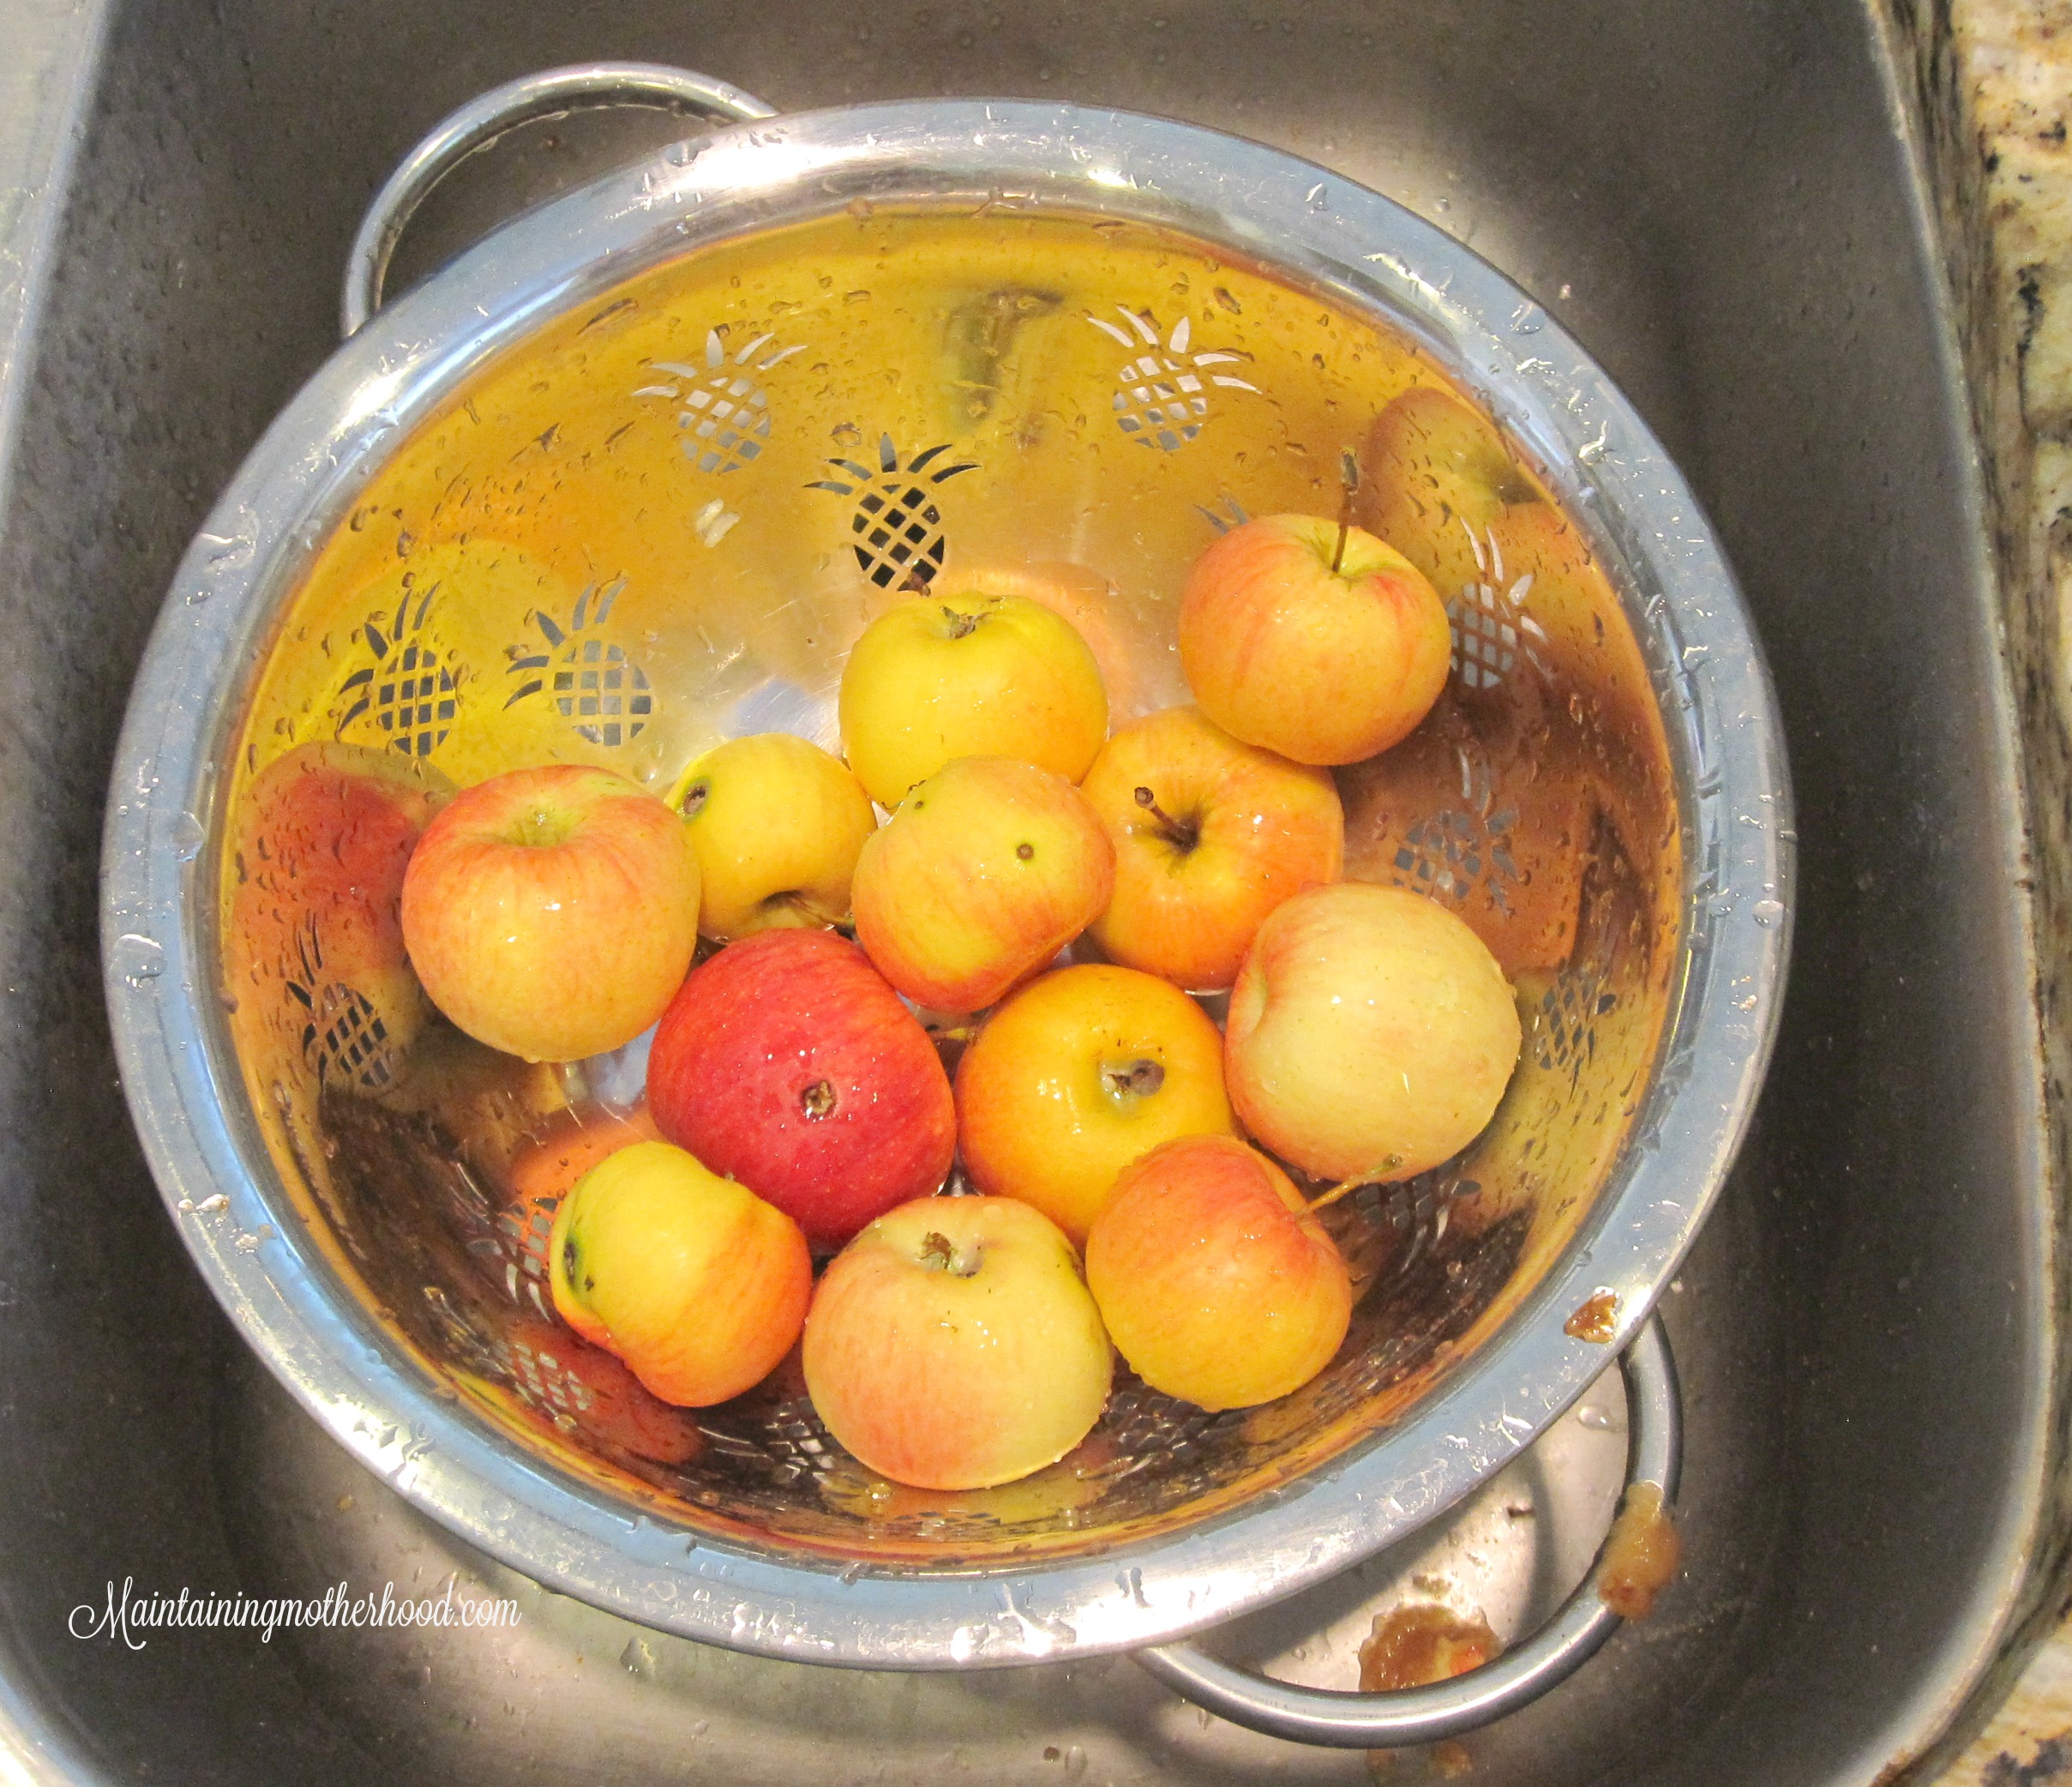
I love to use my colander because it holds the perfect amount of chopped apples to fill up the boiling pot again. You can just as easily fill up a kitchen sink and wash them there.
Step 5. Cut and Core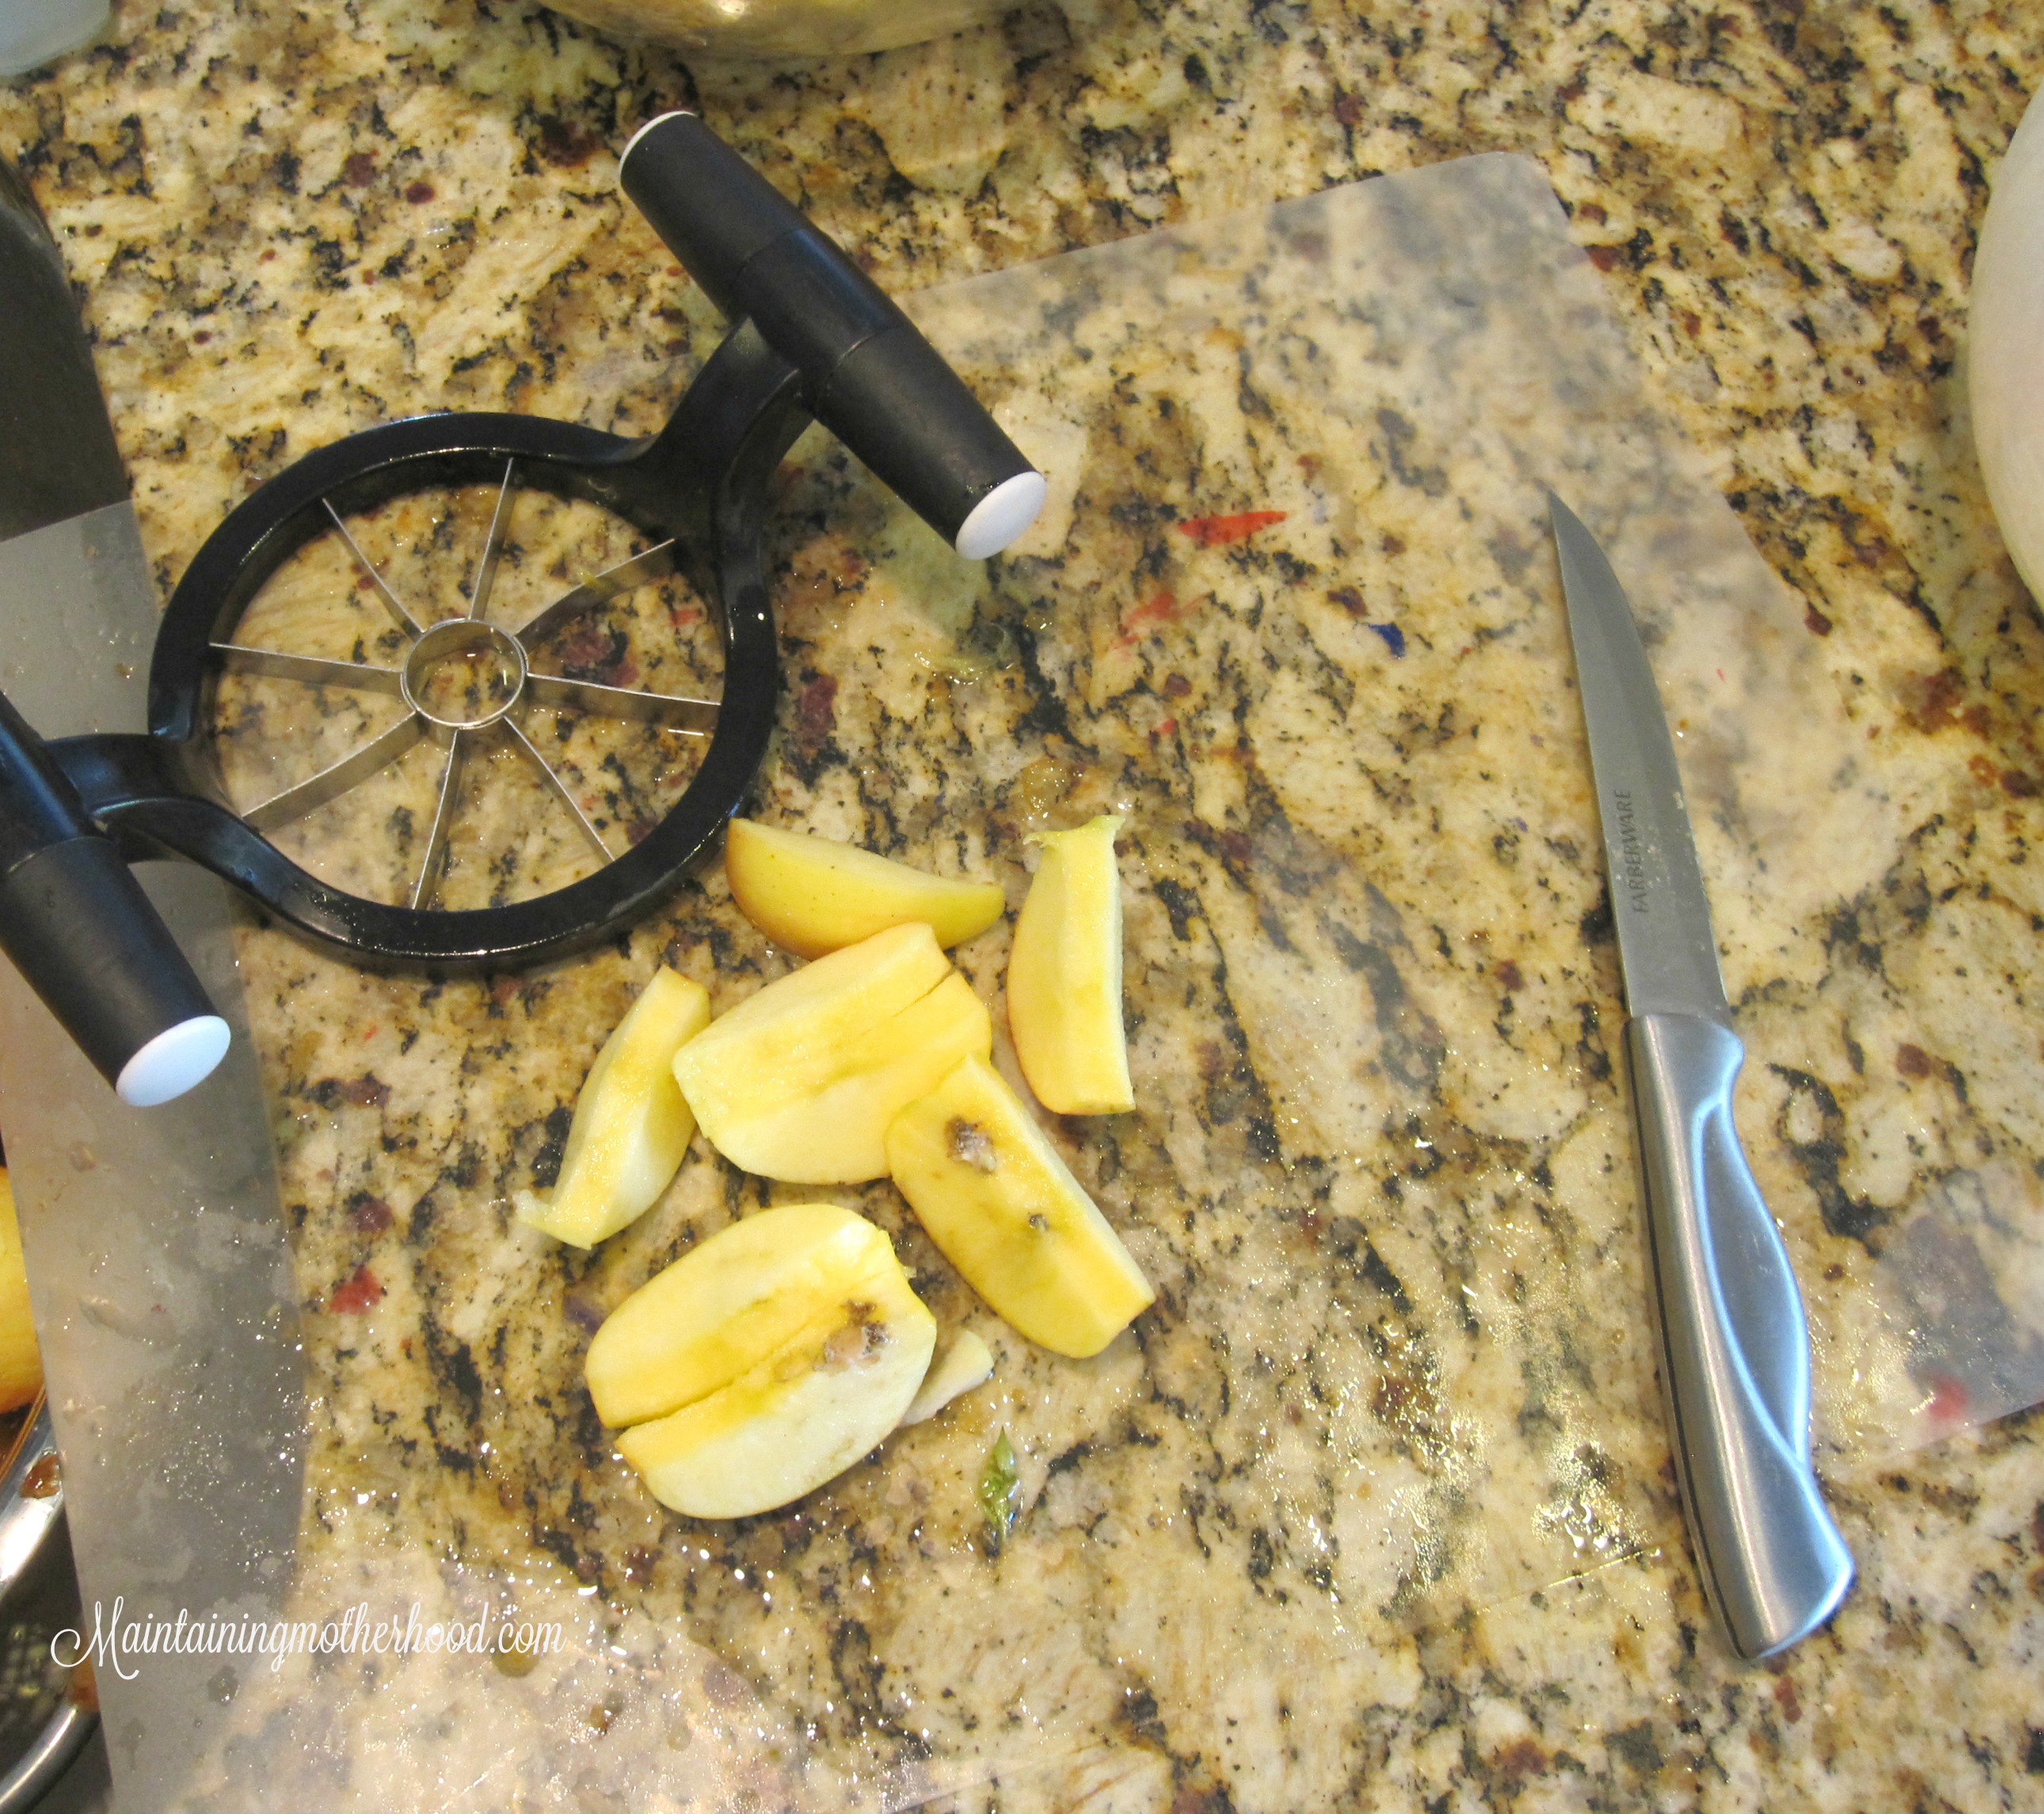
Check over the apples and cut out any visible bruising. Then, use a corer/slicer to get rid of the core and easily see how good the inside is. Unfortunately my good corer/slicer broke last year after many years, so I just had this one. Make sure you have a good corer/slicer that has a blade that sits flush with your cutting board. After they are sliced, take the time to cut out any worm holes or other gross parts. (I purposely left some worm holes in the apples pictured to show how easy it is to cut those parts out once the apples are sliced)
Step 6. Boil
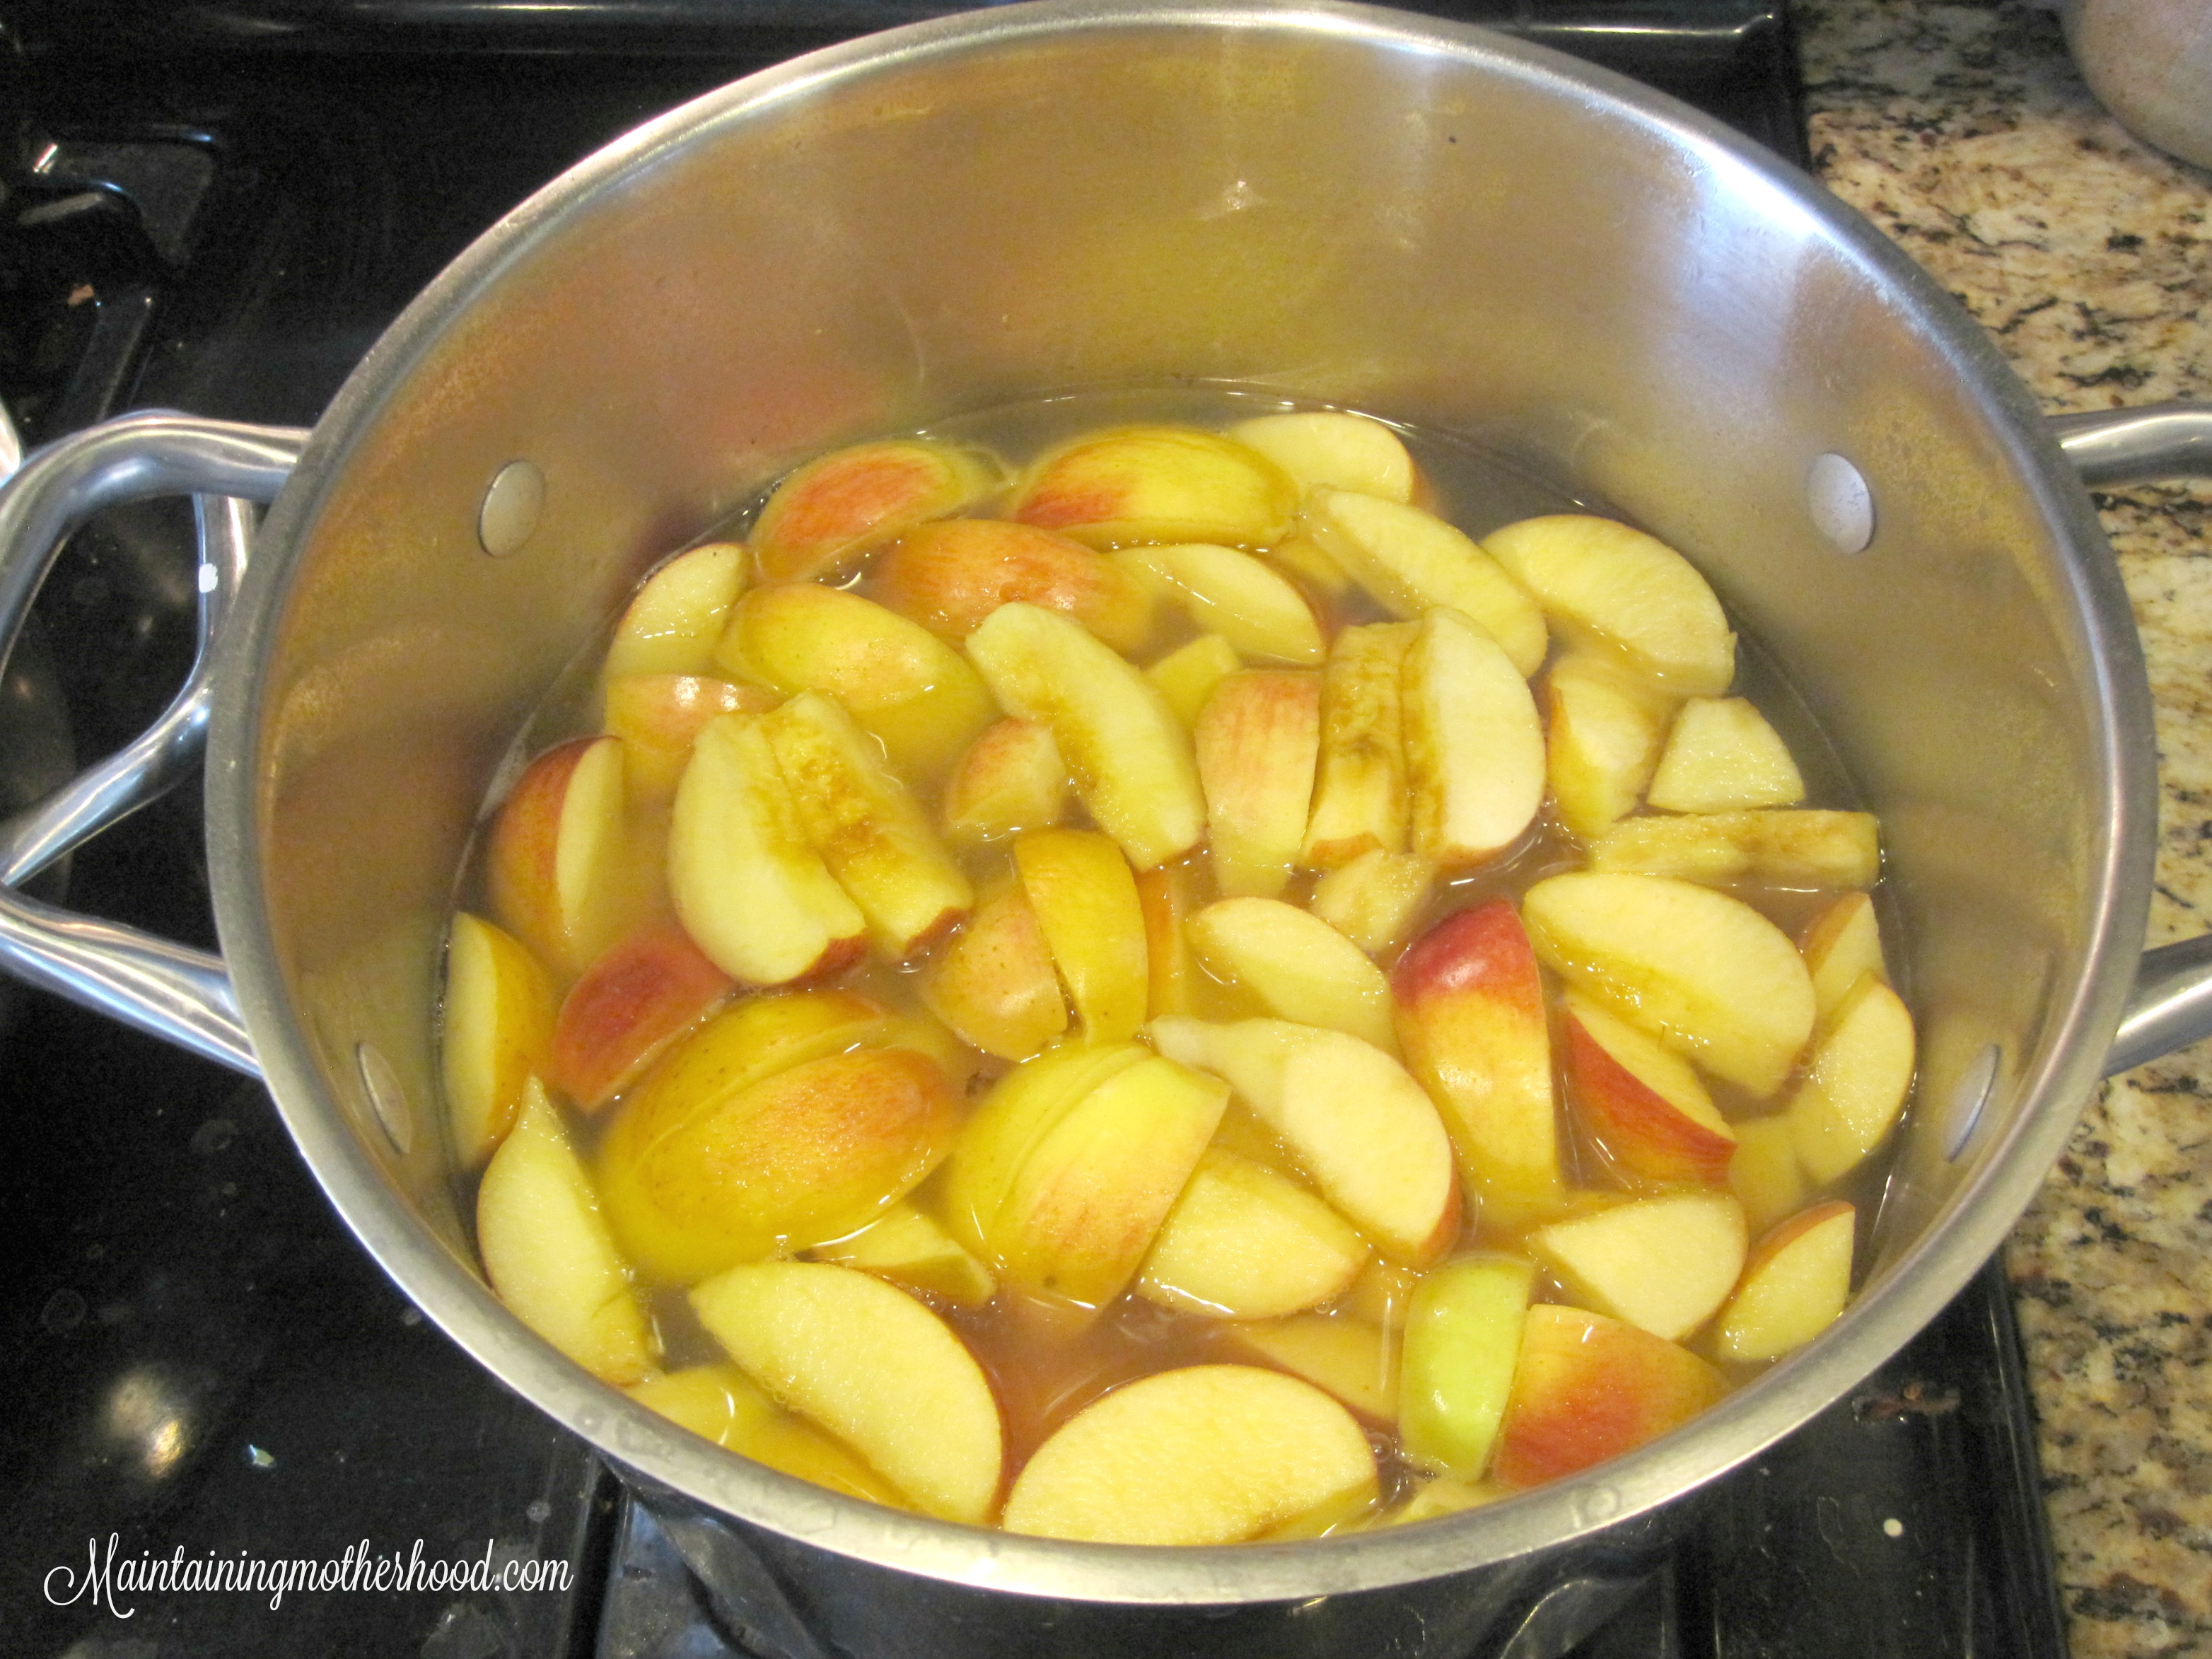
Put the apple slices into boiling water and wait until the water reaches a boil again. Cooking time will vary depending on how many apple slices you put in at once. Try to get as little of the water out of the pot as possible, scooping them out with a slotted spoon and using that same water to boil the next batch of apple slices.
Step 7. Strain
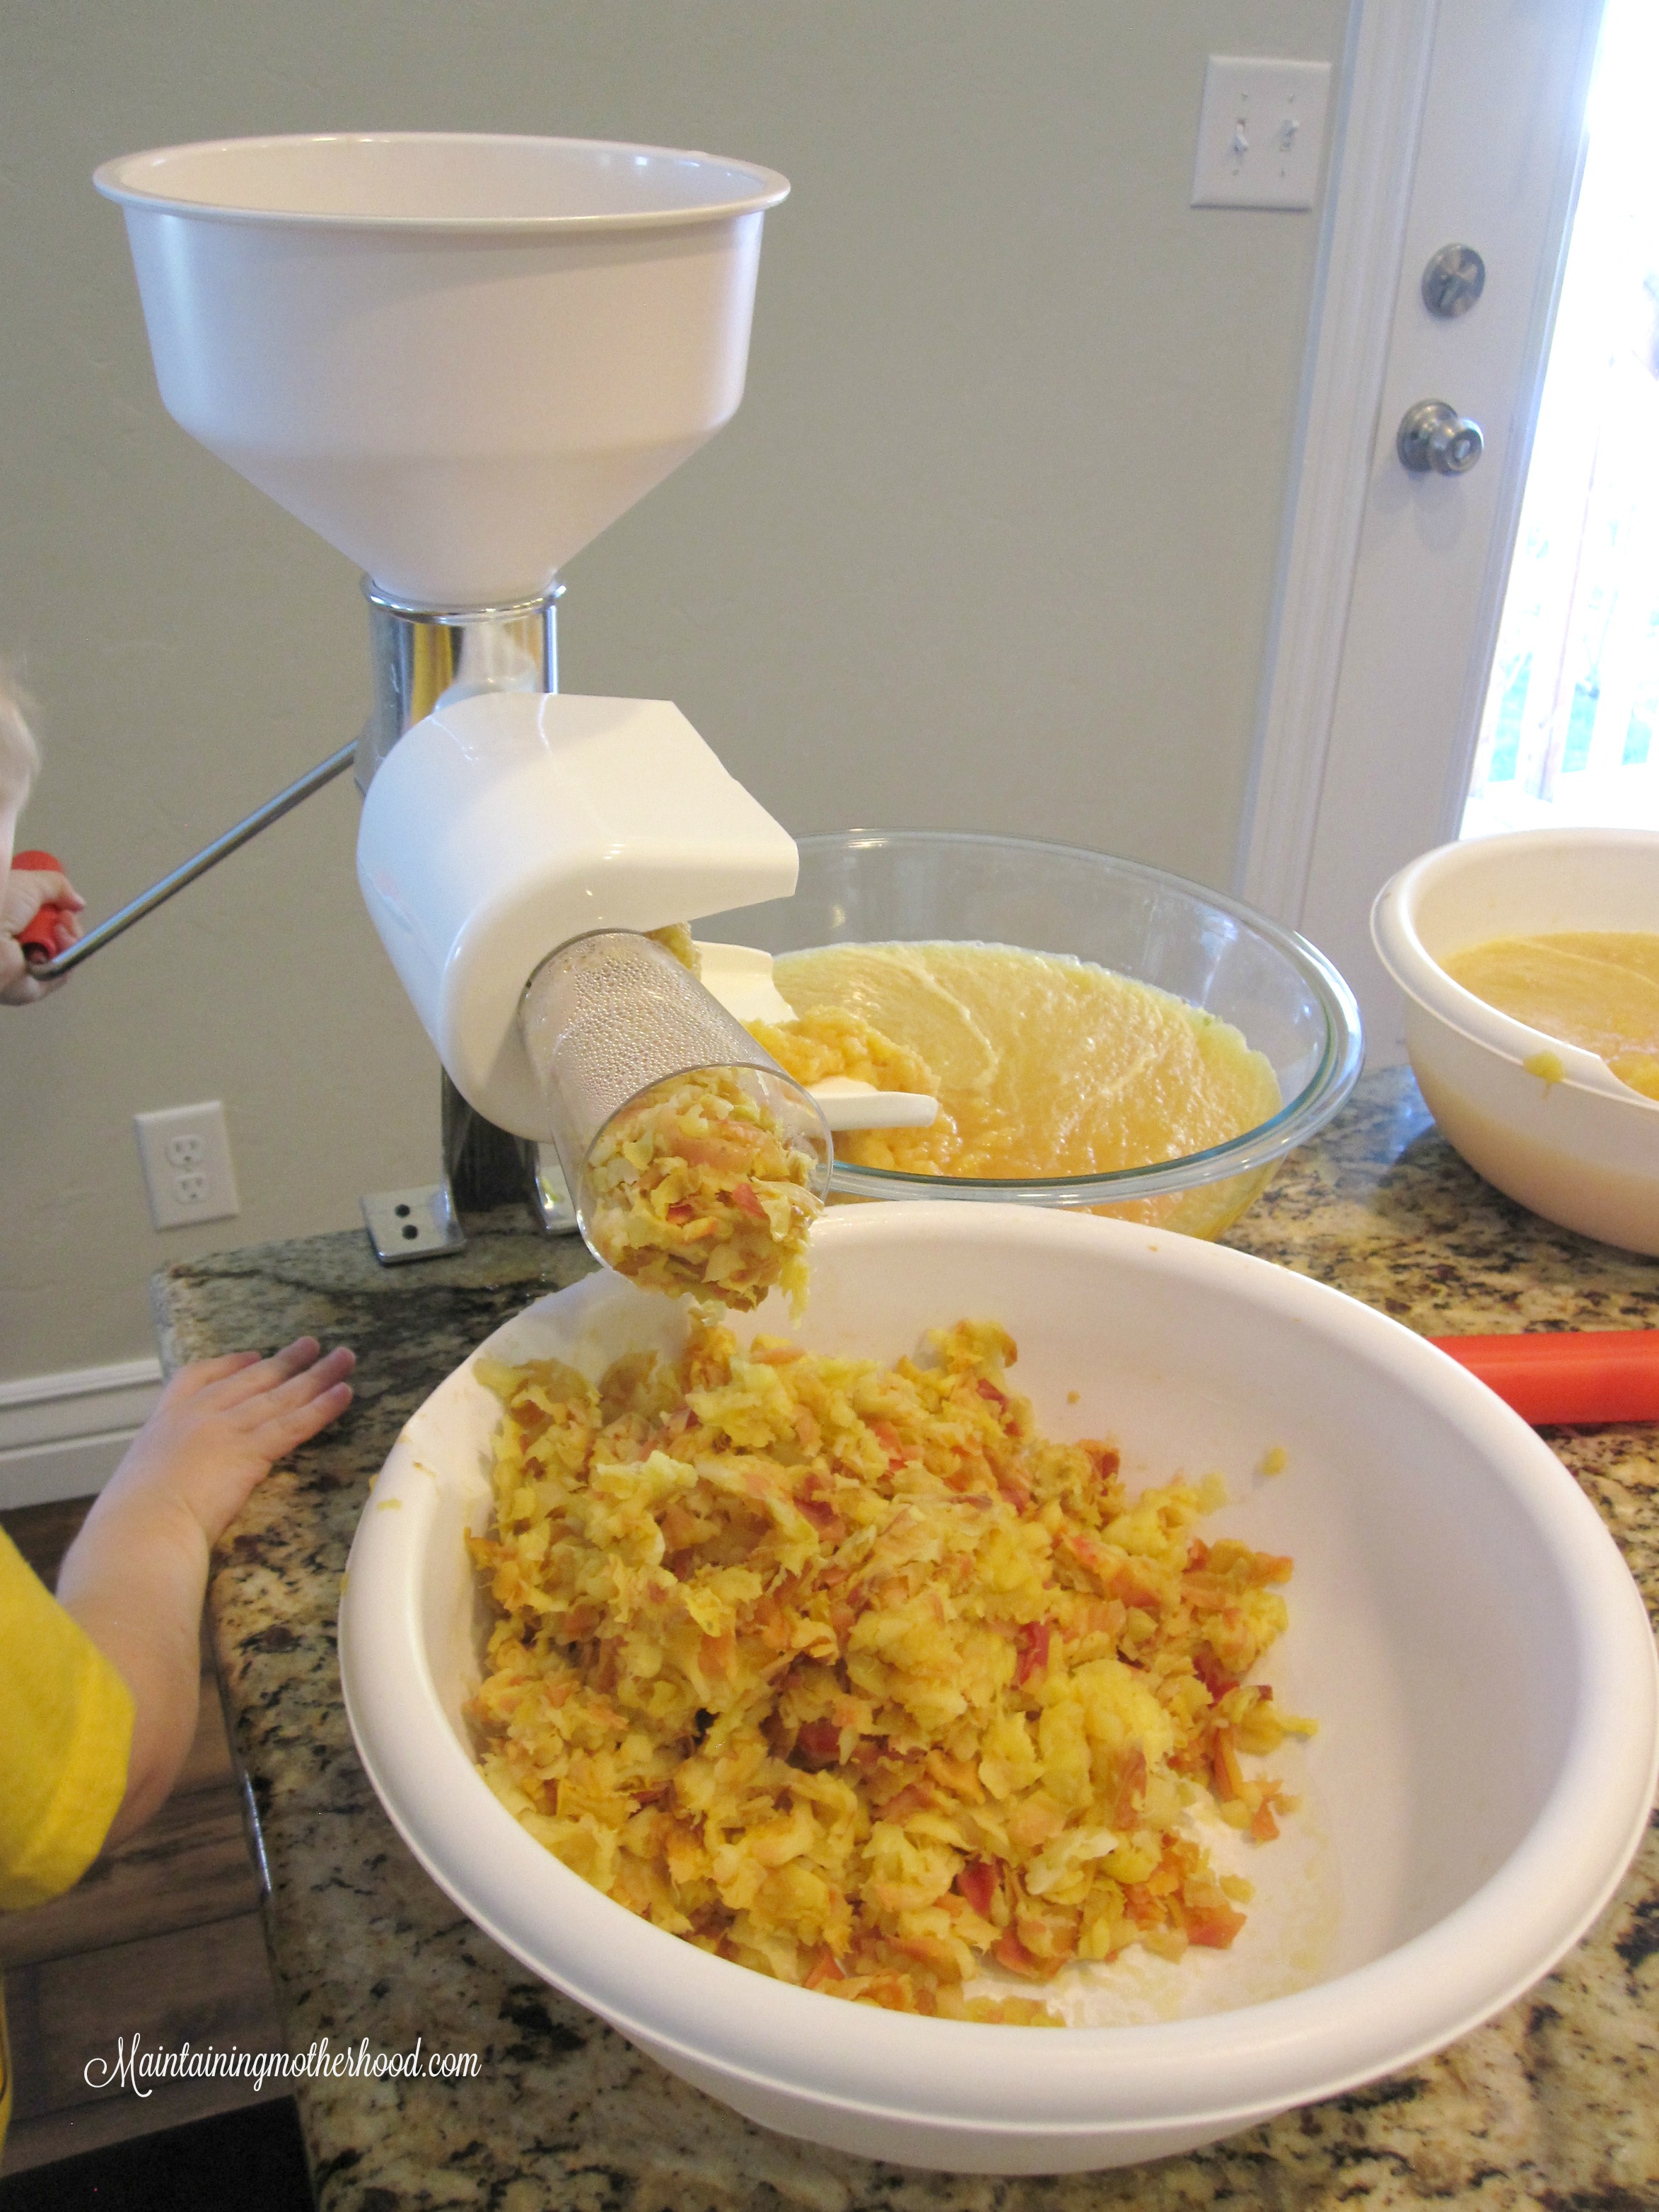
I use a Victorio Strainer which works wonders. I don’t have to worry about peeling my apples, or getting every little bit of the core out because the strainer will take that all out for me. If you like super smooth applesauce, this is the way to go.
My kids love manning this station by themselves. One pushes the apples through the hopper while the other turns the crank. While they crank the apples through the strainer, I scoop the applesauce into the jars and put the lids on them.
Step 8. Process the Jars in a Water Bath Canner
Here is a great chart to help you figure out how long to process your applesauce for:
My water bath canner holds 7 jars. I generally have it filled about half-full with hot water. Put the jars in and then fill it the rest of the way with water. You want to make sure the lids are completely covered. Start the timer once a steady stream of steam is coming out from under the lid. You can also reduce the heat at this point, but make sure the water is still boiling inside. I reduce mine to about medium-high. (Because I process one batch right after another, I will remove about half the water in the water bath canner in between batches and fill it up with cold water so the water is now VERY warm, but not hot enough to shatter the jars. This is especially if they have been sitting and waiting their turn for awhile.)
Step 9. Remove Jars From Water Bath Canner
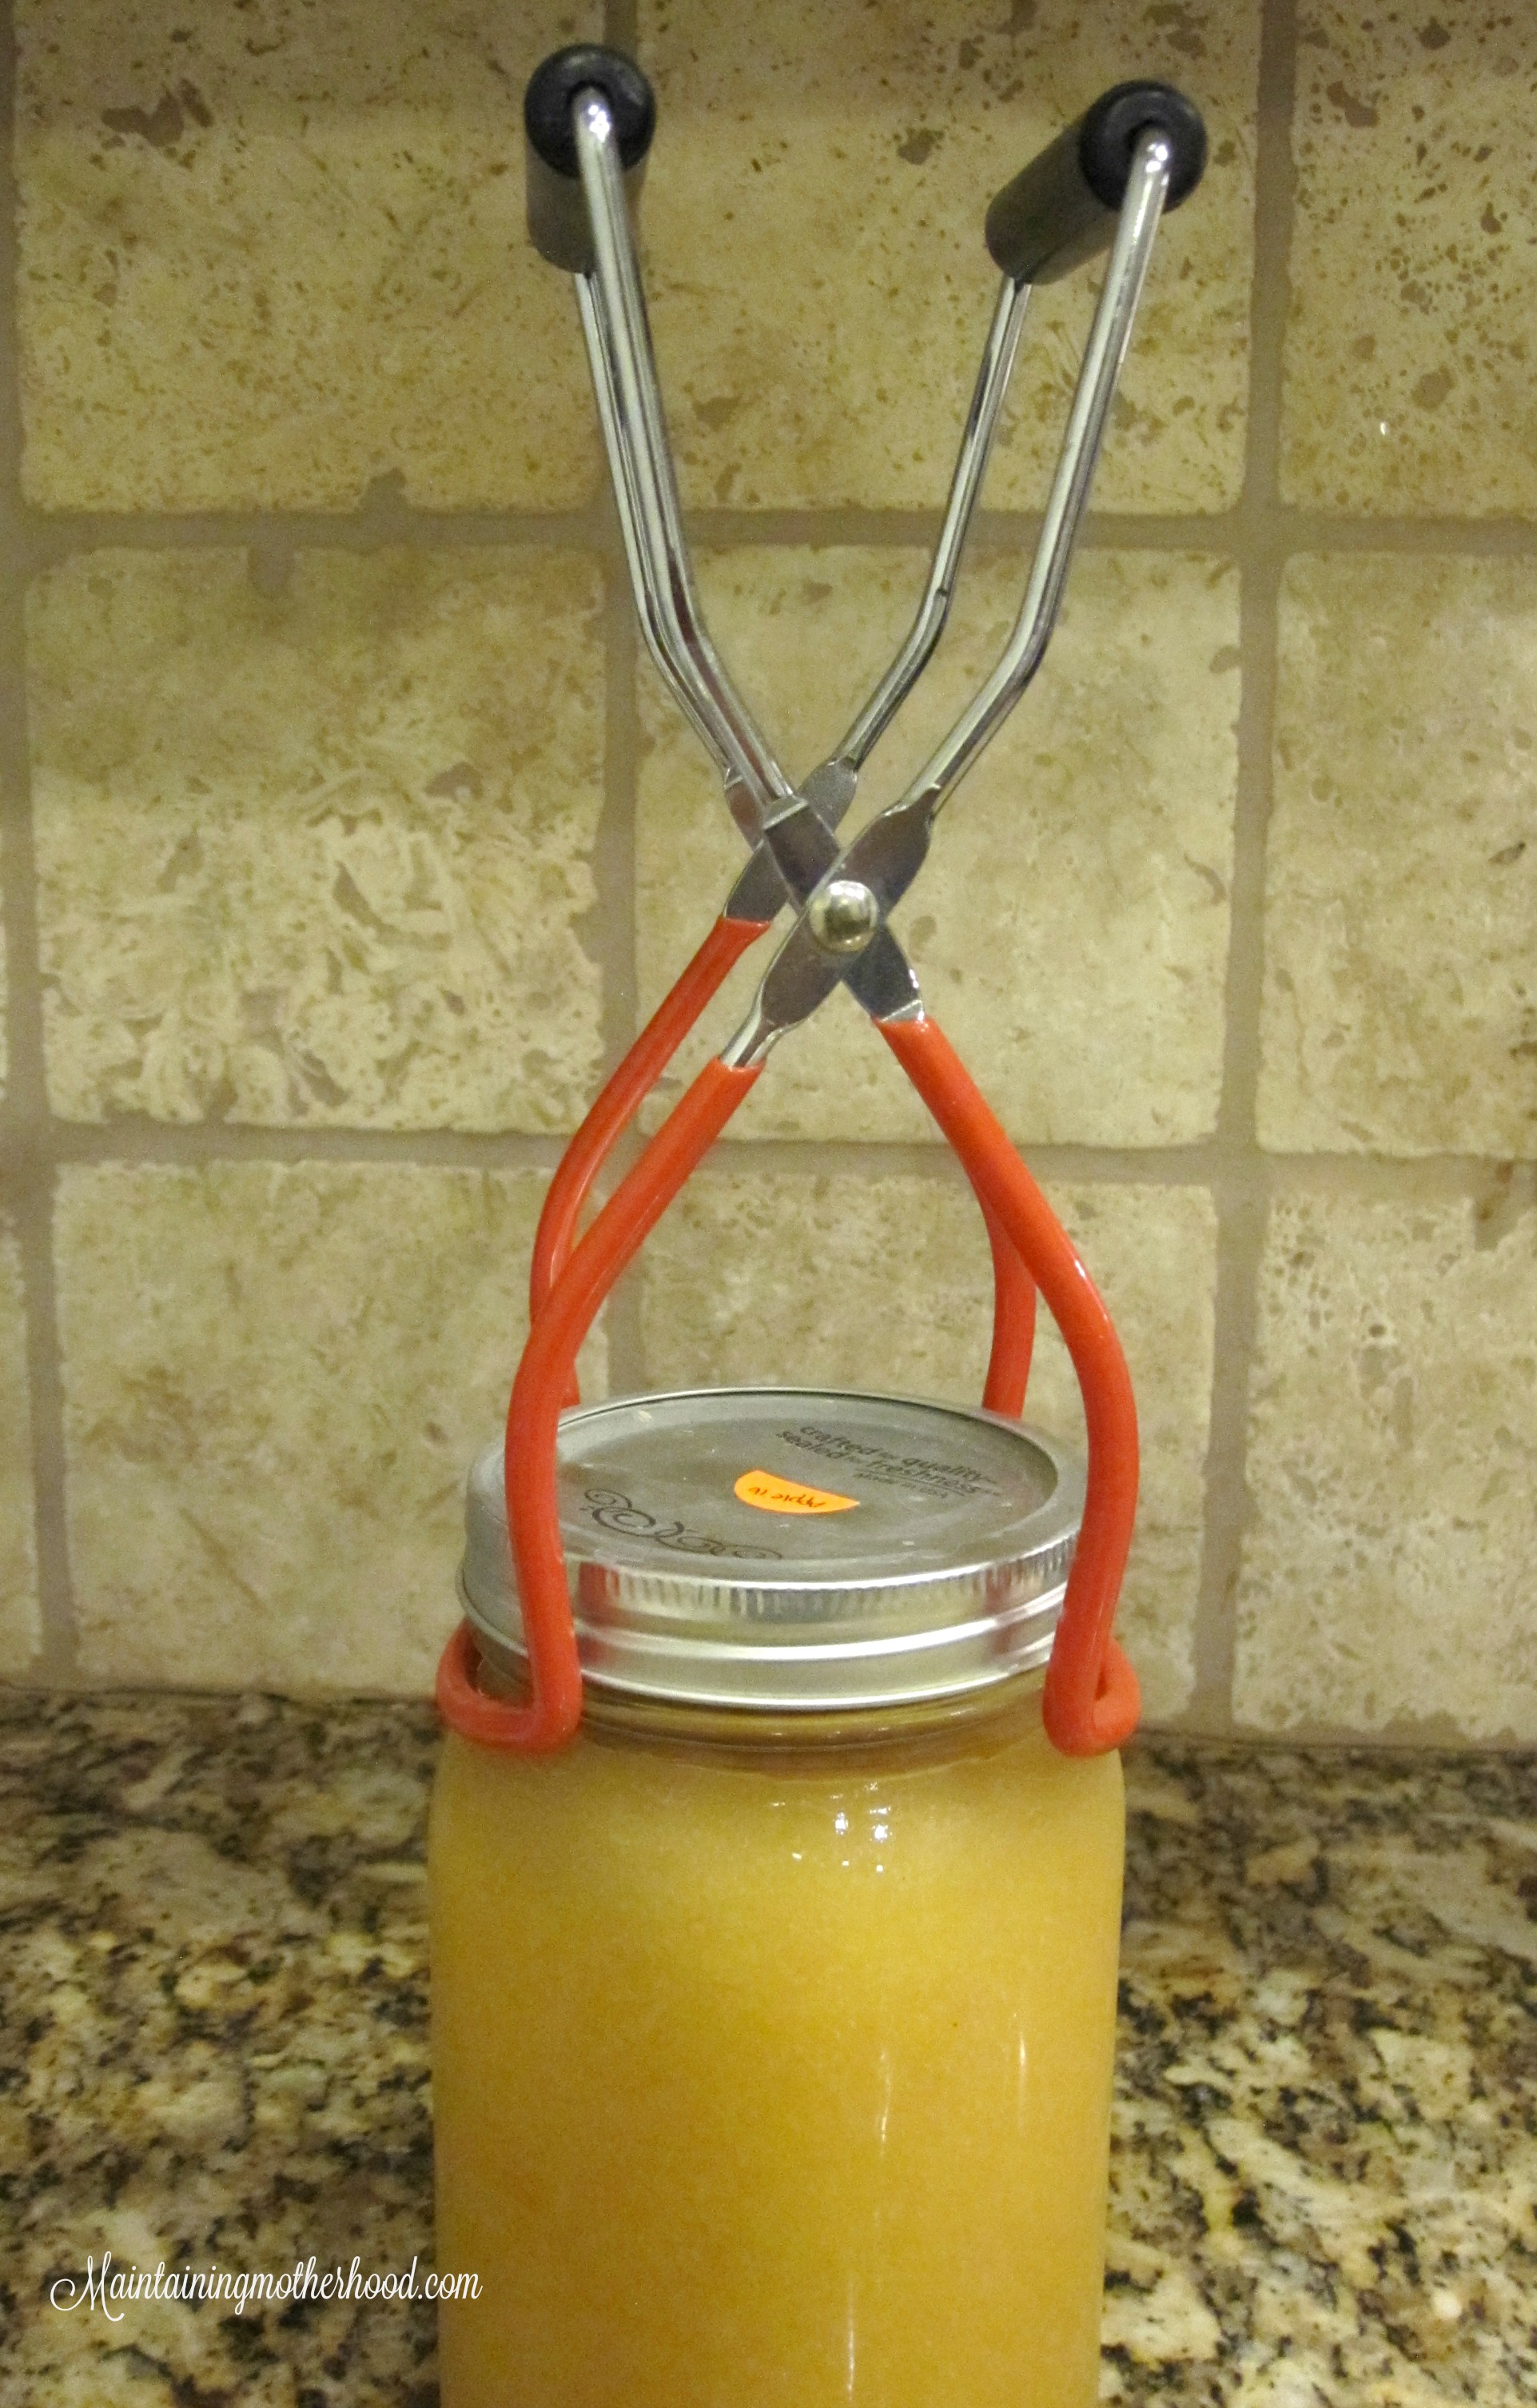
After the jars have been processed, use the special jar tool to remove the jars from the water. You want to make sure the grippy, curved side is the side you are using to pick the jars up. The straight sides will make all your hard work crash to the floor. As you remove them, tip them just a bit so the water on top runs off and then set them in the cooling station cool for 24 hours before storing them.
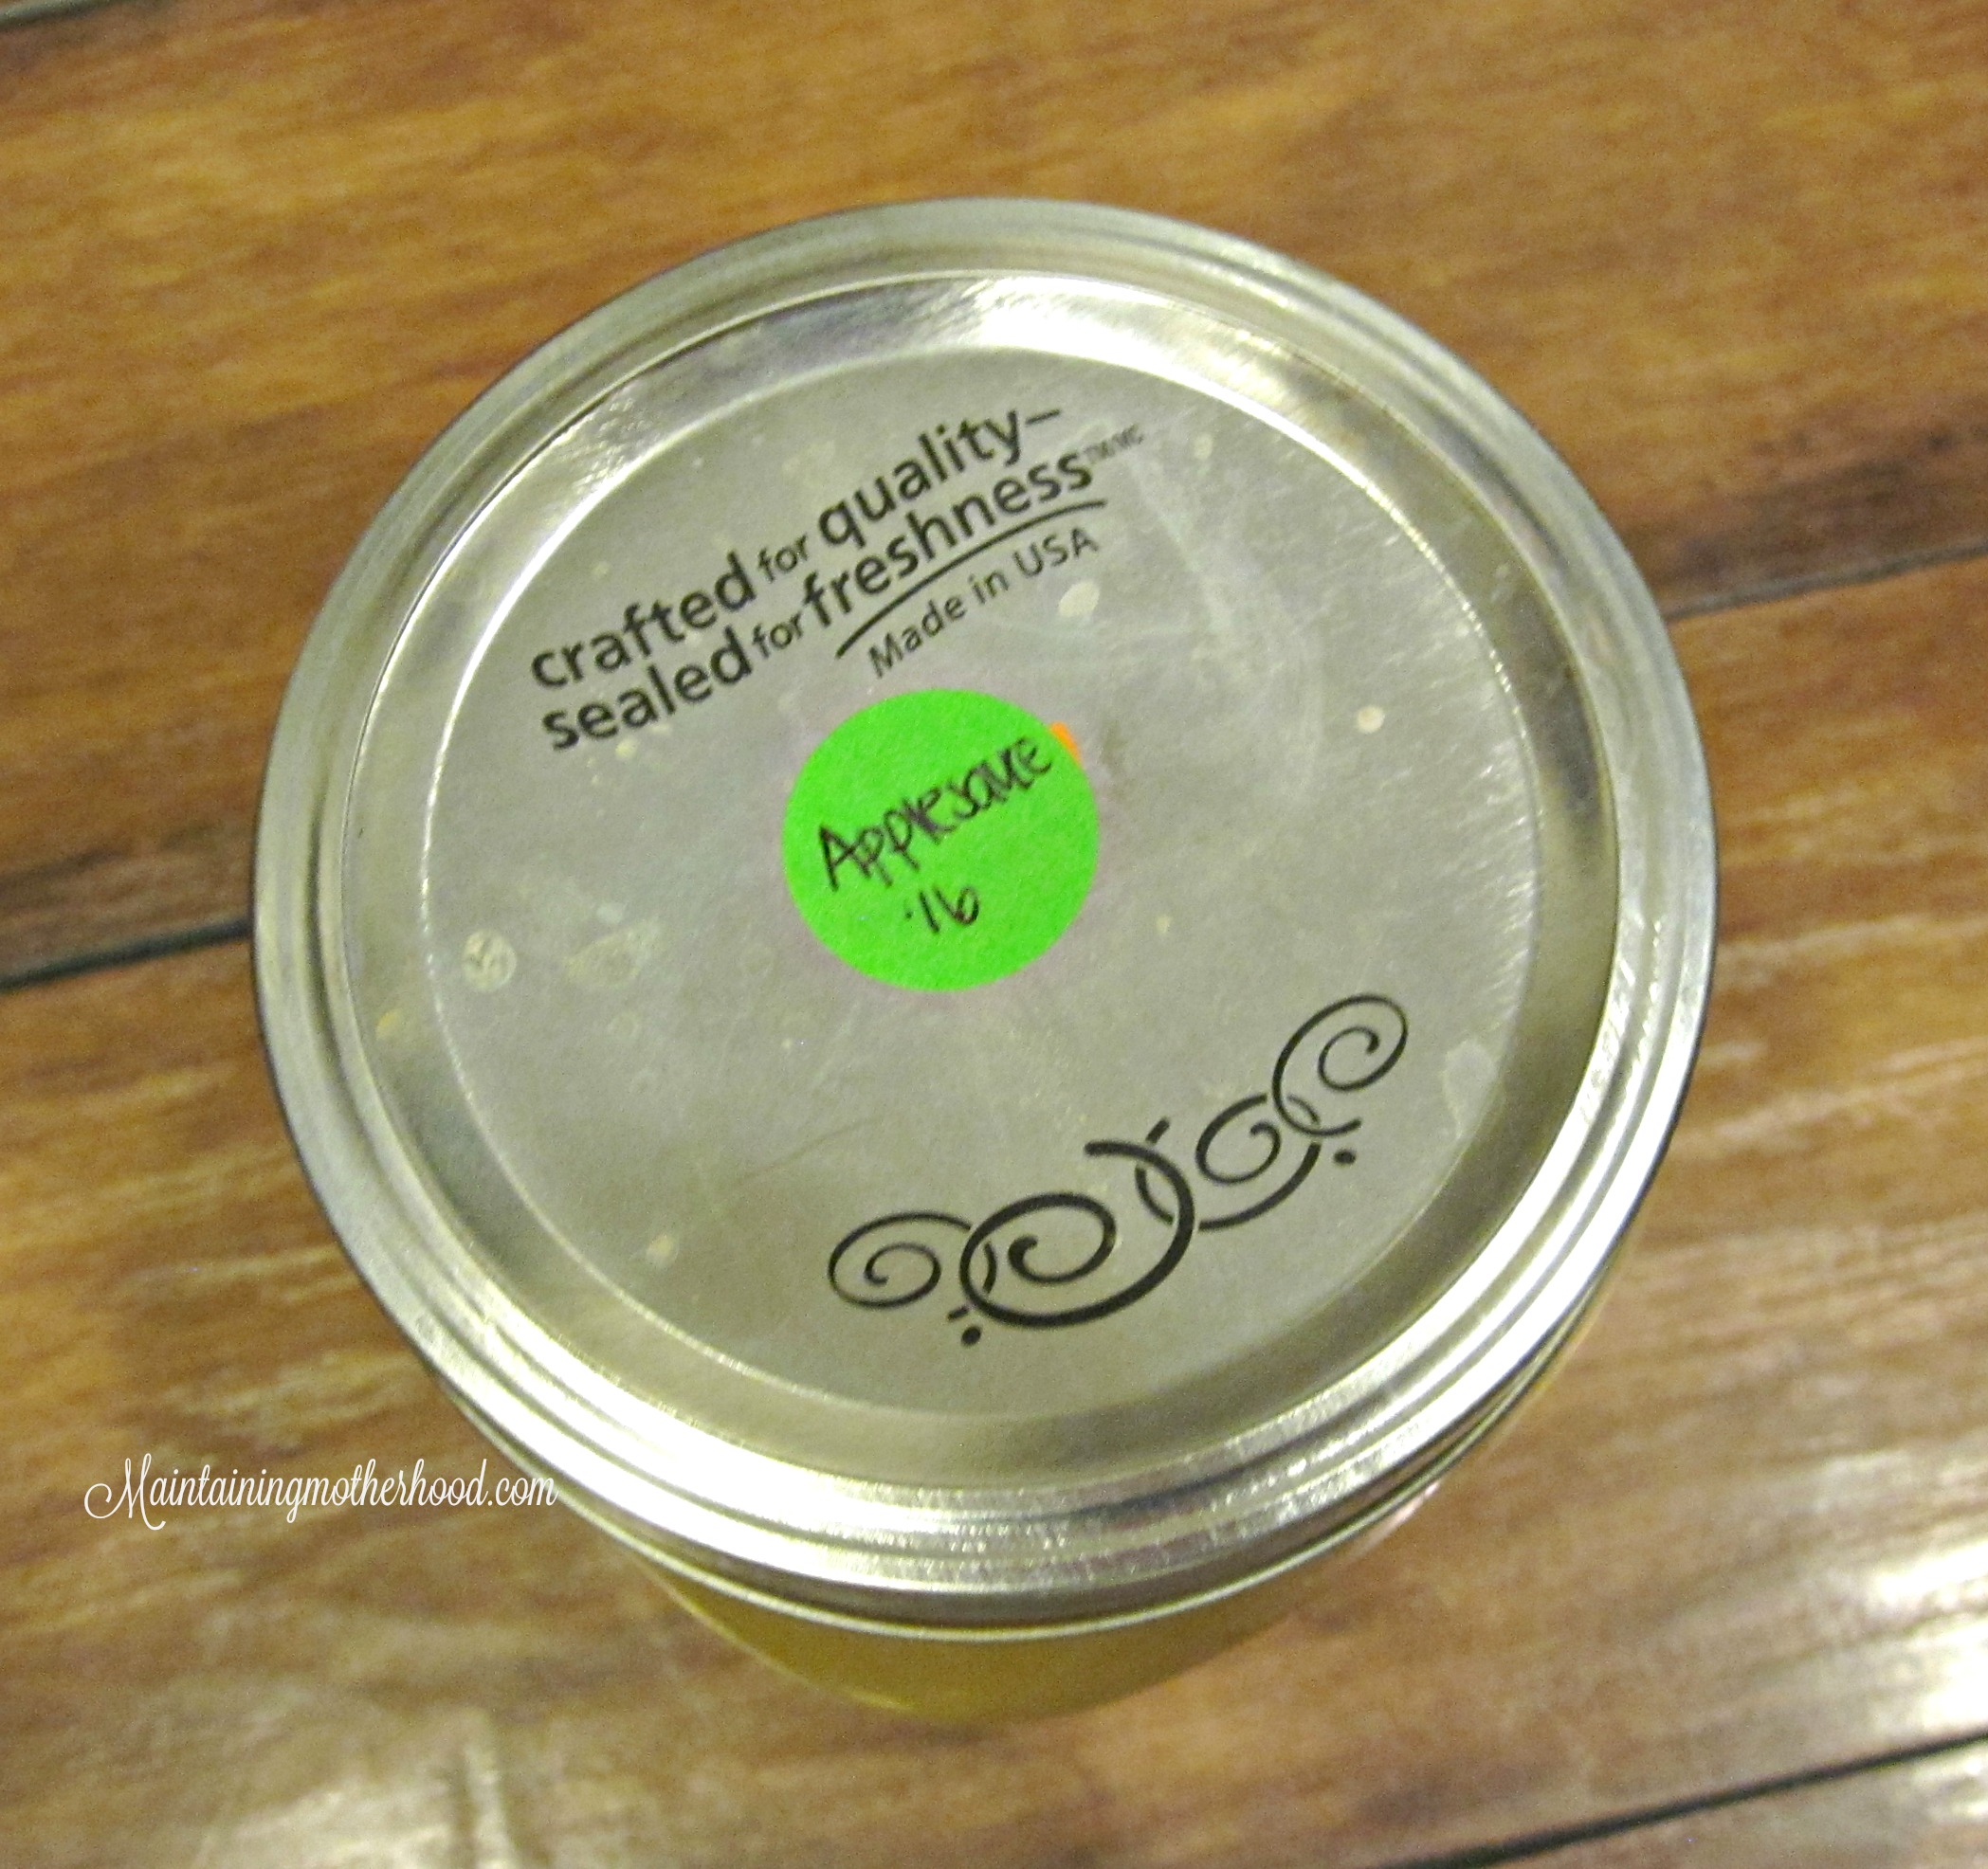
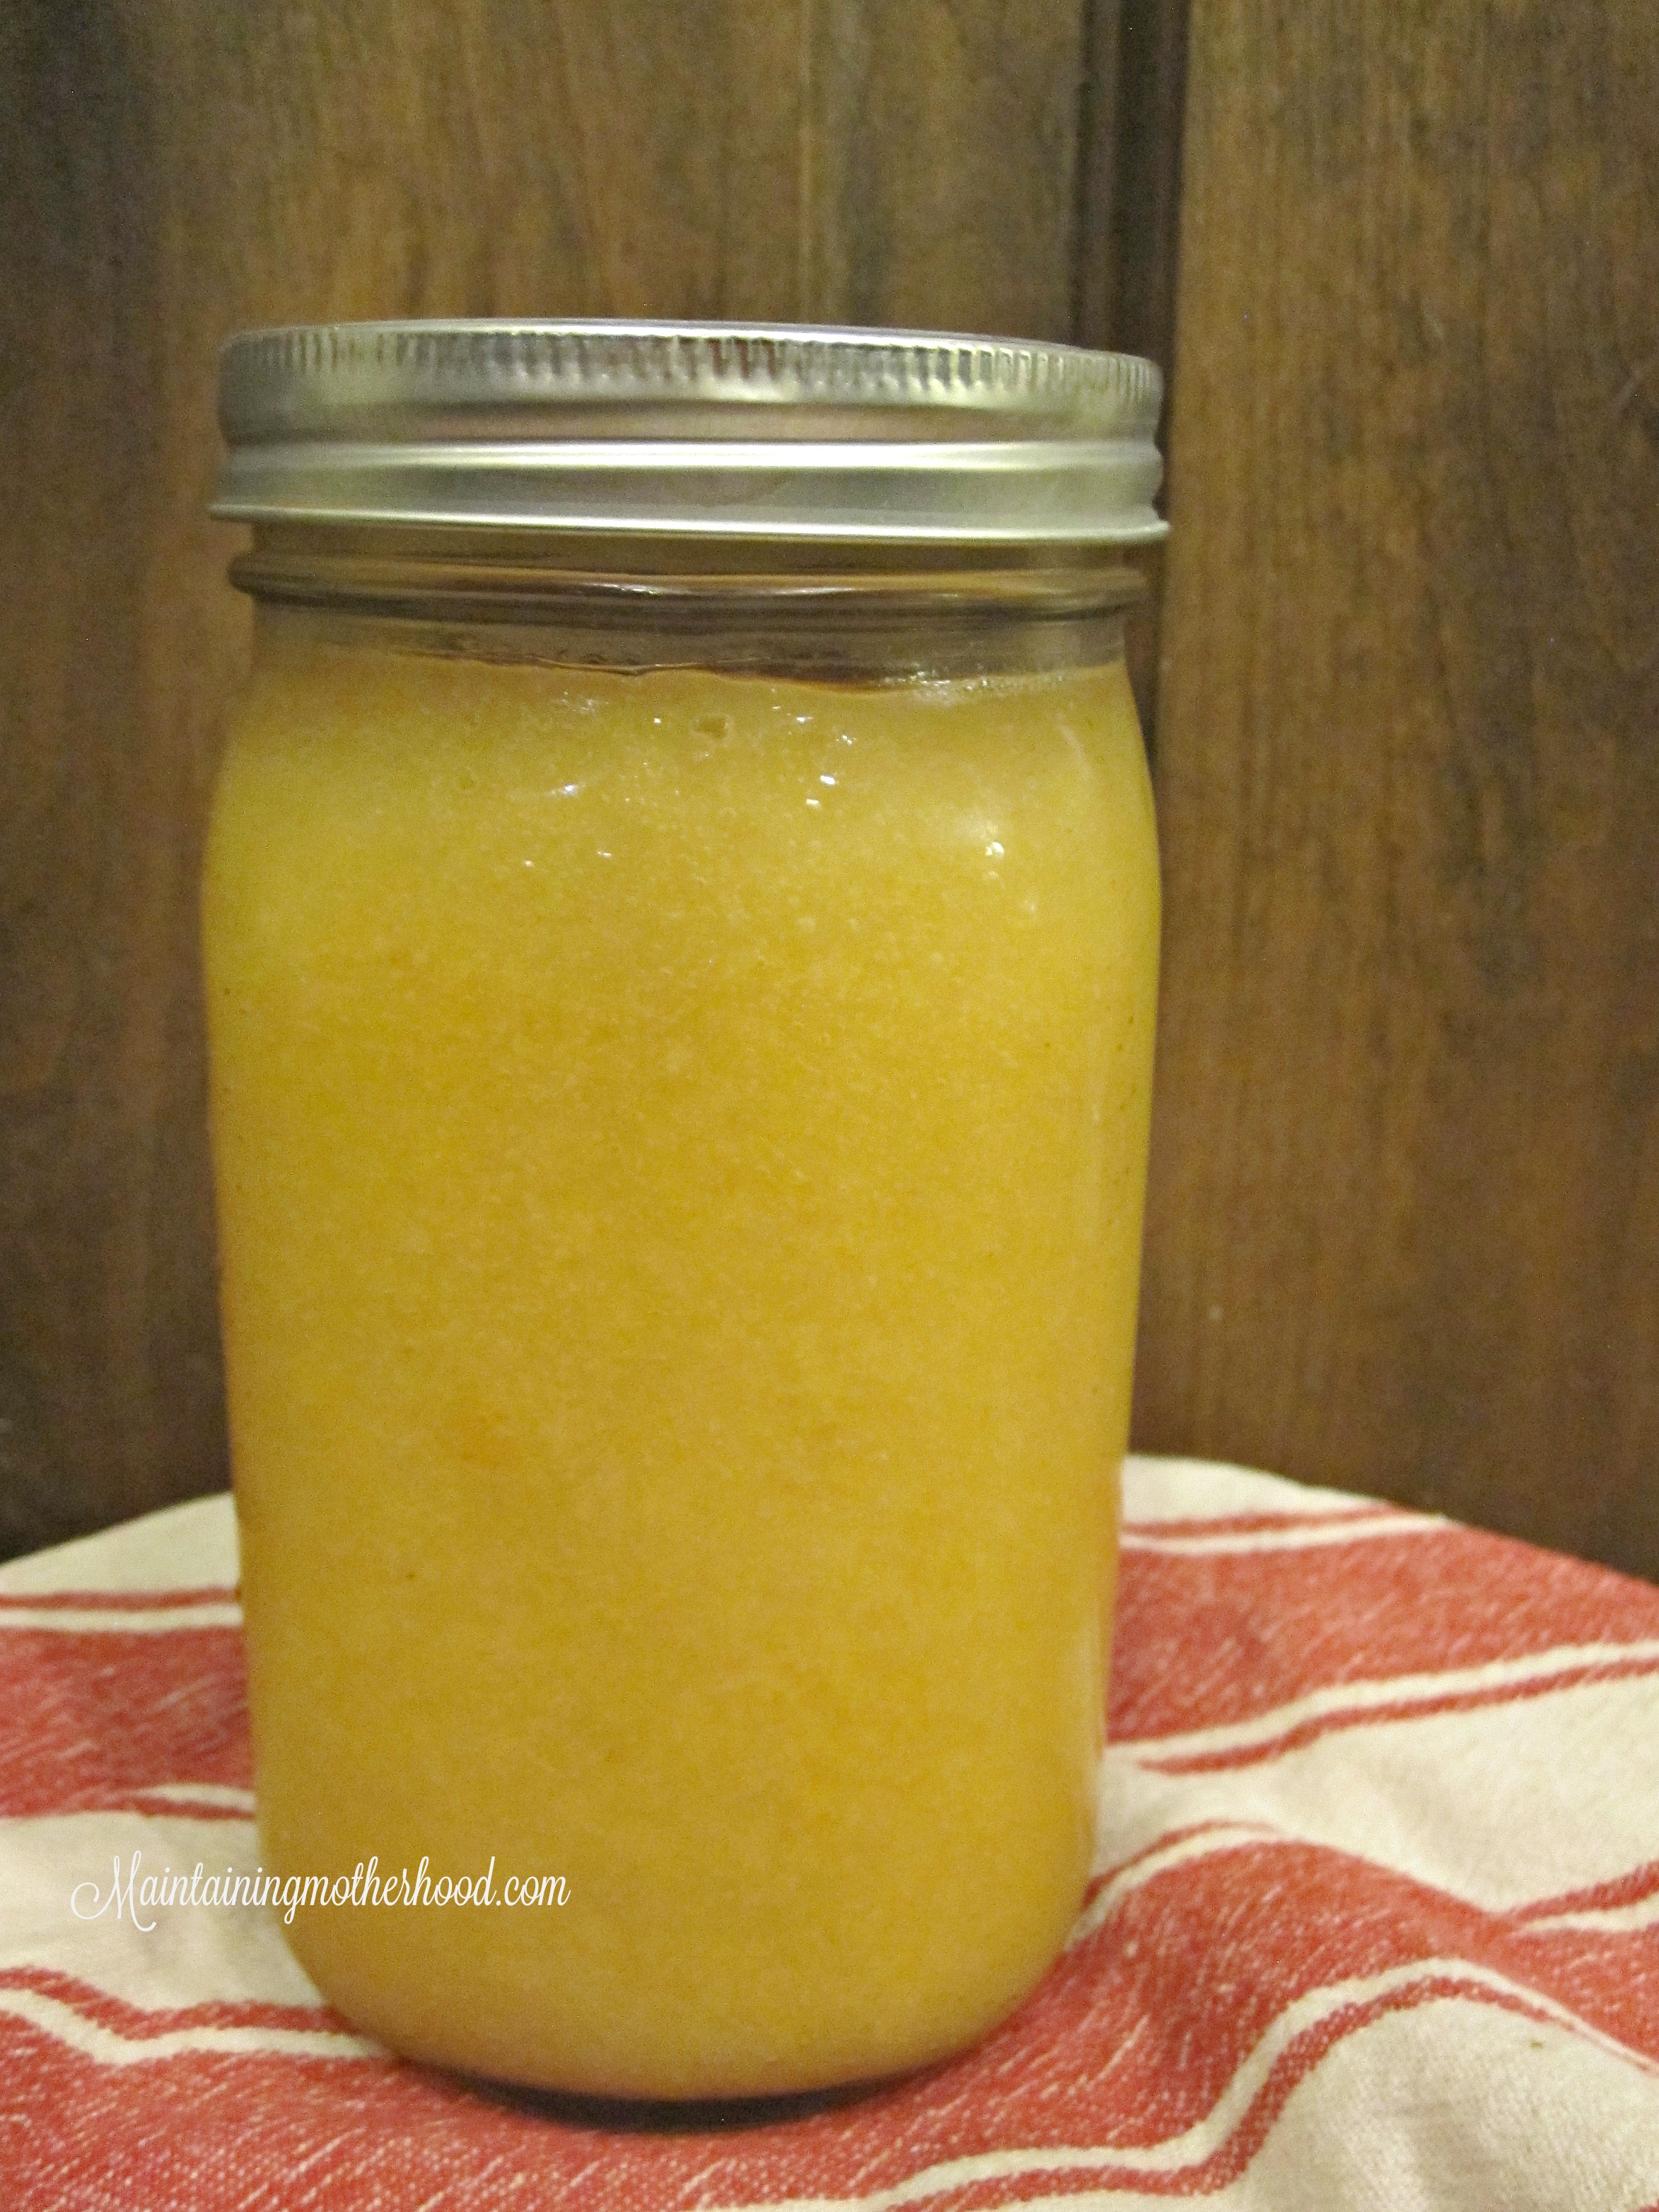
Step 10. Label and store
Grab the fancy labels like these cute ones:

or make some of your own with generic stickers to keep track of your canned goods until next season!
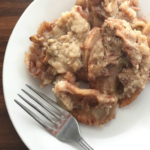
Enjoy!
How do you make applesauce?