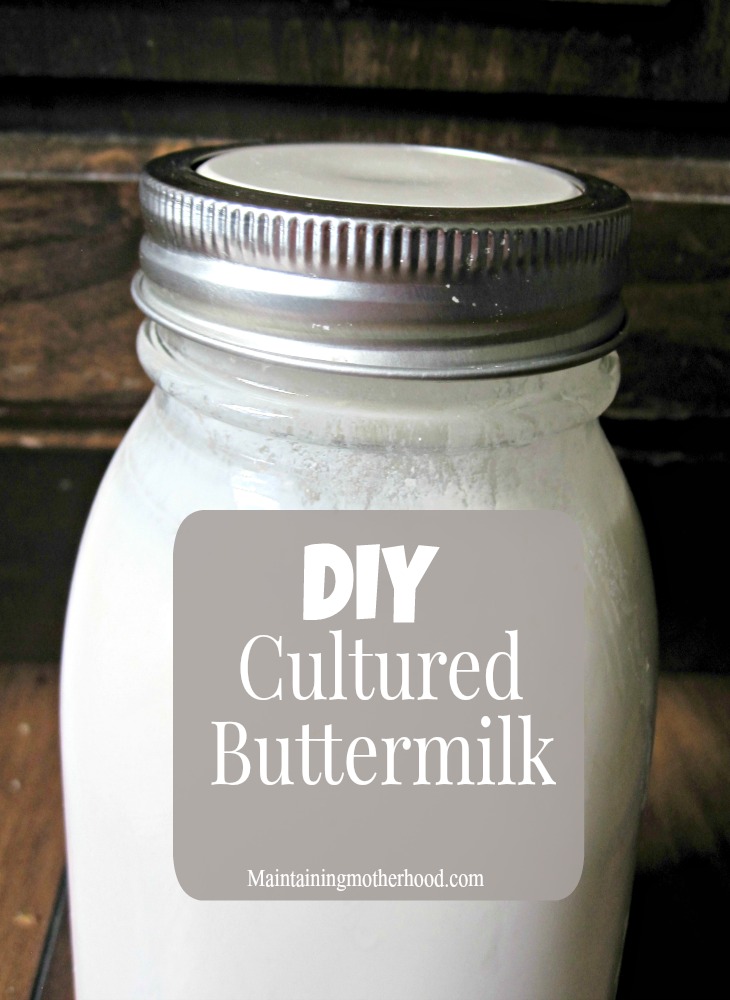
We use quite a bit of buttermilk around here. It is a key ingredient in our buttermilk pancakes, buttermilk syrup, and biscuits. But, have you checked the price? It’s SO expensive! After trying real buttermilk in recipes rather than substituting using milk with vinegar or lemon juice, I will never go back. There is a difference, and that difference is delicious!
Supplies:
- 1 pint of buttermilk
- quart mason jar with lid
- milk
Steps:
- Fill the bottom 1/4 of the mason jar with buttermilk.
- Top the jar off with milk. (I use whole milk)
- Put the cap on and let it sit on the counter for up to 24 hours and then refrigerate.
Isn’t that easy? You just have to make sure each time after you use the buttermilk to leave about 1/4 of the jar with buttermilk, fill it back up with milk and let it sit on the counter again. You can do this indefinitely if you take good care of your buttermilk start!
Some things I have learned:
- When buying the buttermilk, I try to get whatever kind has the least amount of extra ingredients. You only really need enough to fill up the bottom 1/4 of the mason jar, so go ahead and make something yummy!
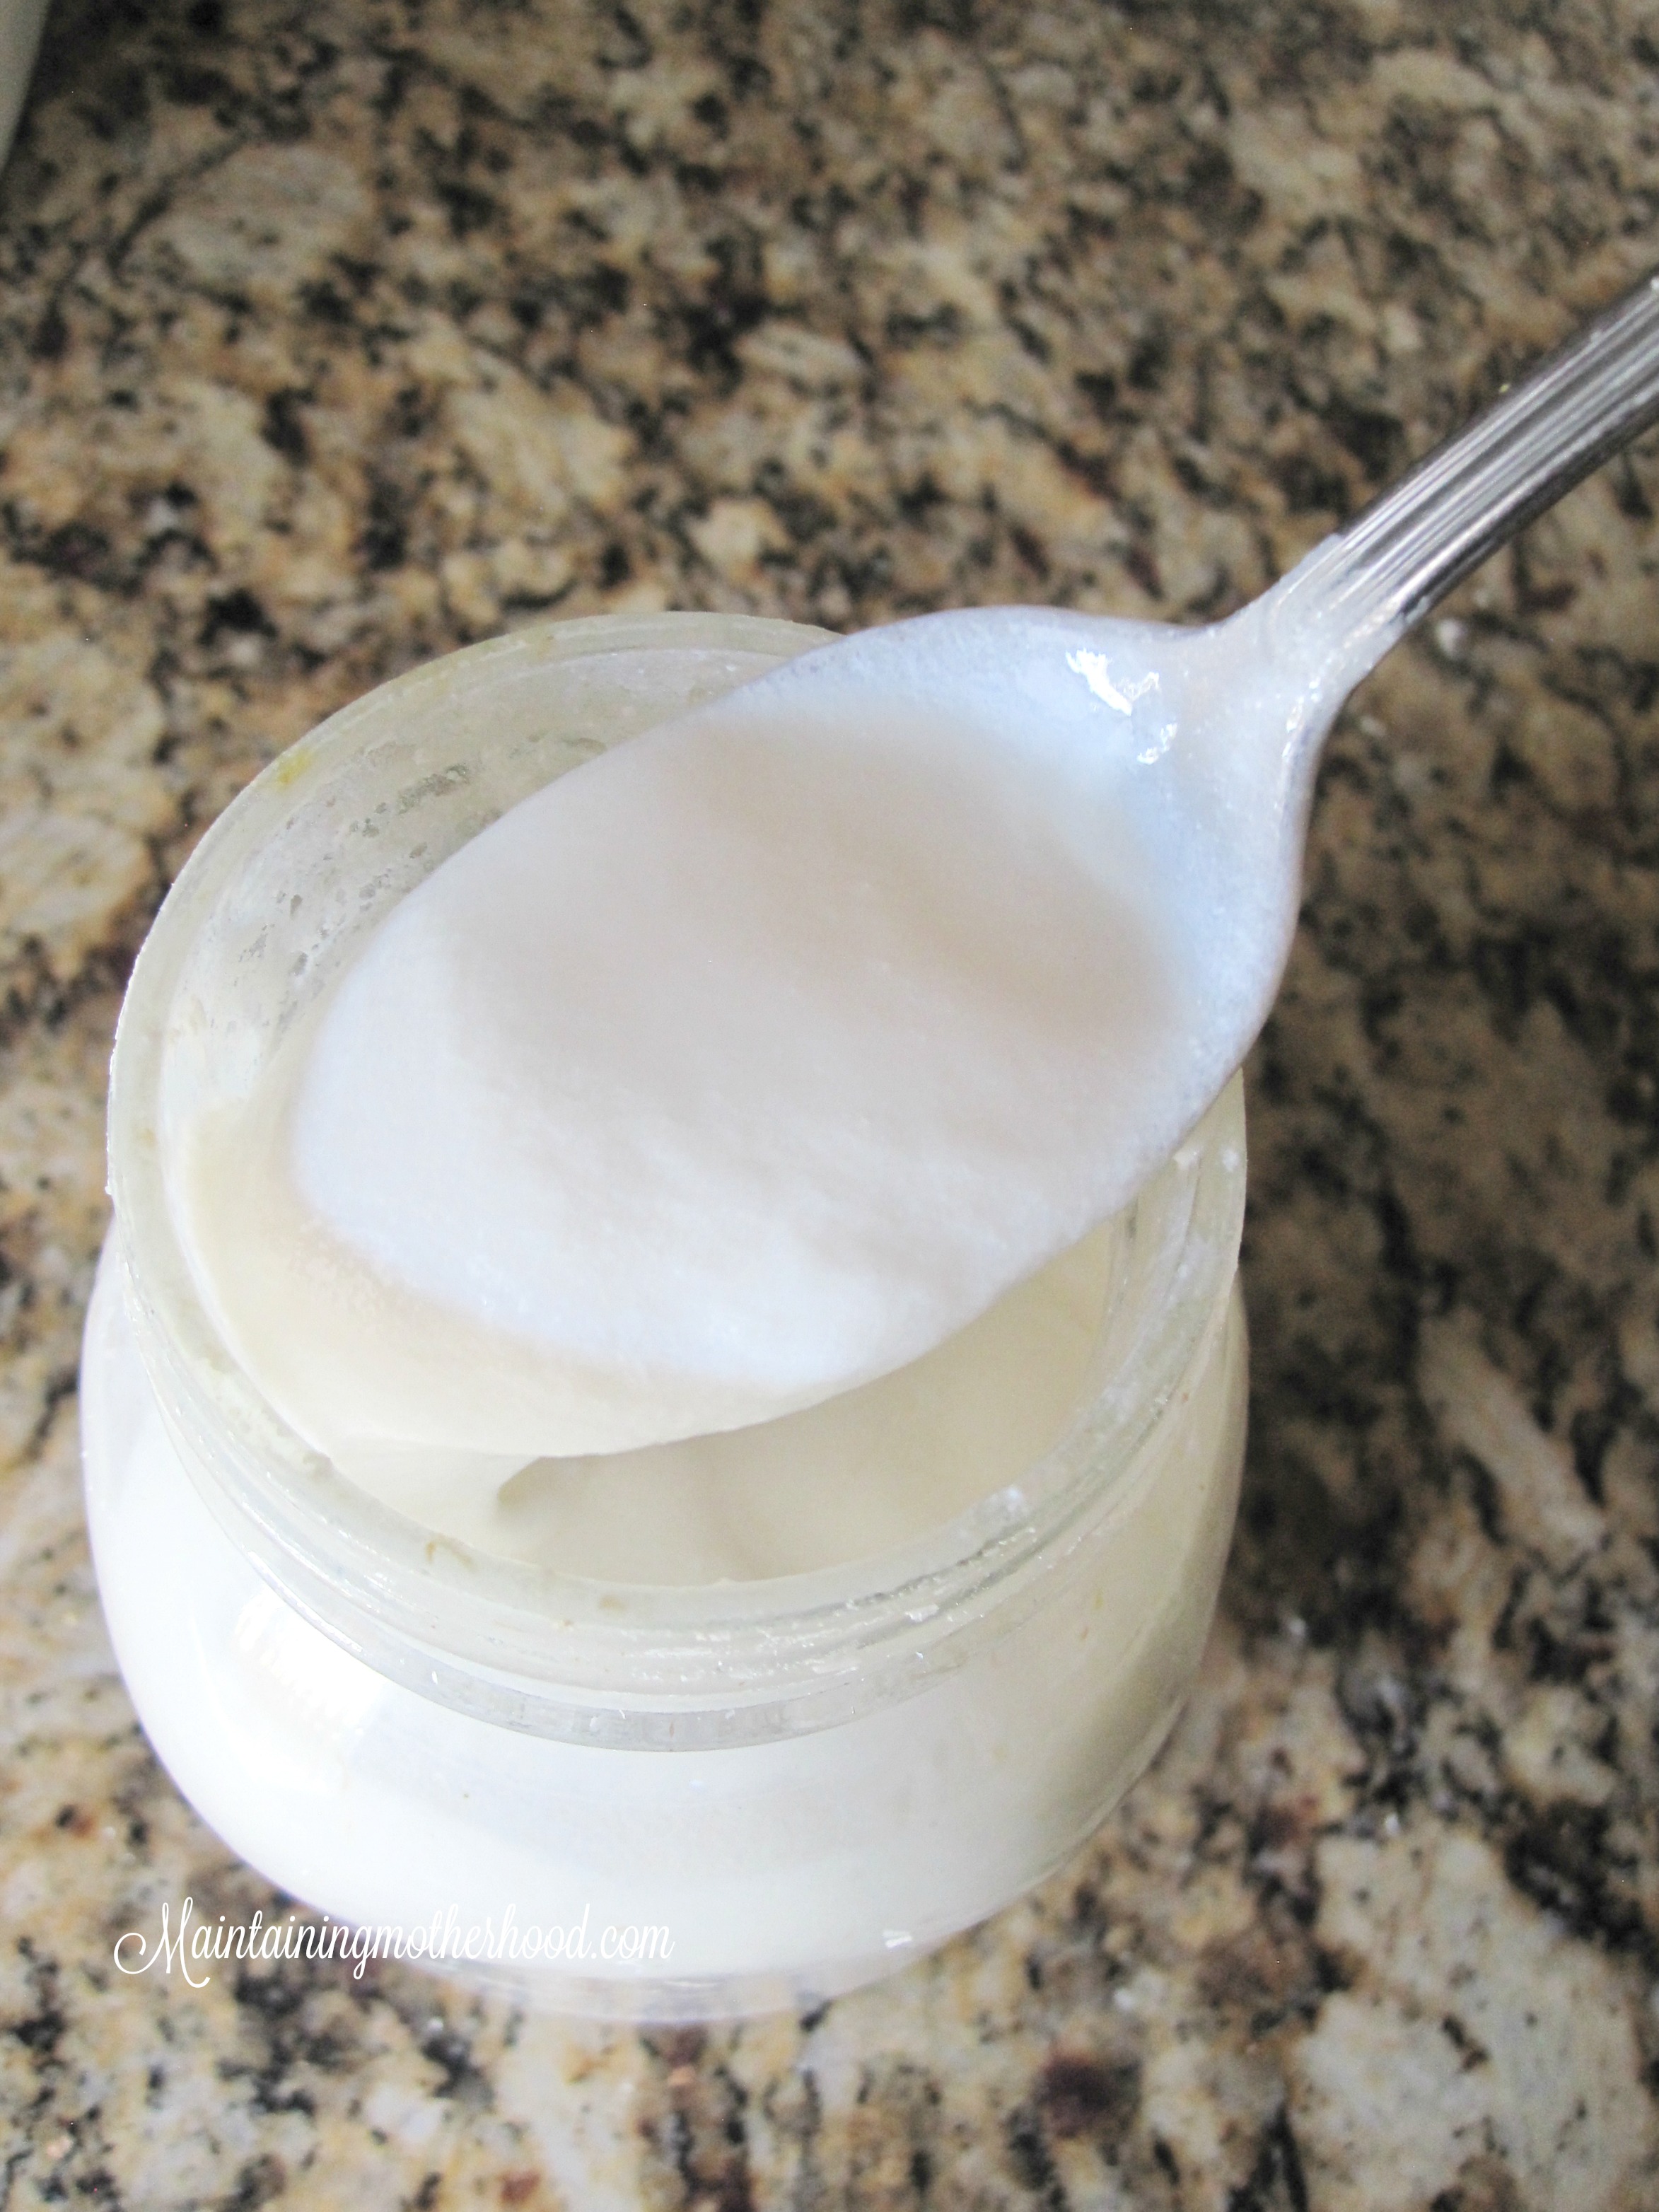
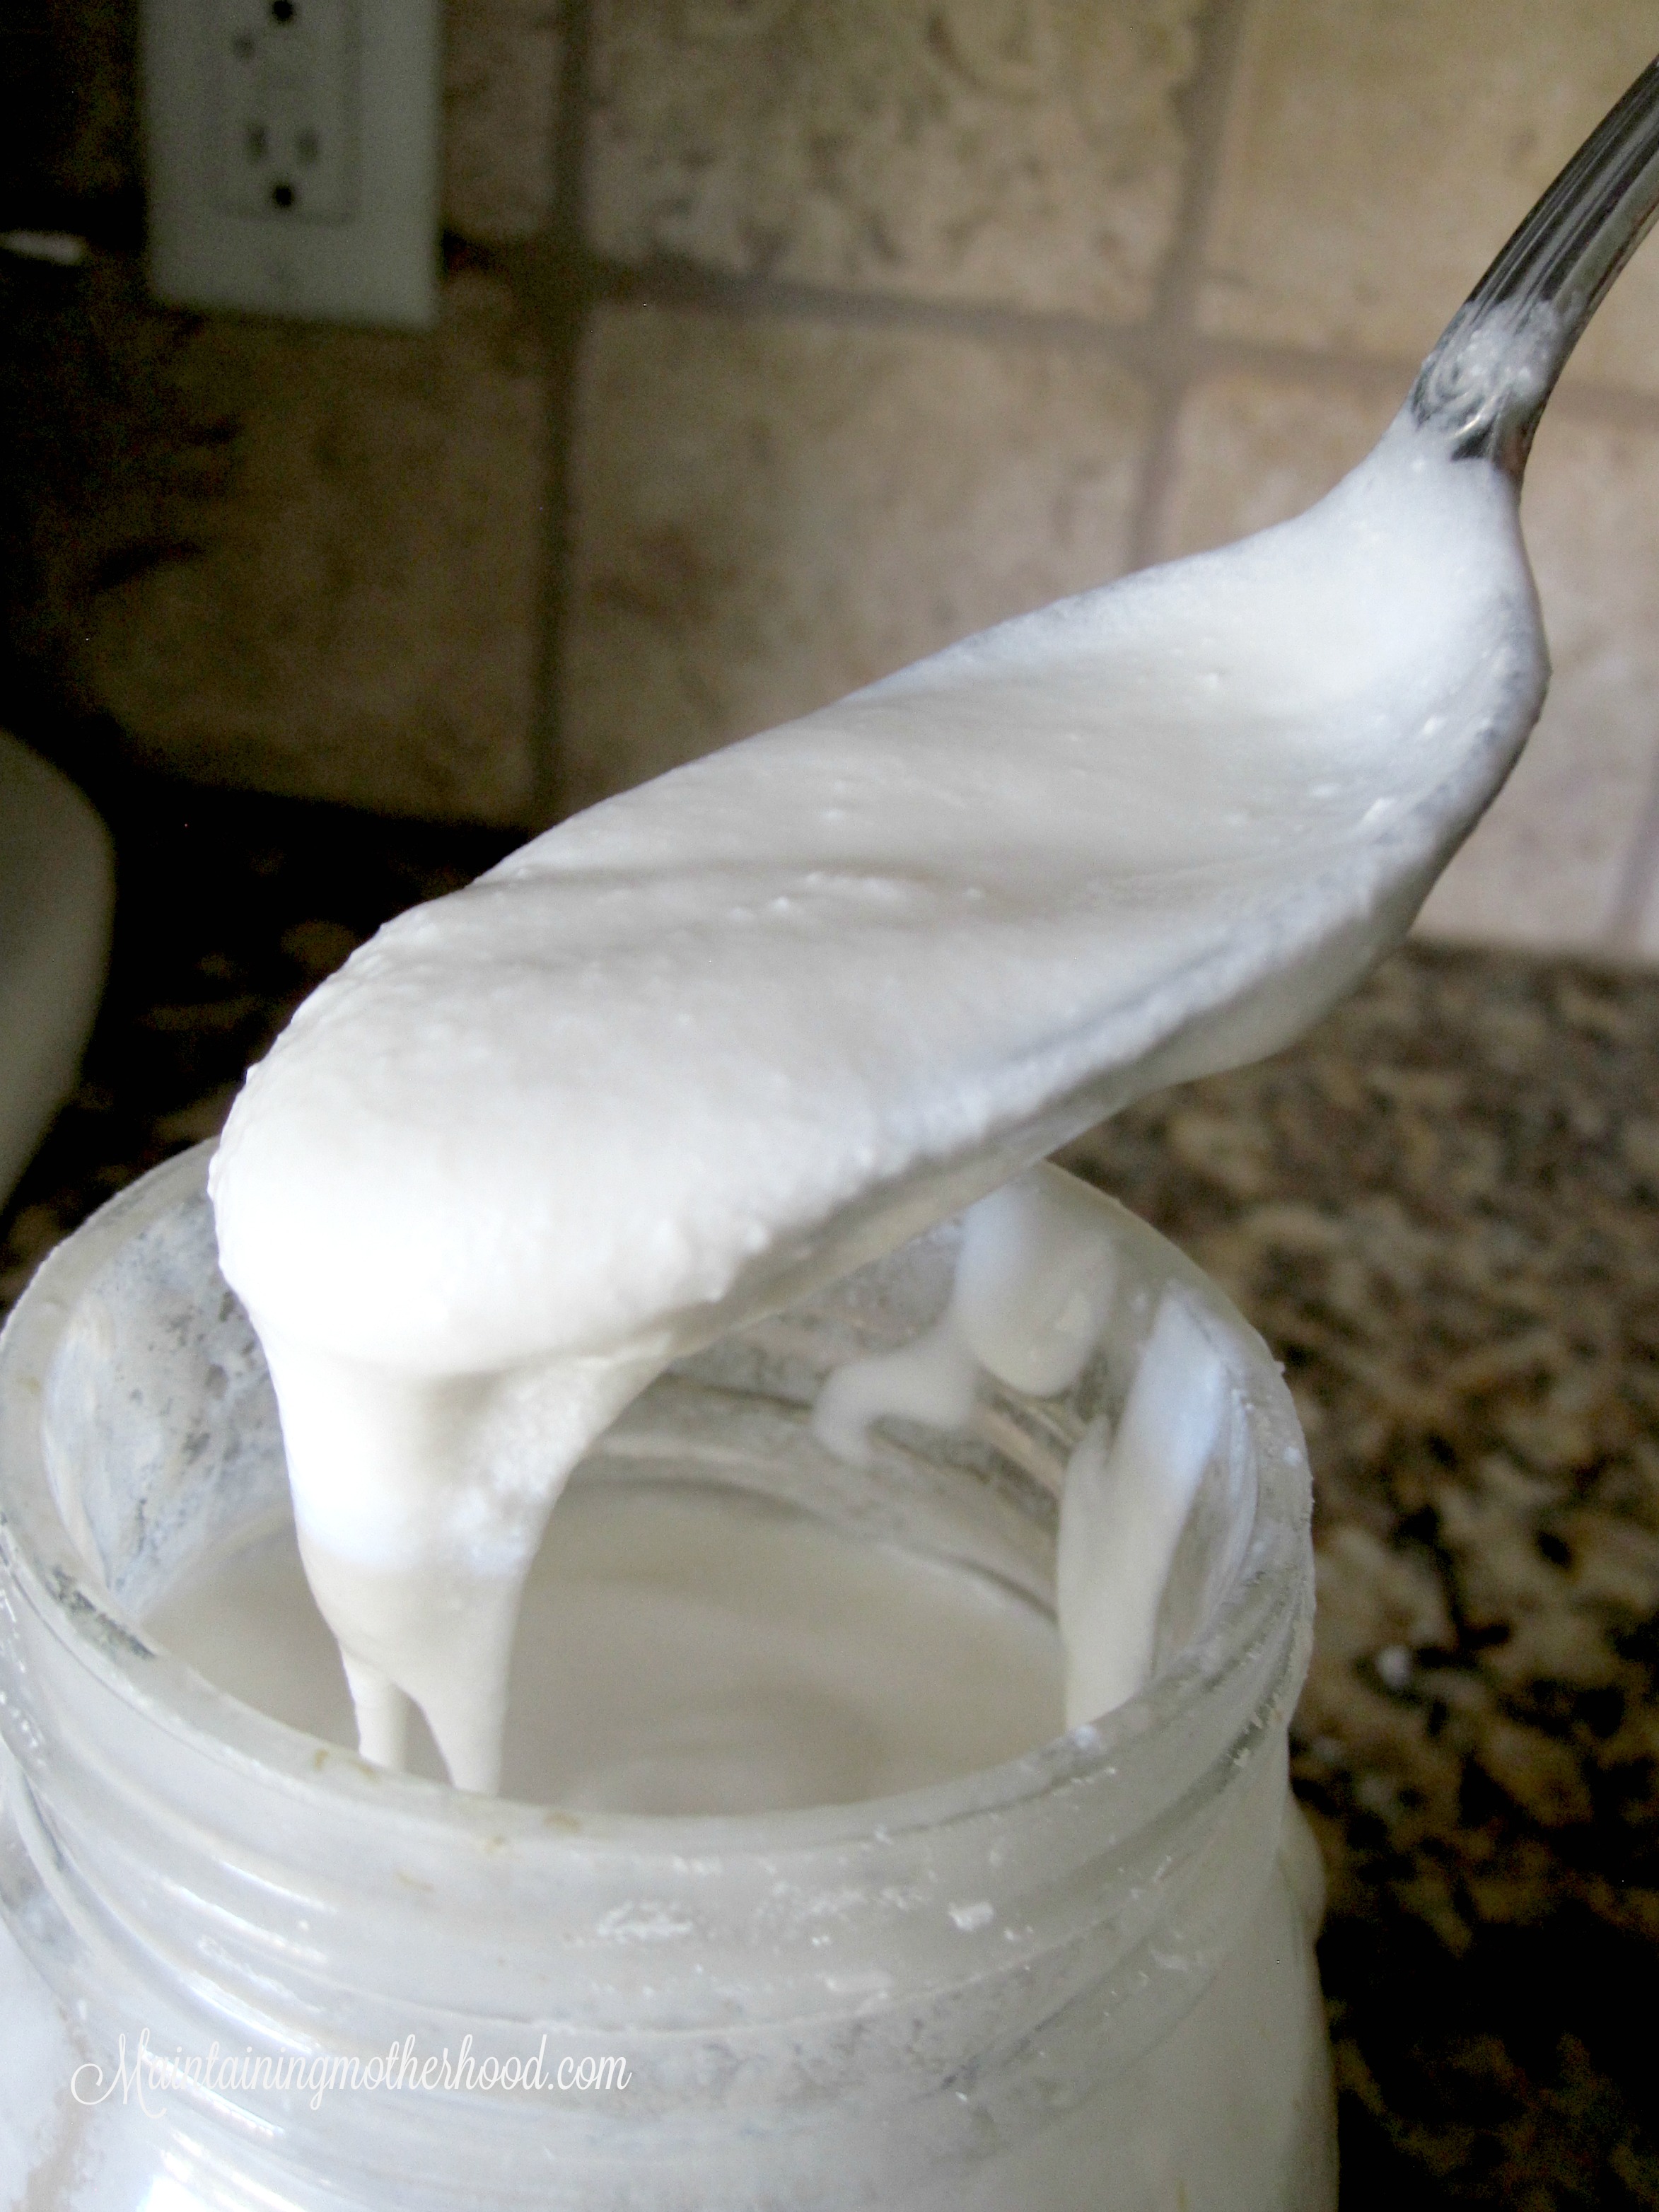
- I usually let my buttermilk sit out on the counter for about 12 hours. You’ll be surprised how thick it gets! It should be about the consistency of runny yogurt. Before using, I gently tip the jar back and forth a few times to even up the consistency throughout the jar.
- Try to use the buttermilk within a week, no longer than two weeks. I like to transfer my buttermilk to a fresh jar every month so it doesn’t get gross around the top. This is the only time I reuse my canning lids since I am not trying to seal the jar, just keep it covered.
And, in case the the simplicity of making your own delicious buttermilk is not convincing enough, just remember that it is a probiotic-rich food containing those same good live cultures that are found in yogurts. If you were to drink it, it can help with indigestion or constipation.
What do you use buttermilk for?

