Looking to make your own DIY Cap Sleeve Shirt? It’s perfect to wear under a convertible dress, or just for your everyday style. Find the tutorial here!
While searching for the perfect bridesmaid dress, I found a super affordable Convertible Dress. As much as I loved the dress, I was wanting something to wear underneath to help me retain modesty. The flexibility of styles that came with the convertible dresses seem endless and wanted to be able to try a bunch of the different ties that are shown on the tutorials.
The hunt to make the dress more modest and usable was on!
(this post contains affiliate links)
Accessory Options
I had seen some convertible dresses with attached tube tops.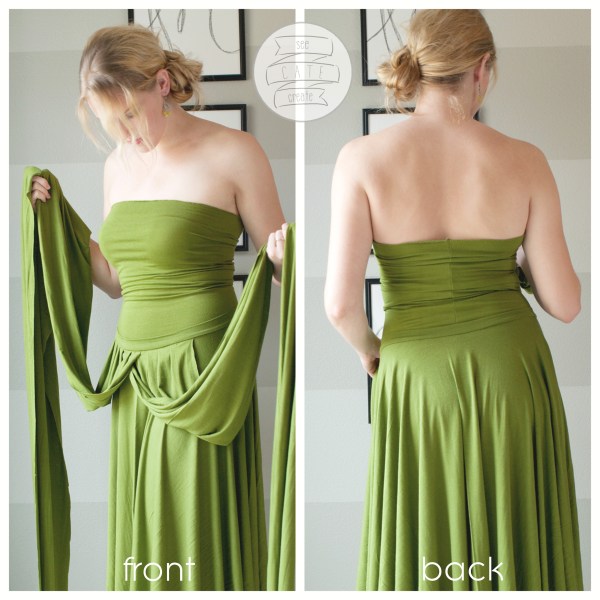
However, I didn’t want to be constantly tugging the top up all night long. I tossed around the idea of possibly making a tank top. and then, I got this brilliant idea: a cap sleeve layering tee!
I personally have a few of these Heirloom Cap Sleeve Layering Tees and LOVE them! They are great quality, long, and offer the exact full-coverage of the look I was going for!
I wanted one that was as close to the dress color as possible so I went to my local fabric store and found some material that was nearly identical to my dress. The fabric was not quite as slippery, which would actually help the dress not move around as much while holding my kids. I purchased about 1/2 a yard, used a 50% off coupon, and was on my way.
How To Make Your Own Cap Sleeve Shirt
Now, I have to give a disclaimer to my sewing abilities. I am really good at straight lines. However, I can’t read a pattern to save my life, but I am pretty good at making up my own stuff. So, here goes my tutorial on how you can make your own cap-sleeve t shirt!
(and pardon the lighting. My best crafting is done after the kids are in bed for the night!)
Step One: Make Your Pattern
First, fold the fabric in half and place an existing cap sleeve shirt on top of the fabric to use it as a pattern. If you don’t have a cap sleeve shirt, use any other shirt that fits snug to your body. You could also use a tank top and make the shoulders a bit wider.
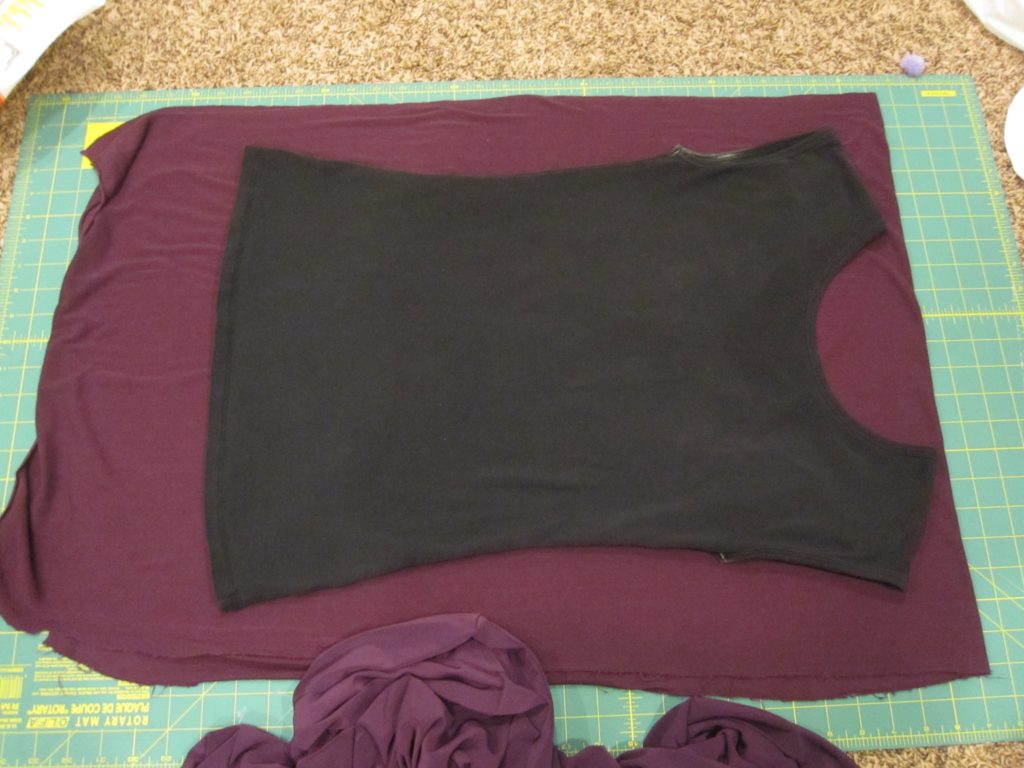
Then, trace around the outside of the shirt leaving a bit of extra space for the seam allowance. I just used some regular chalk for this step.
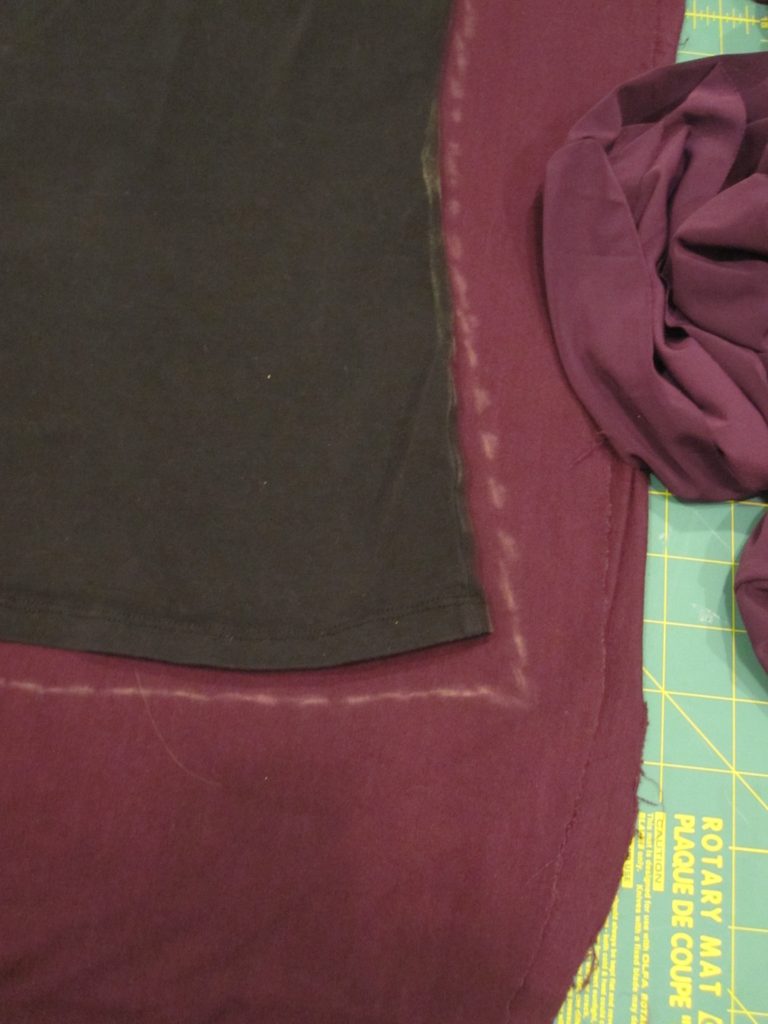
After it was all traced, I pinned it like crazy so that it would line up perfectly while I was sewing and cutting it. I realized at this point I probably hadn’t left enough of a seam allowance, so I cut it out extra far from the traced line. 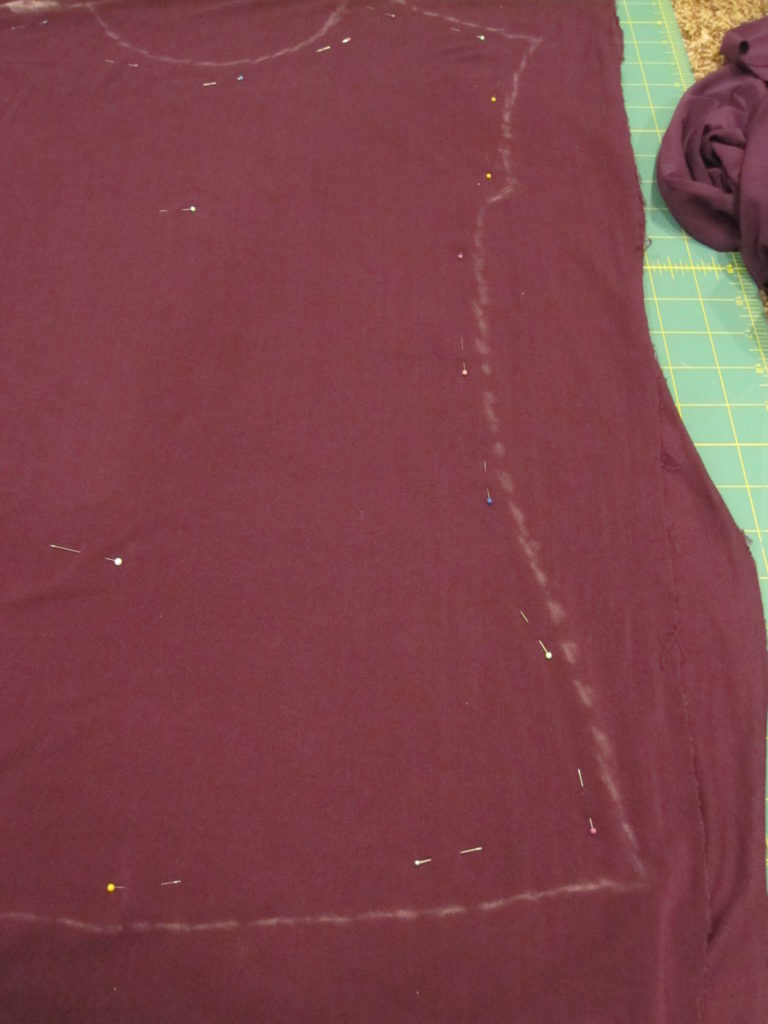
Step Two: Cut the Fabric
Here’s what it looks like all cut out:
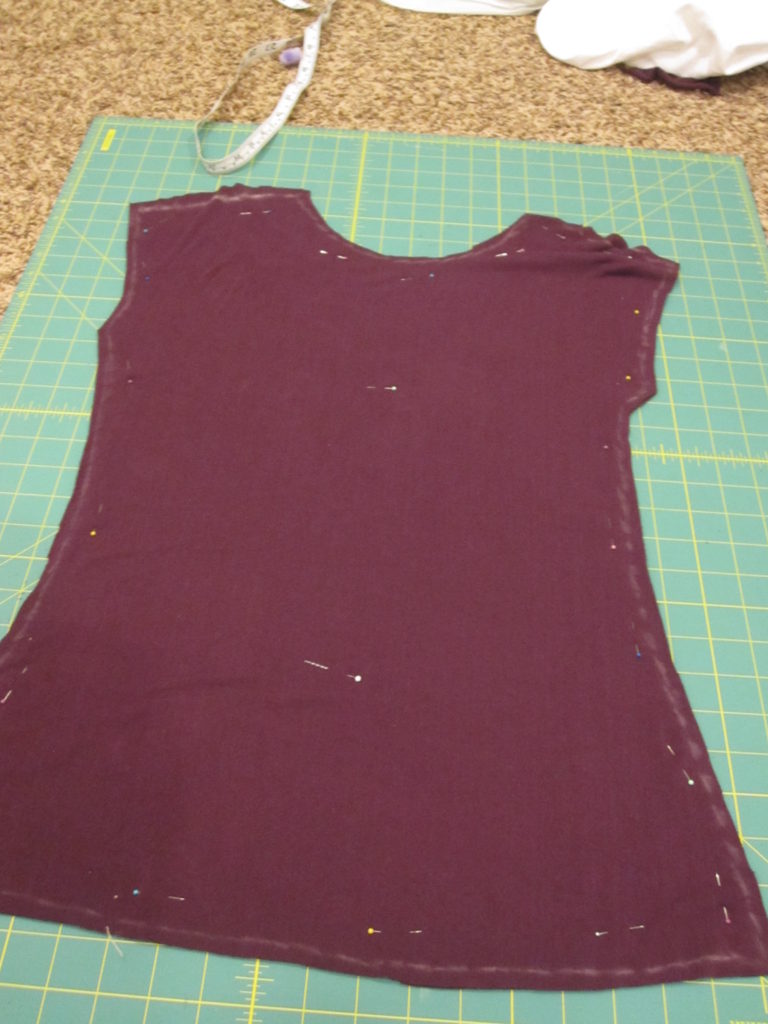
Step Three: Sew Your Shirt
The next part is to sew it. Now, years ago, I sewed with a lighter weight fabric like this and used the wrong kind of needle which resulted in the fabric having huge holes evenly spaced out over the entire thing. So, learn from my mistakes, and use a needle specific to jersey or finer fabrics. (I used an 80/12).
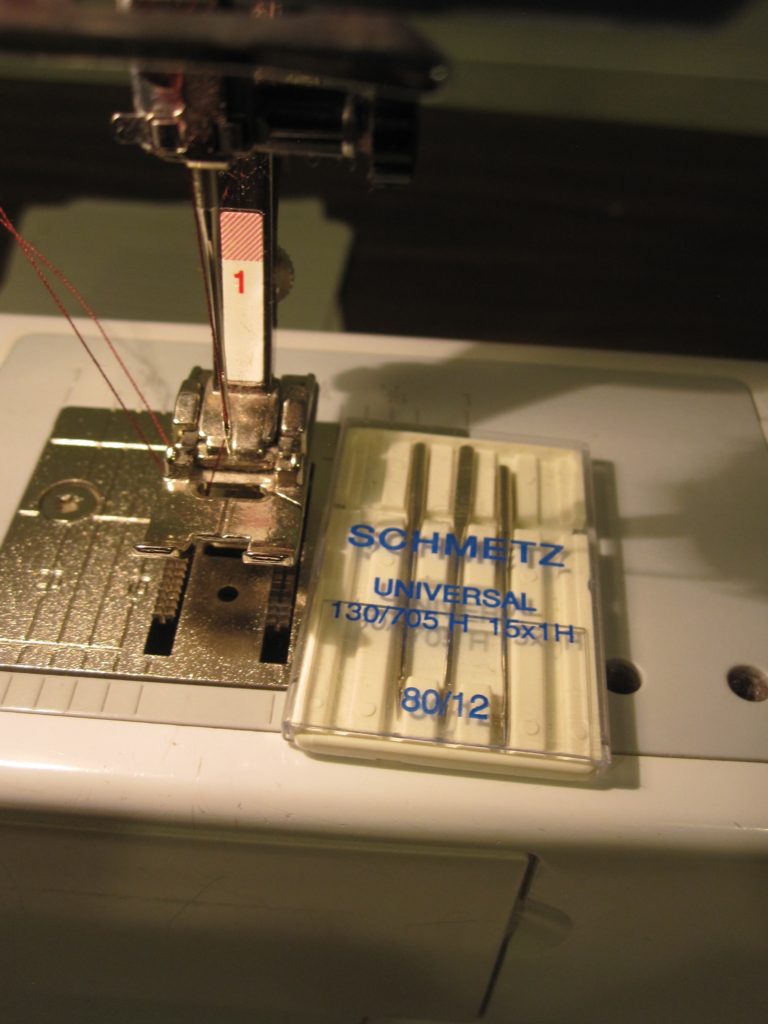
Sew up the shoulders and the sides, leaving the arm holes, neck, and bottom open. Again, not an expert seamstress here, so I just lined up the presser foot along the chalk line that I had made so that it was even all the way around. Also, make sure not to pull the fabric tight unless you are going for a fun ruffly effect.
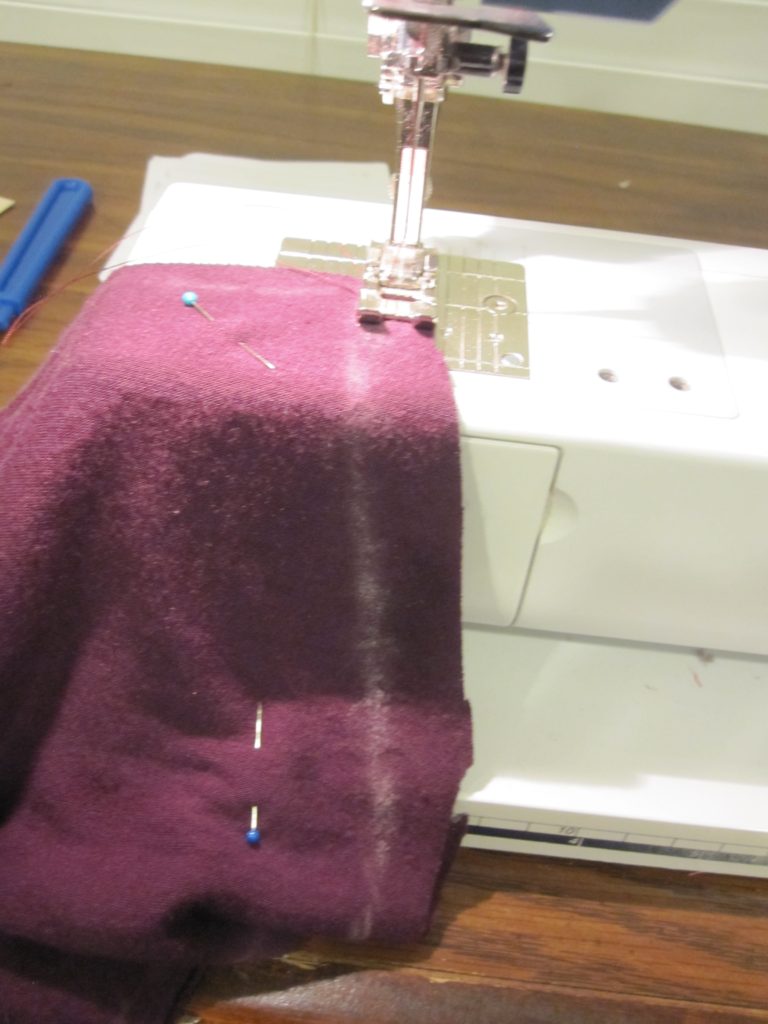
At this point, I was so excited that I had actually made a shirt that looked good, so I snapped a picture and texted it to my husband who was at school. I was so excited I had sewn something I could actually wear in public!

Step Four: Sew the Hem
At this point I wanted to hem the neck and sleeves. I watched a couple of YouTube videos and decided that I didn’t want to learn to use the rolled hem presser foot or whip out the iron, so I just made up my own way (see, not an expert, but it turned out great).
Barely fold over the raw edge enough that it fits in the gap on the presser foot and sew it up.
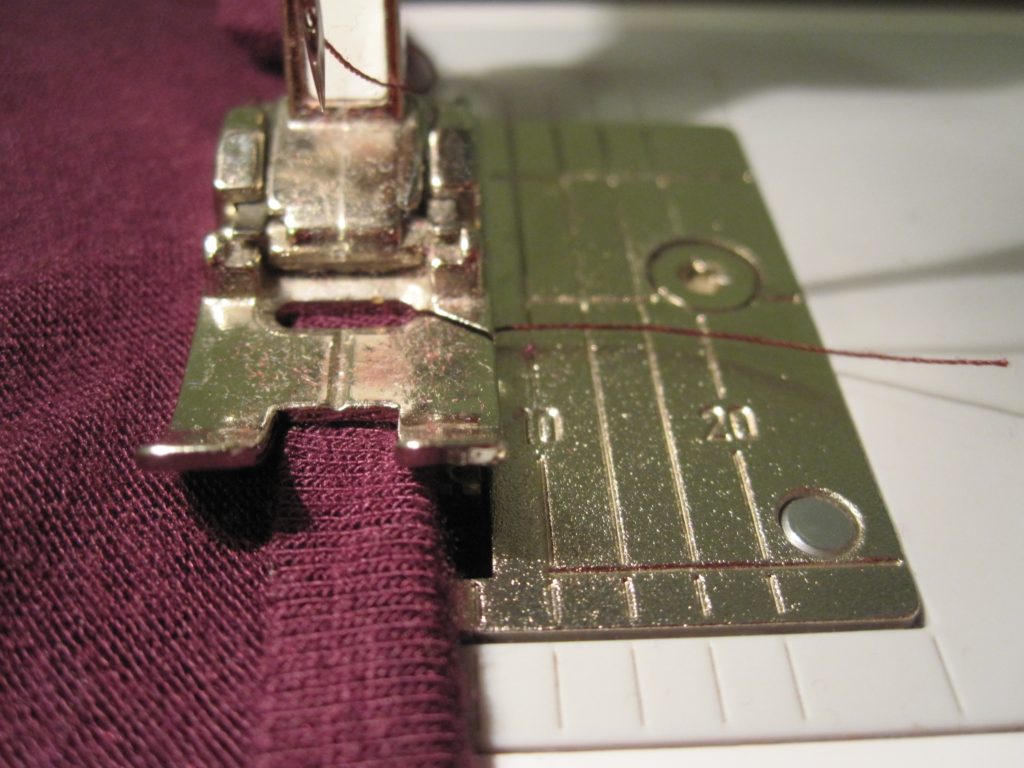
Then, fold it over again the same way and sew it one more time to give it a professional, finished look.
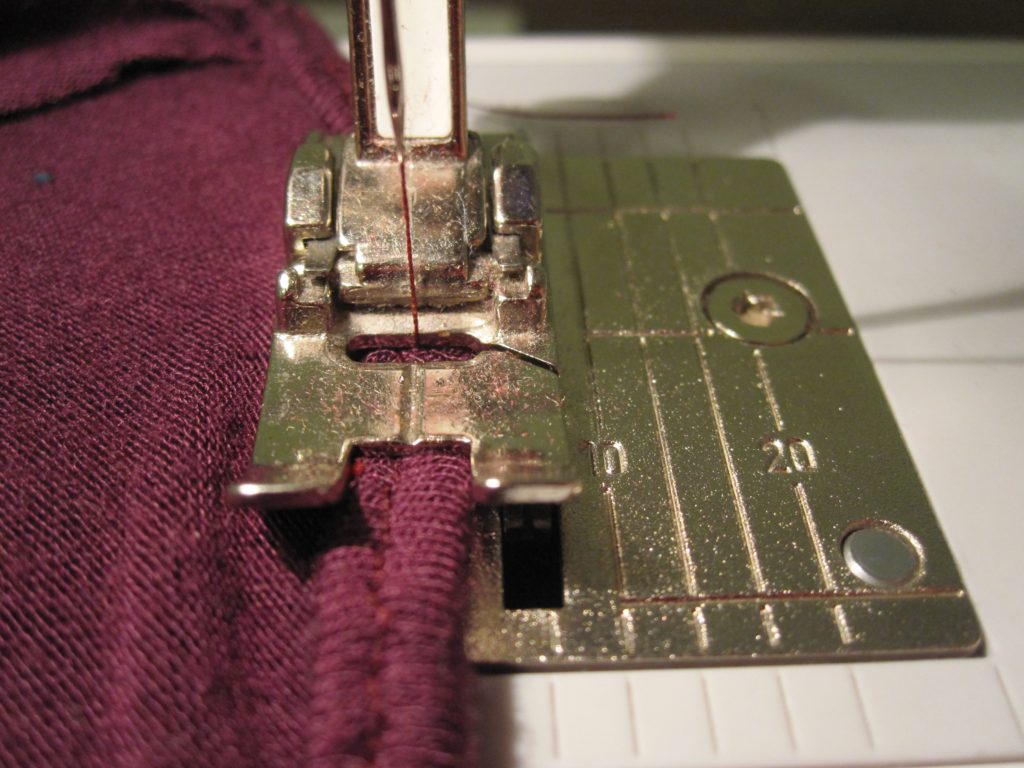
And, here’s the final product in daylight even, so you can see what color it actually is!
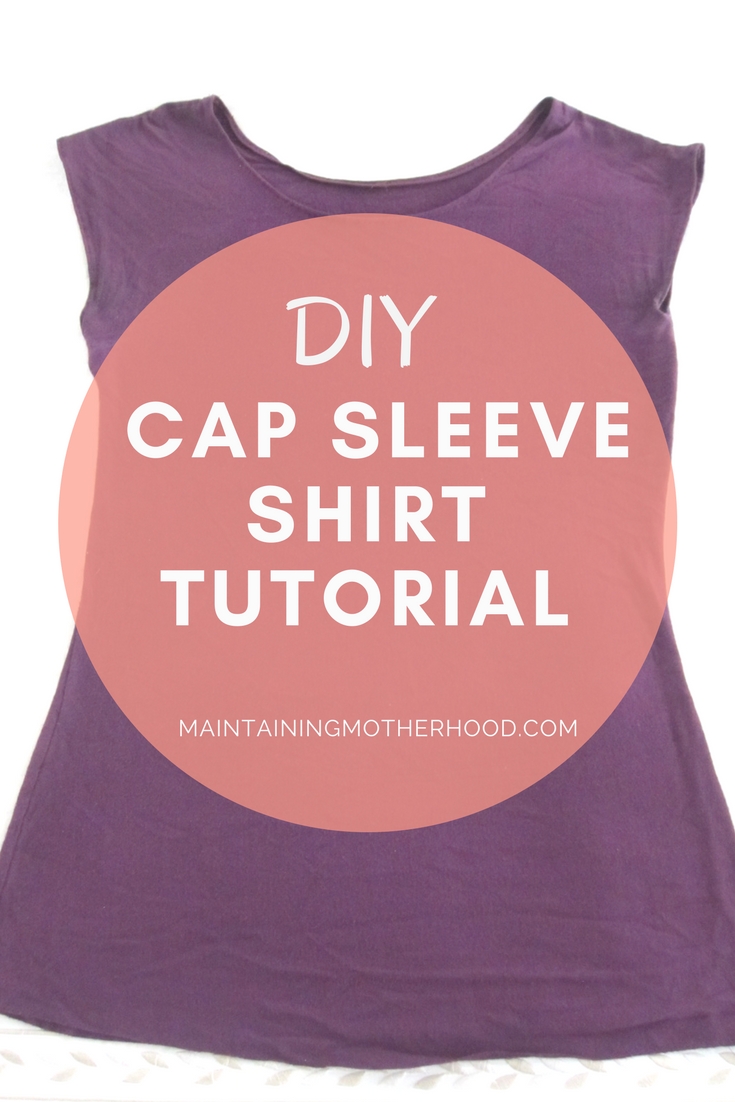
The shirt fit perfectly. I was able to make it as long as I wanted, and the best part: it only cost $3.67!
After sewing this shirt, it gave me the confidence to sew my own clothing more often. I loved how I could make the shirt long enough for me, find it in the perfect color and make any other alterations that I would have wanted in the process. In just a couple of steps and for a fraction of the cost, you can make your own cap sleeve shirt too!
Tell me how your shirt turns out!

