Tired of loosing special blankies or experiencing meltdowns while washing them? Try rethinking the blankie. These DIY mini baby blankets are essential!
Lovey, blankie, special blanket…We probably all had one as a child. The amount it was loved varies depending on the level of attachment you had to that object. Most children have some sort of a comfort object that was sentimental to them growing up. As a sometimes-too-practical-mother though, I didn’t want a blankie that became tattered, torn, nappy, and dragged around in every sort of environment possible, only to have a child melt down when it came time to wash it. What’s a mom to do?
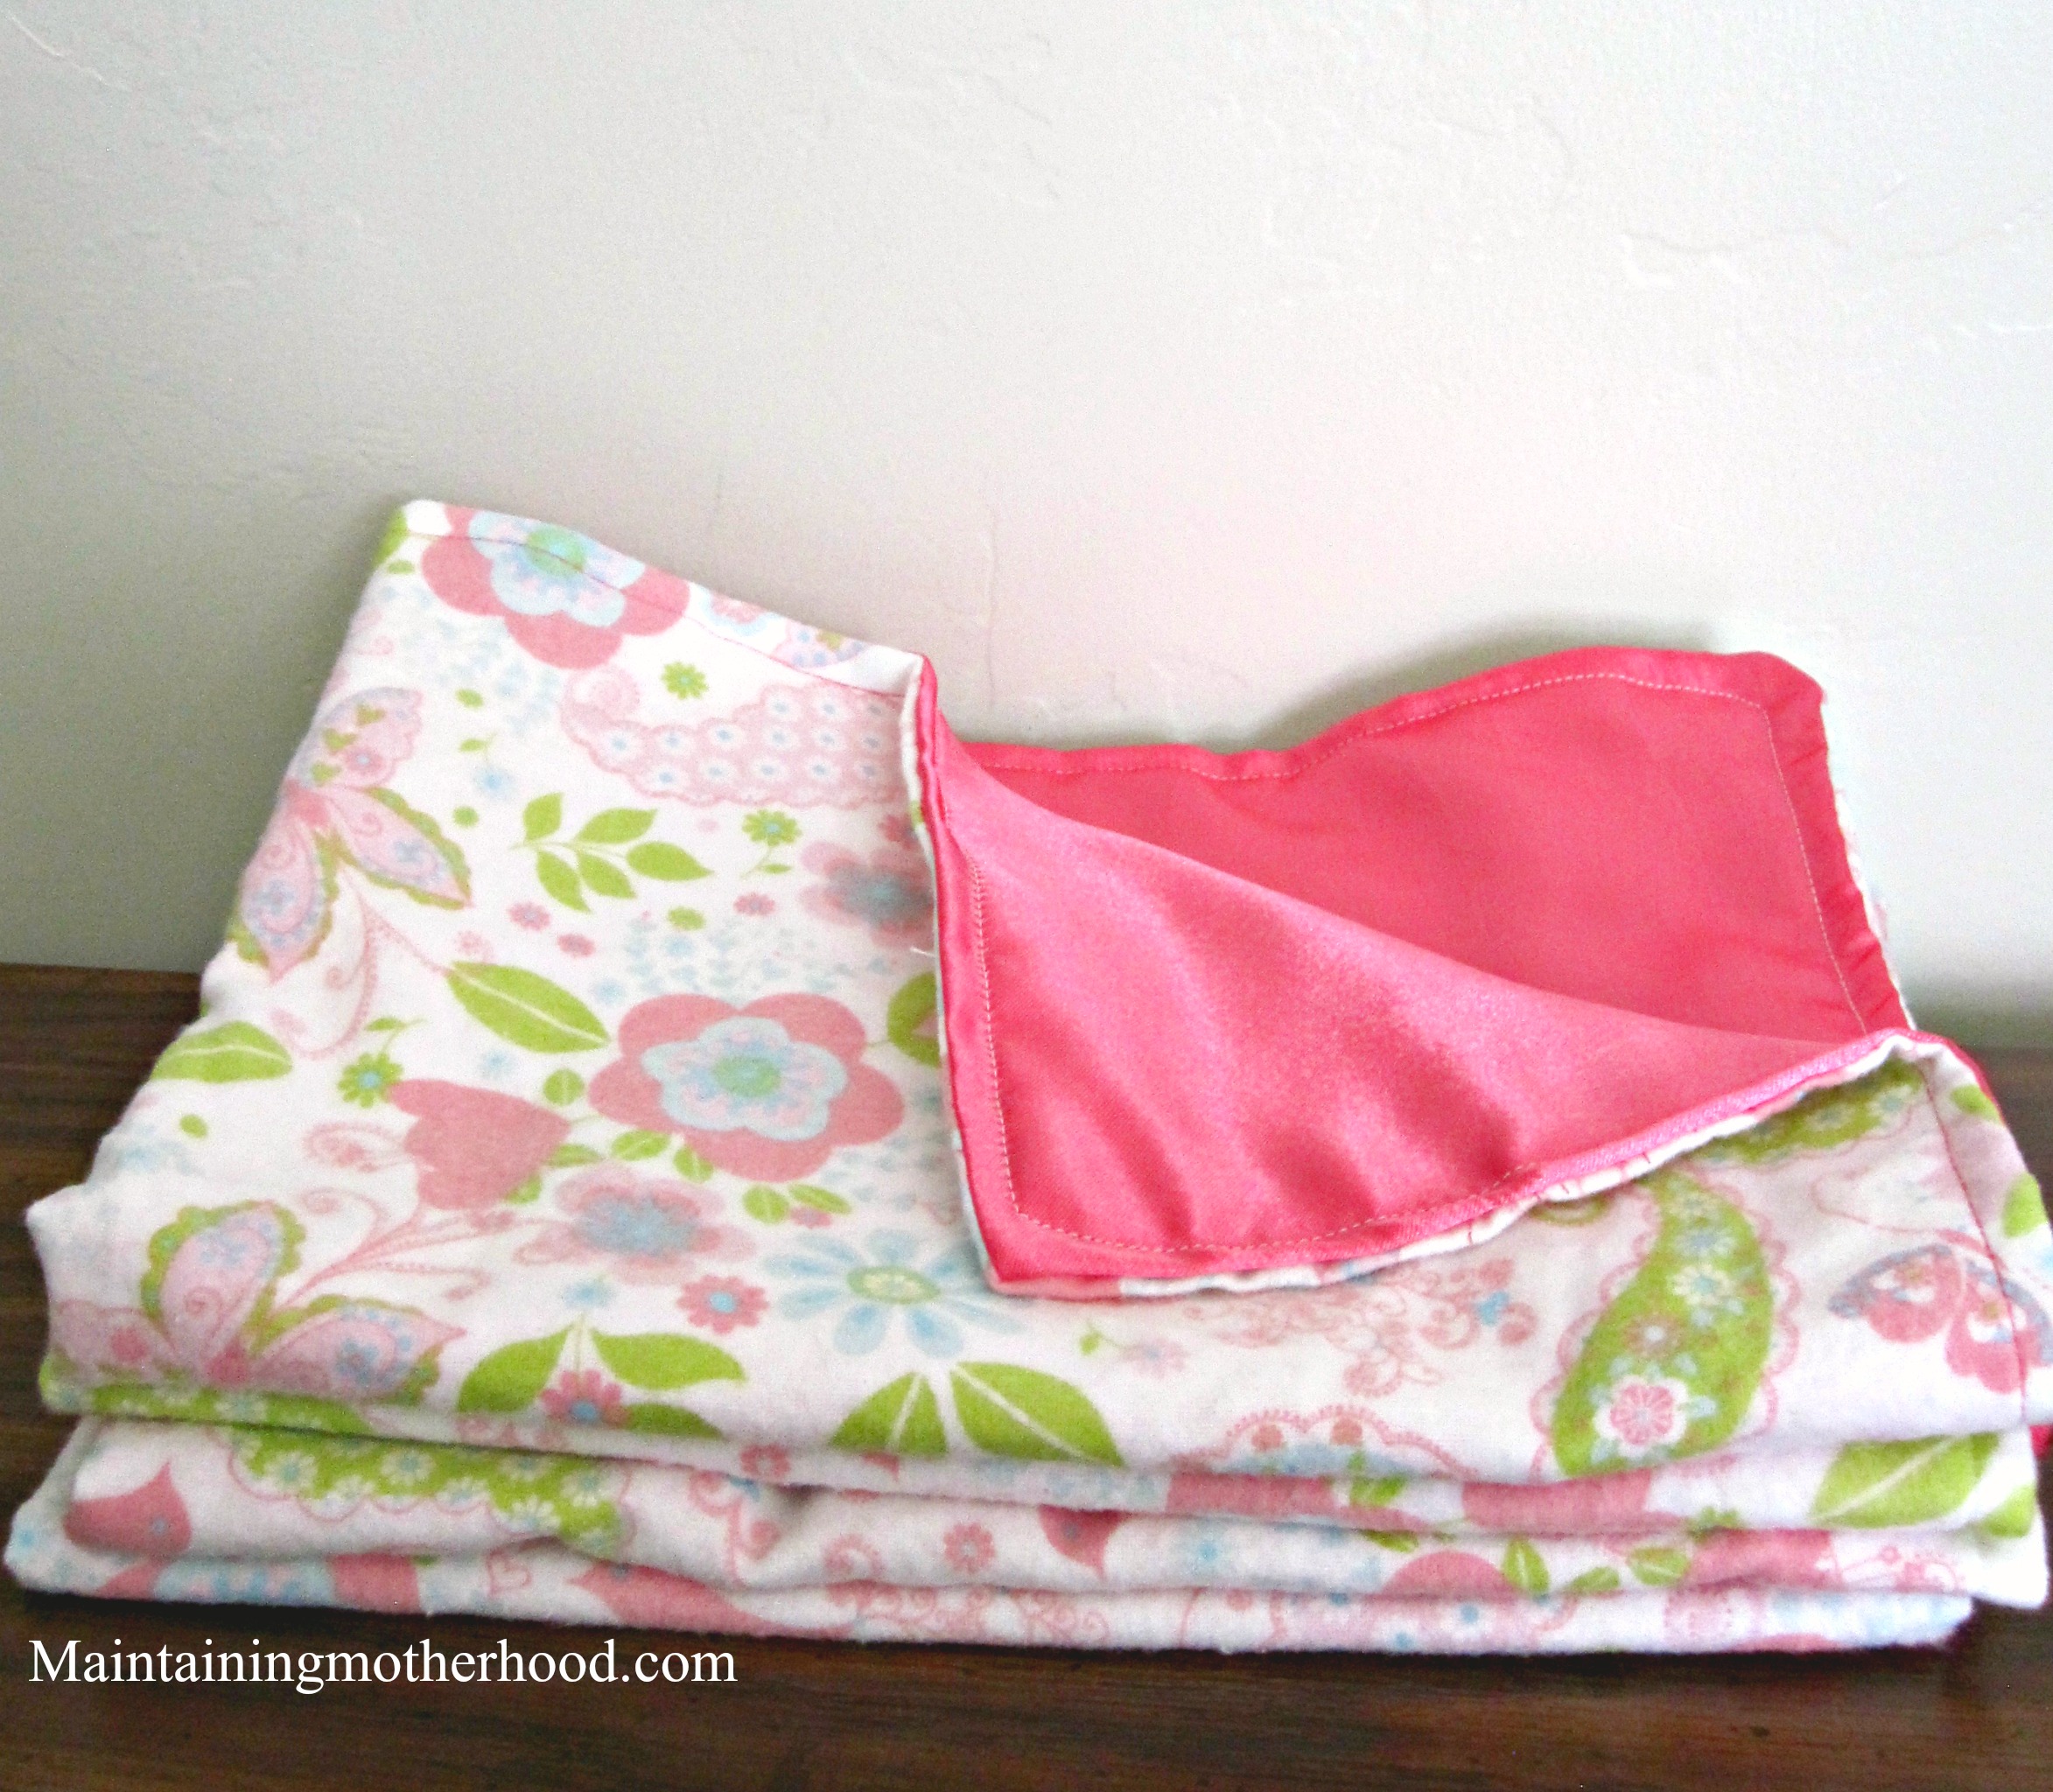
The Birth of the Mini Blankie
The idea for these tiny blankies all started with my 3rd child. First off. I HATE the back-of-the-head bald spot that babies get. I vowed my kids would never have them. I diligently rotated which side of their head my babies slept on at night and made sure to always lay something silky under their head when they were laying on their back. More often than not, this ‘something silky’ became my slip (you know, the kind you wear under your skirts to prevent static).
Well, my 3rd child got really attached to the silky feel of this. I realized the downfall of using a slip when we were sitting in church and my husband was bouncing this fussy child of ours. He stood up to help her fall asleep and after a moment whispered “hey, did you bring the slip?” Yes. Yes I had in fact brought that unmentionable piece of clothing that I then passed over to him. After snuggling in, my child promptly fell asleep.
The next day, I made her some silky blankies of her own to avoid further embarrassment of ‘airing my laundry’ to our church congregation.
Benefits of a Mini Blankie
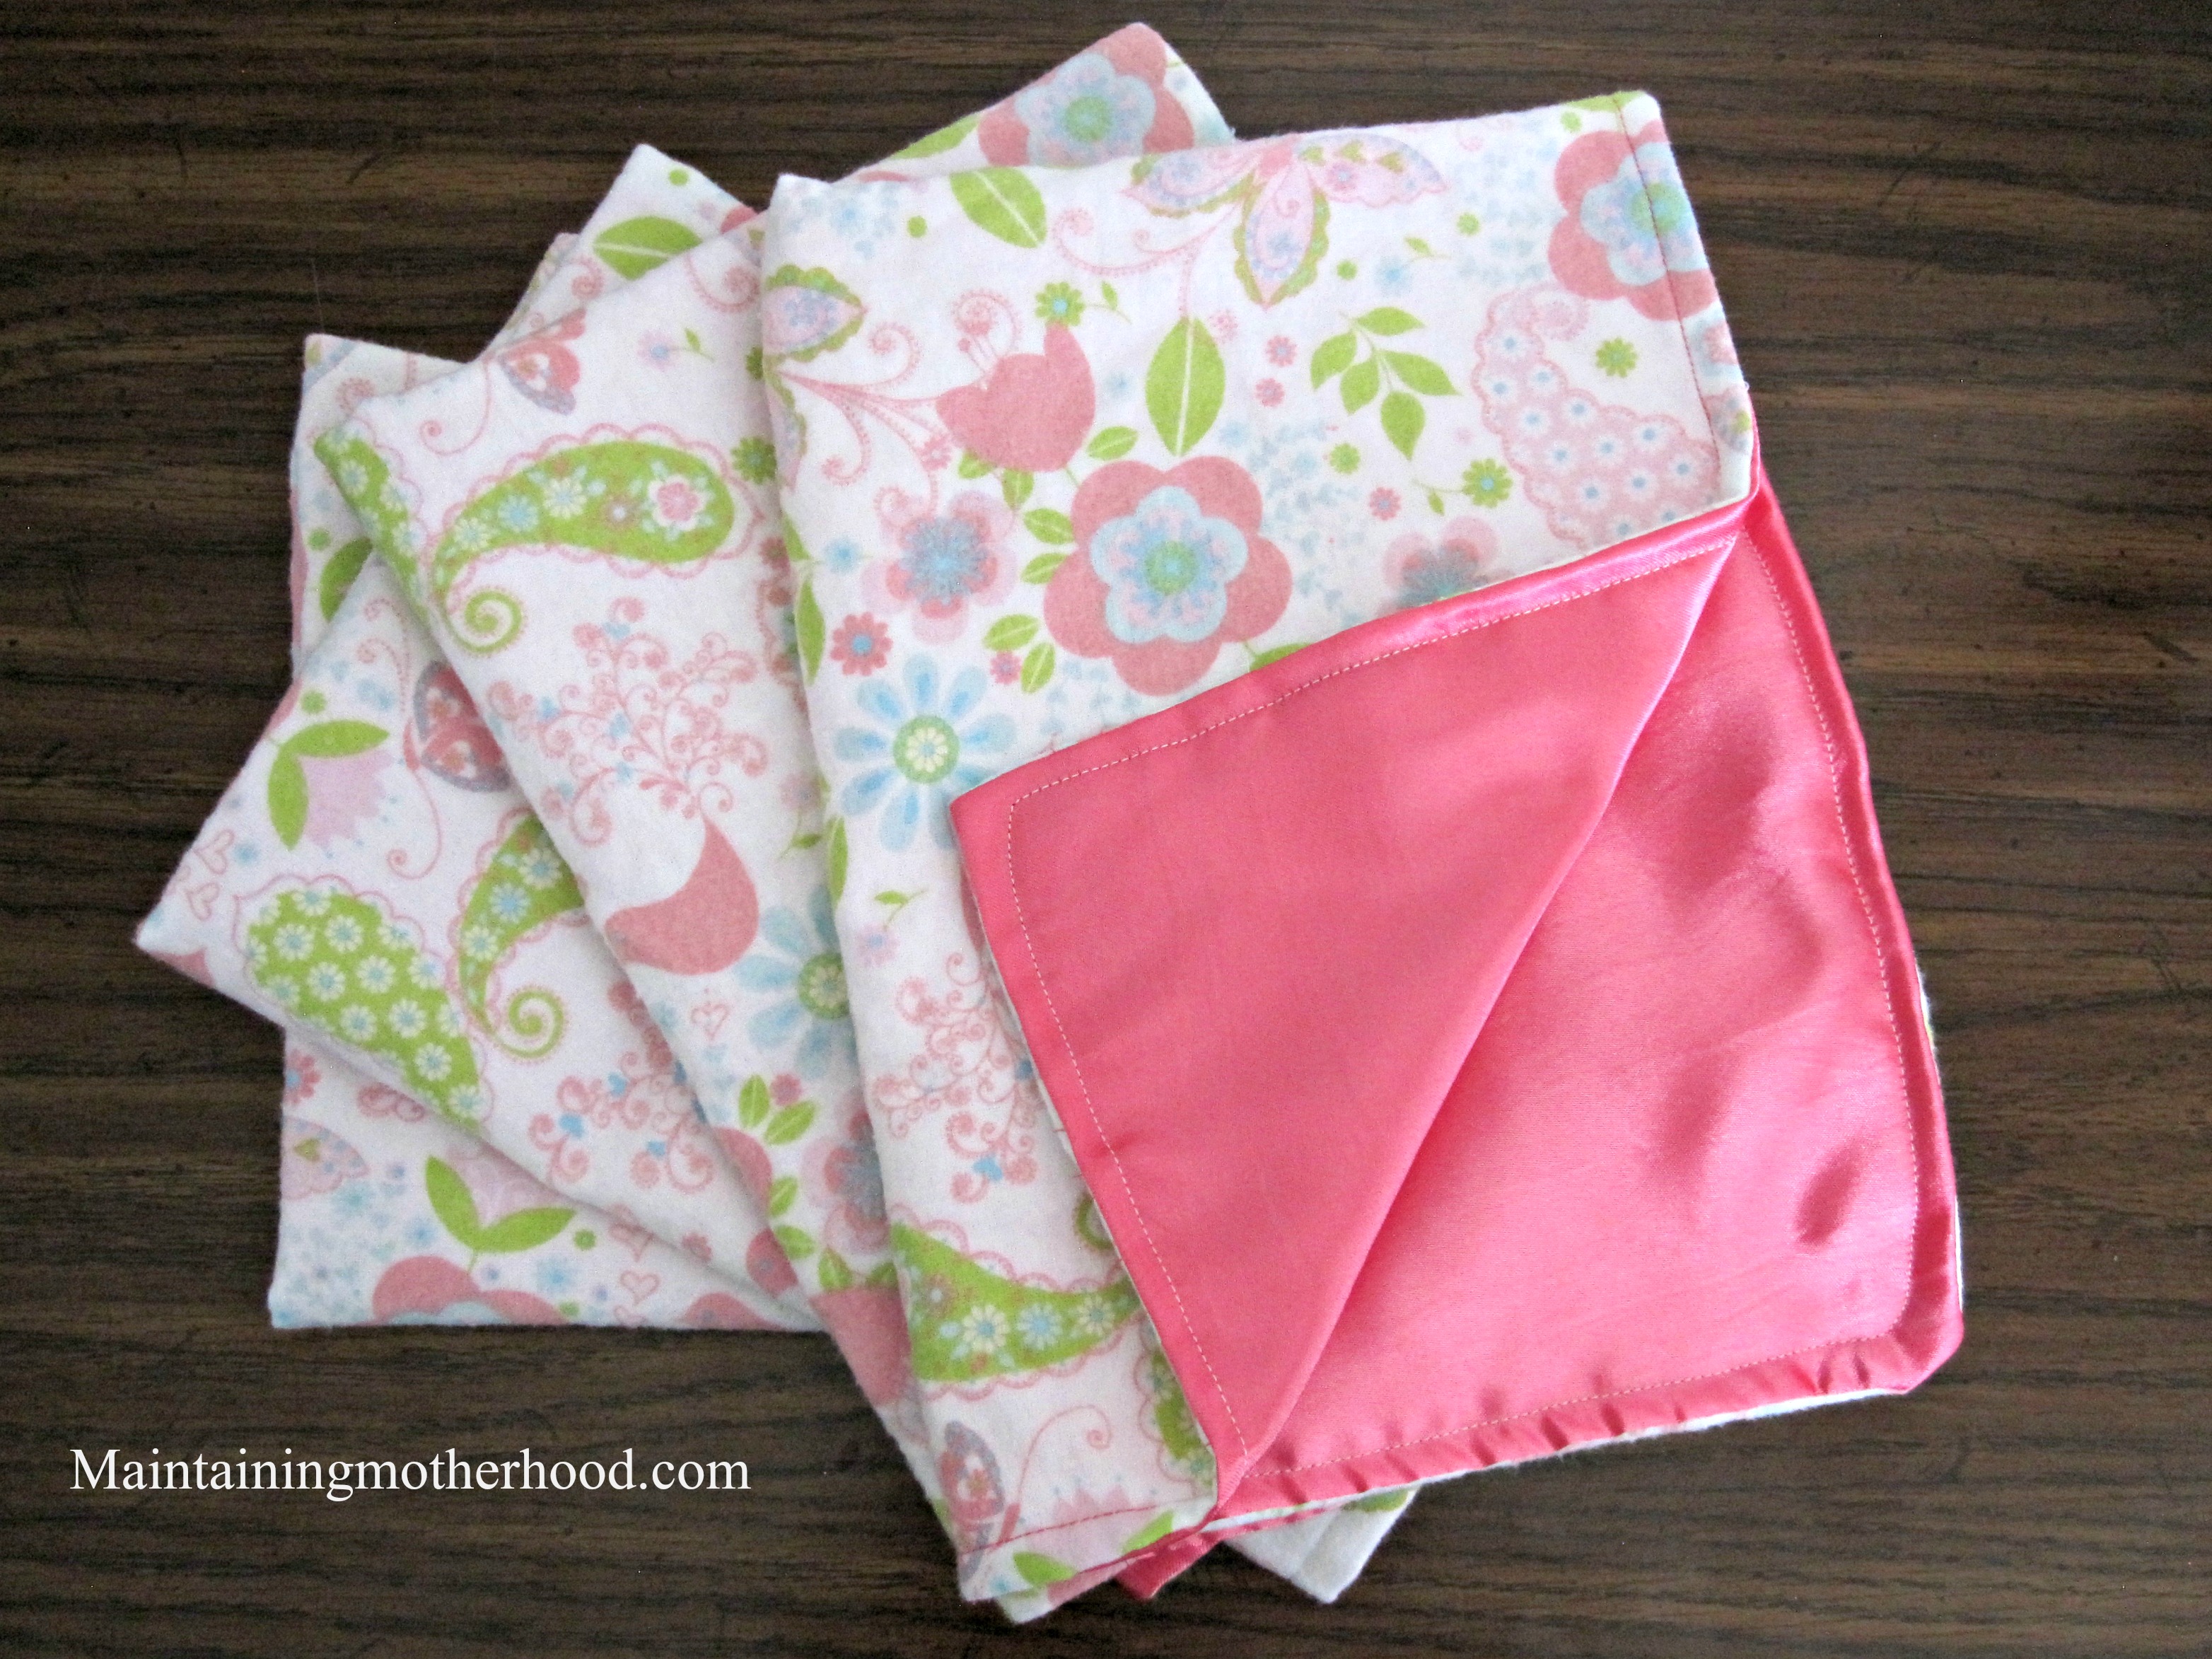
For a super low price (I think mine usually end up around $5) I am able to make 4 identical blankies. They are the perfect size for cuddling, yet not long enough to drag on the ground getting tattered and dirty. Because they are identical, you can easily switch them out and wash them without your child ever having any separation anxiety from their special blankie. You can wash or lose a blanket or two without losing your mind! (Knuffle Bunny anyone?)
Also, because they are small, the child who prompted the making of these blankets in the first place, now uses them on her baby dolls. They are the perfect size!
How to Make Your Own Mini Blankies
Buy, Wash, and Iron Fabric
I bought a yard of silky costume fabric and a yard of cute flannel. This provides two different varieties of soft textures for your child to enjoy! I wash them and dry the flannel in the dryer. I usually avoid putting these blankets in the dryer after they are sewn. The costume fabric doesn’t do so well after awhile. Ironing these fabrics will make them MUCH easier to work with.
Cut 4 Blankets
I simply fold each fabric in half twice. In order to cut the flannel, I make a small snip and tear instead of cutting. This ensures that I get straight lines. I then use the flannel pieces as a template to make the edges of the silky fabric straight.
Put Right Sides of Fabric Together
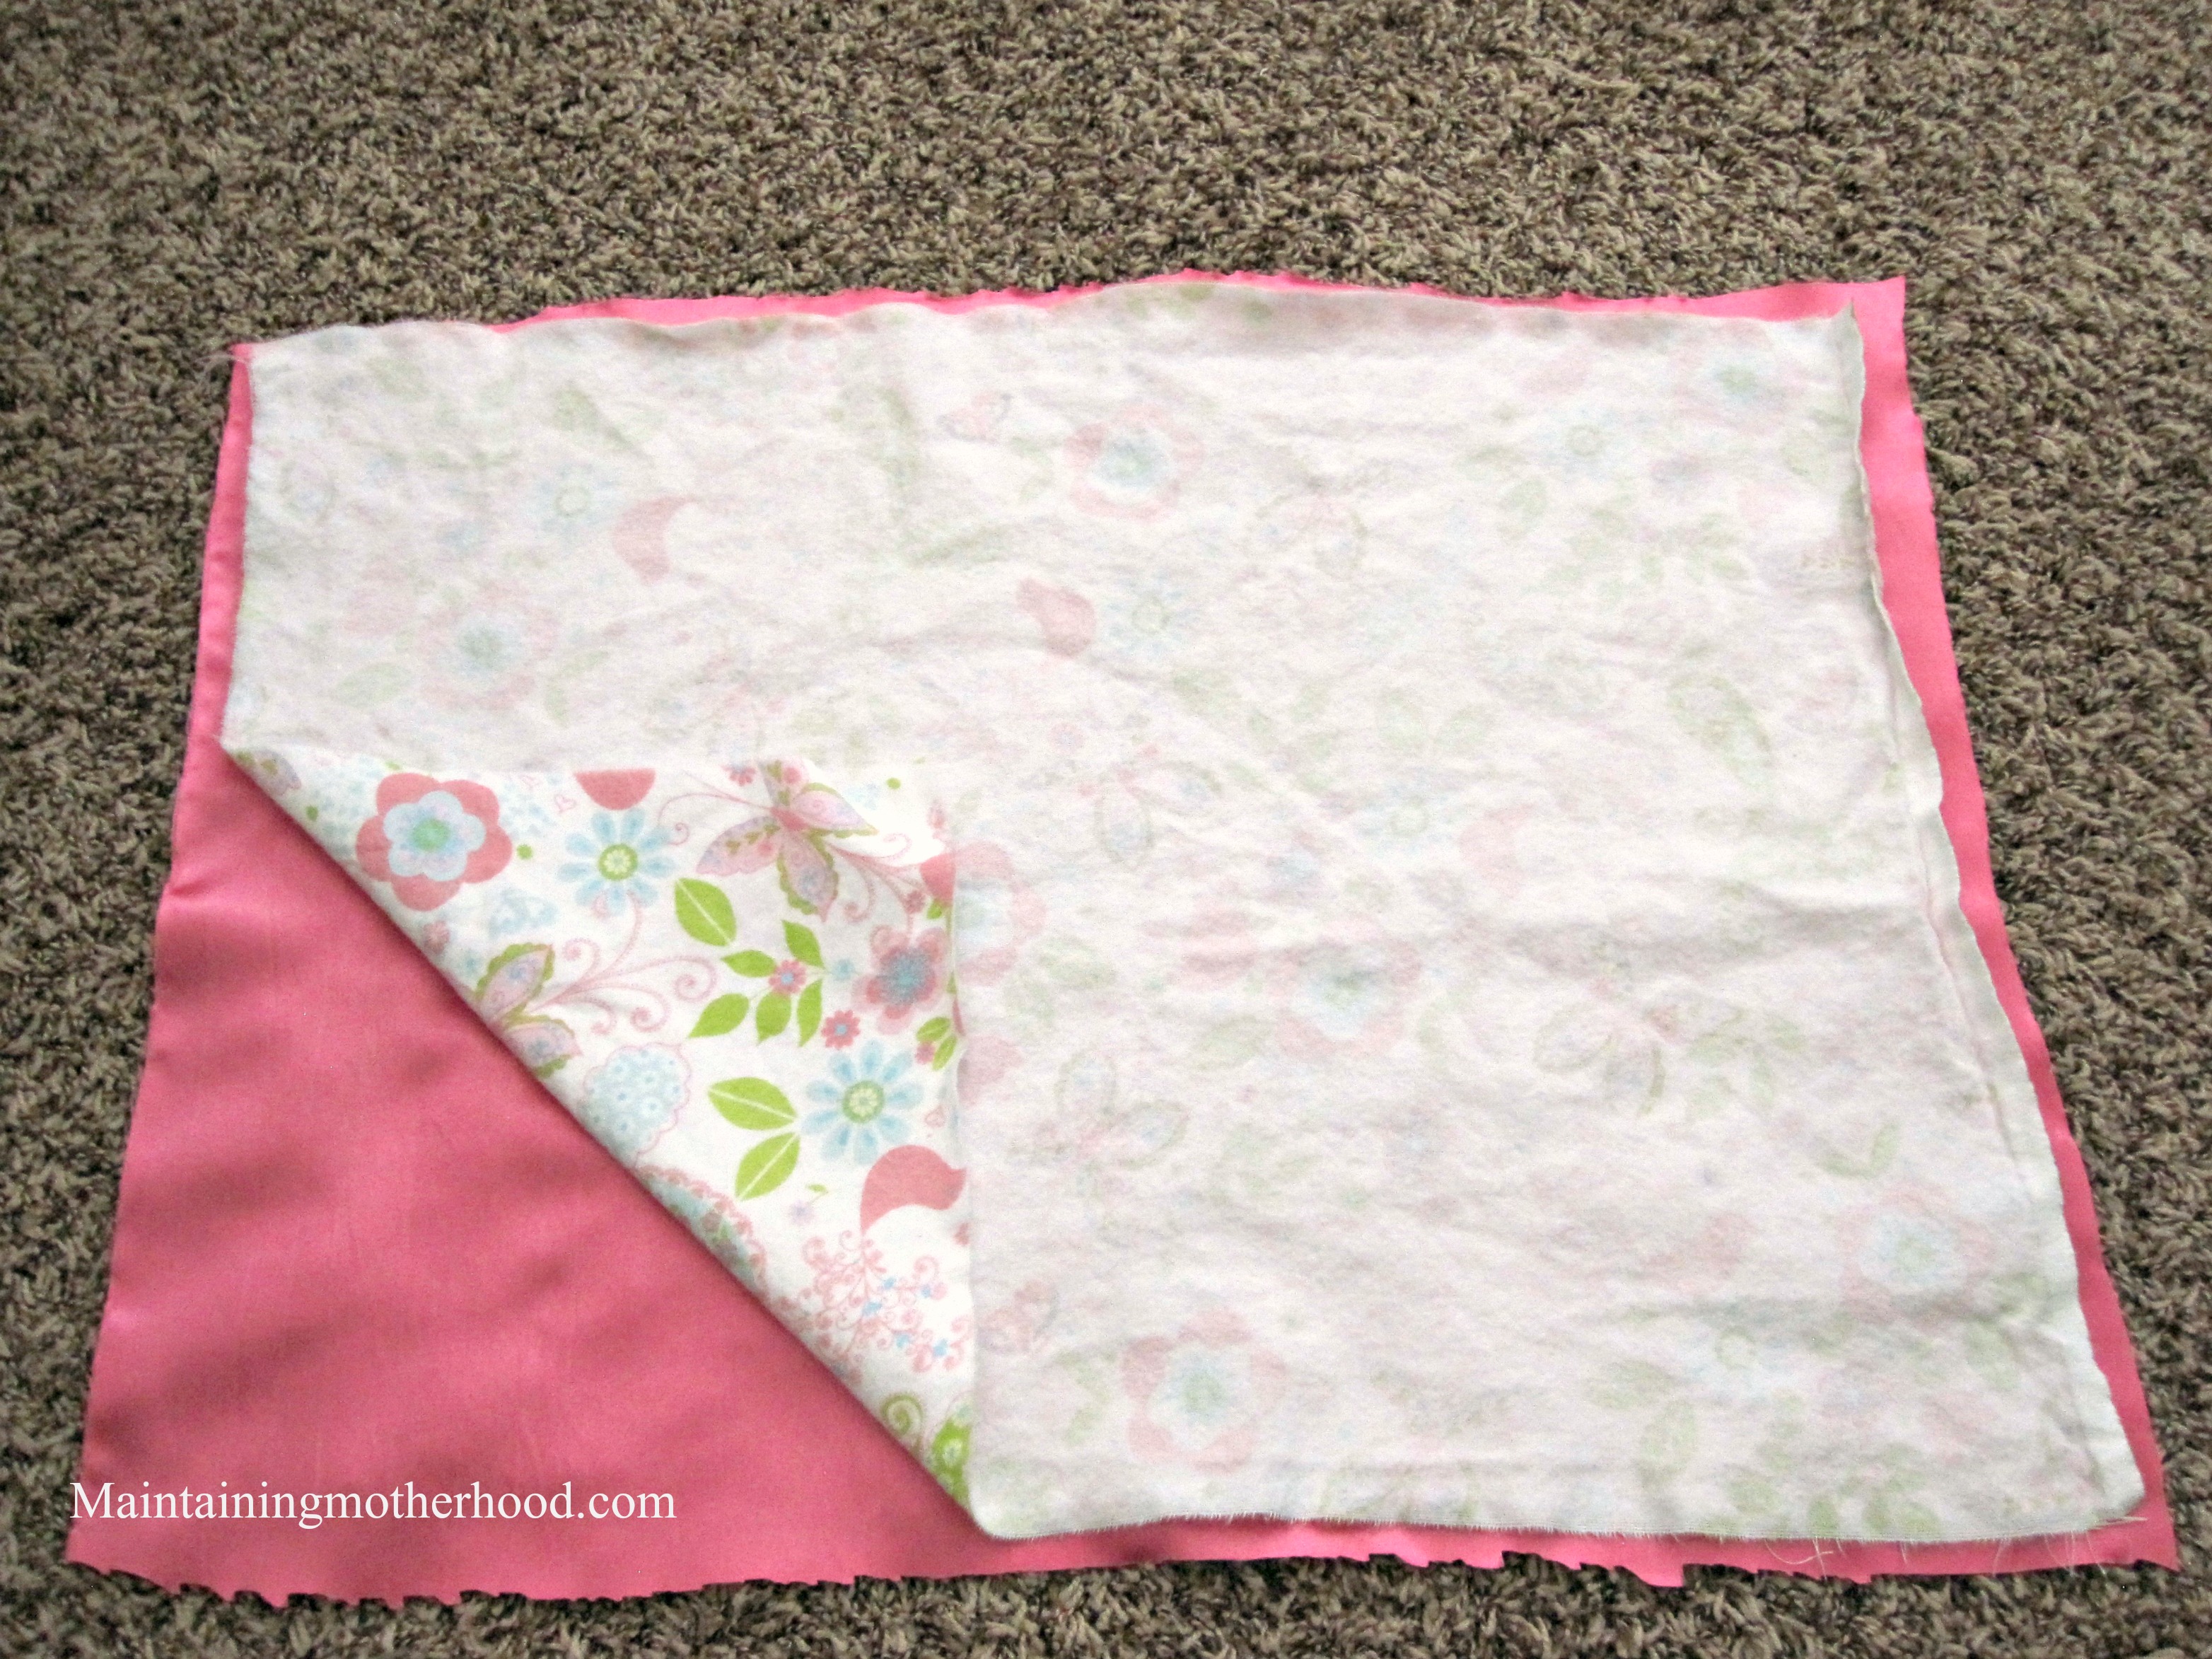
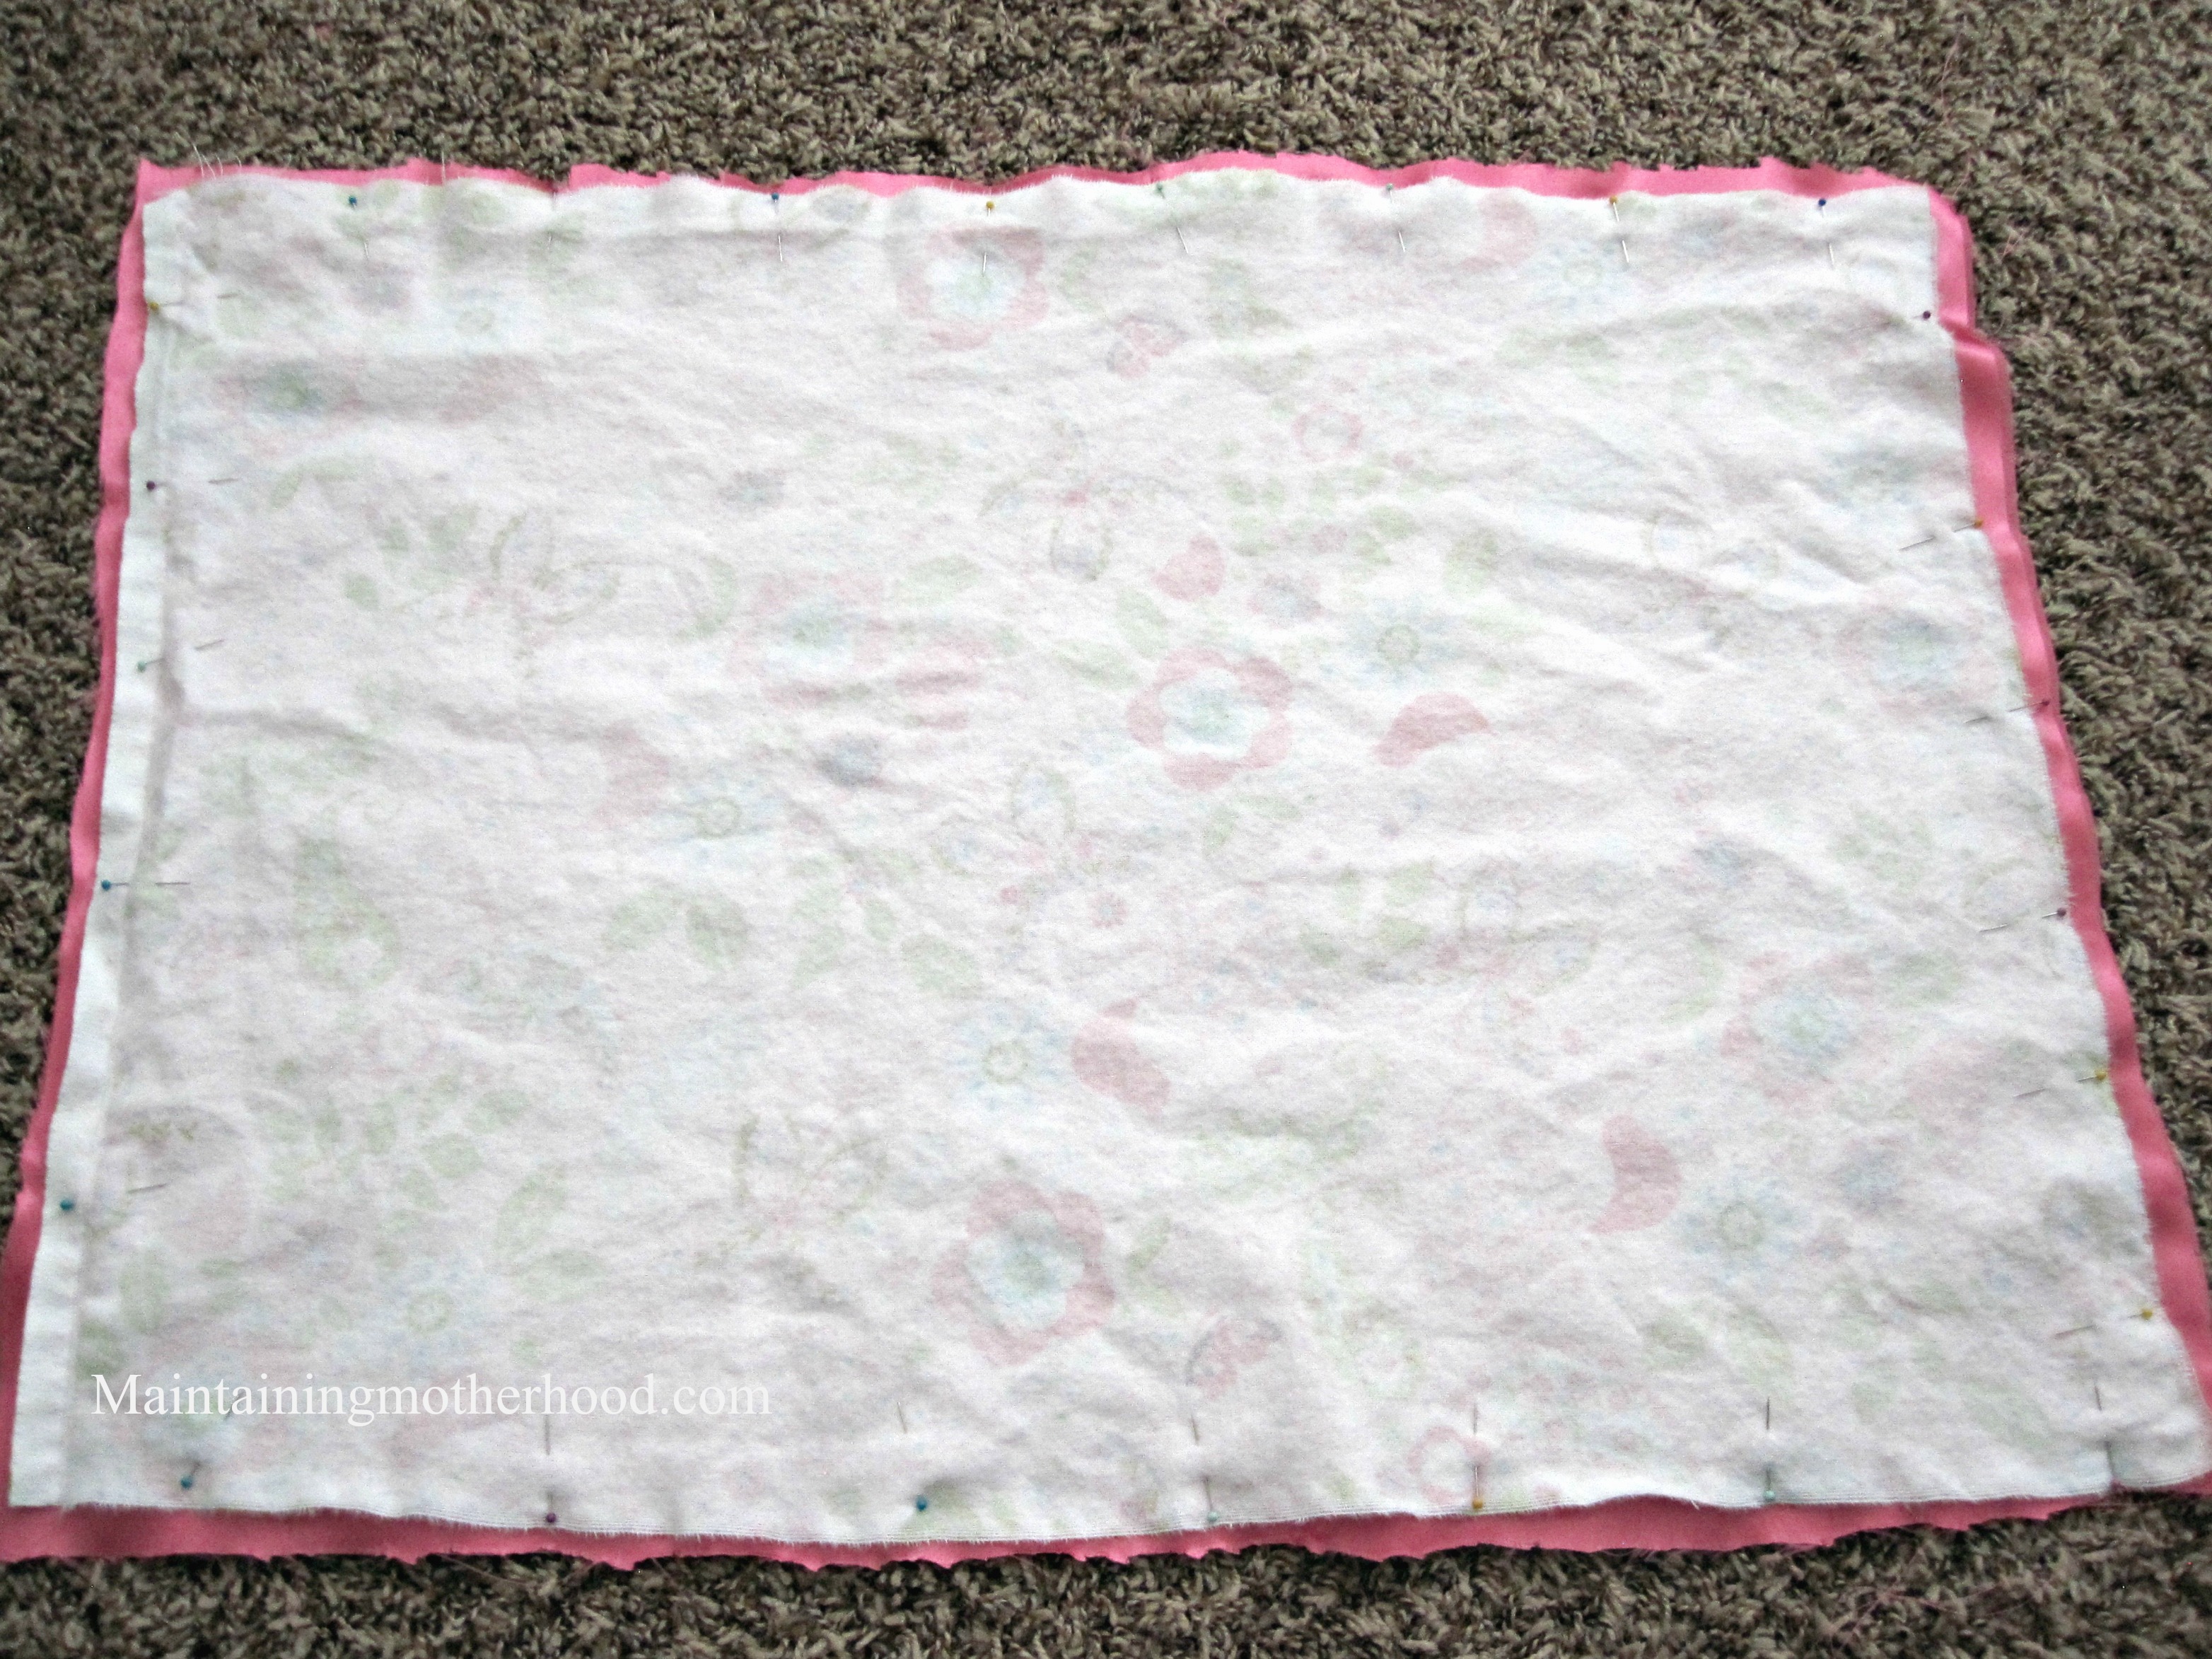
Liberally Pin
I’m not usually one to use many pins, but these two fabrics are extremely slippery. Without many pins, this can become a VERY frustrating project!
Sew Around the Edge
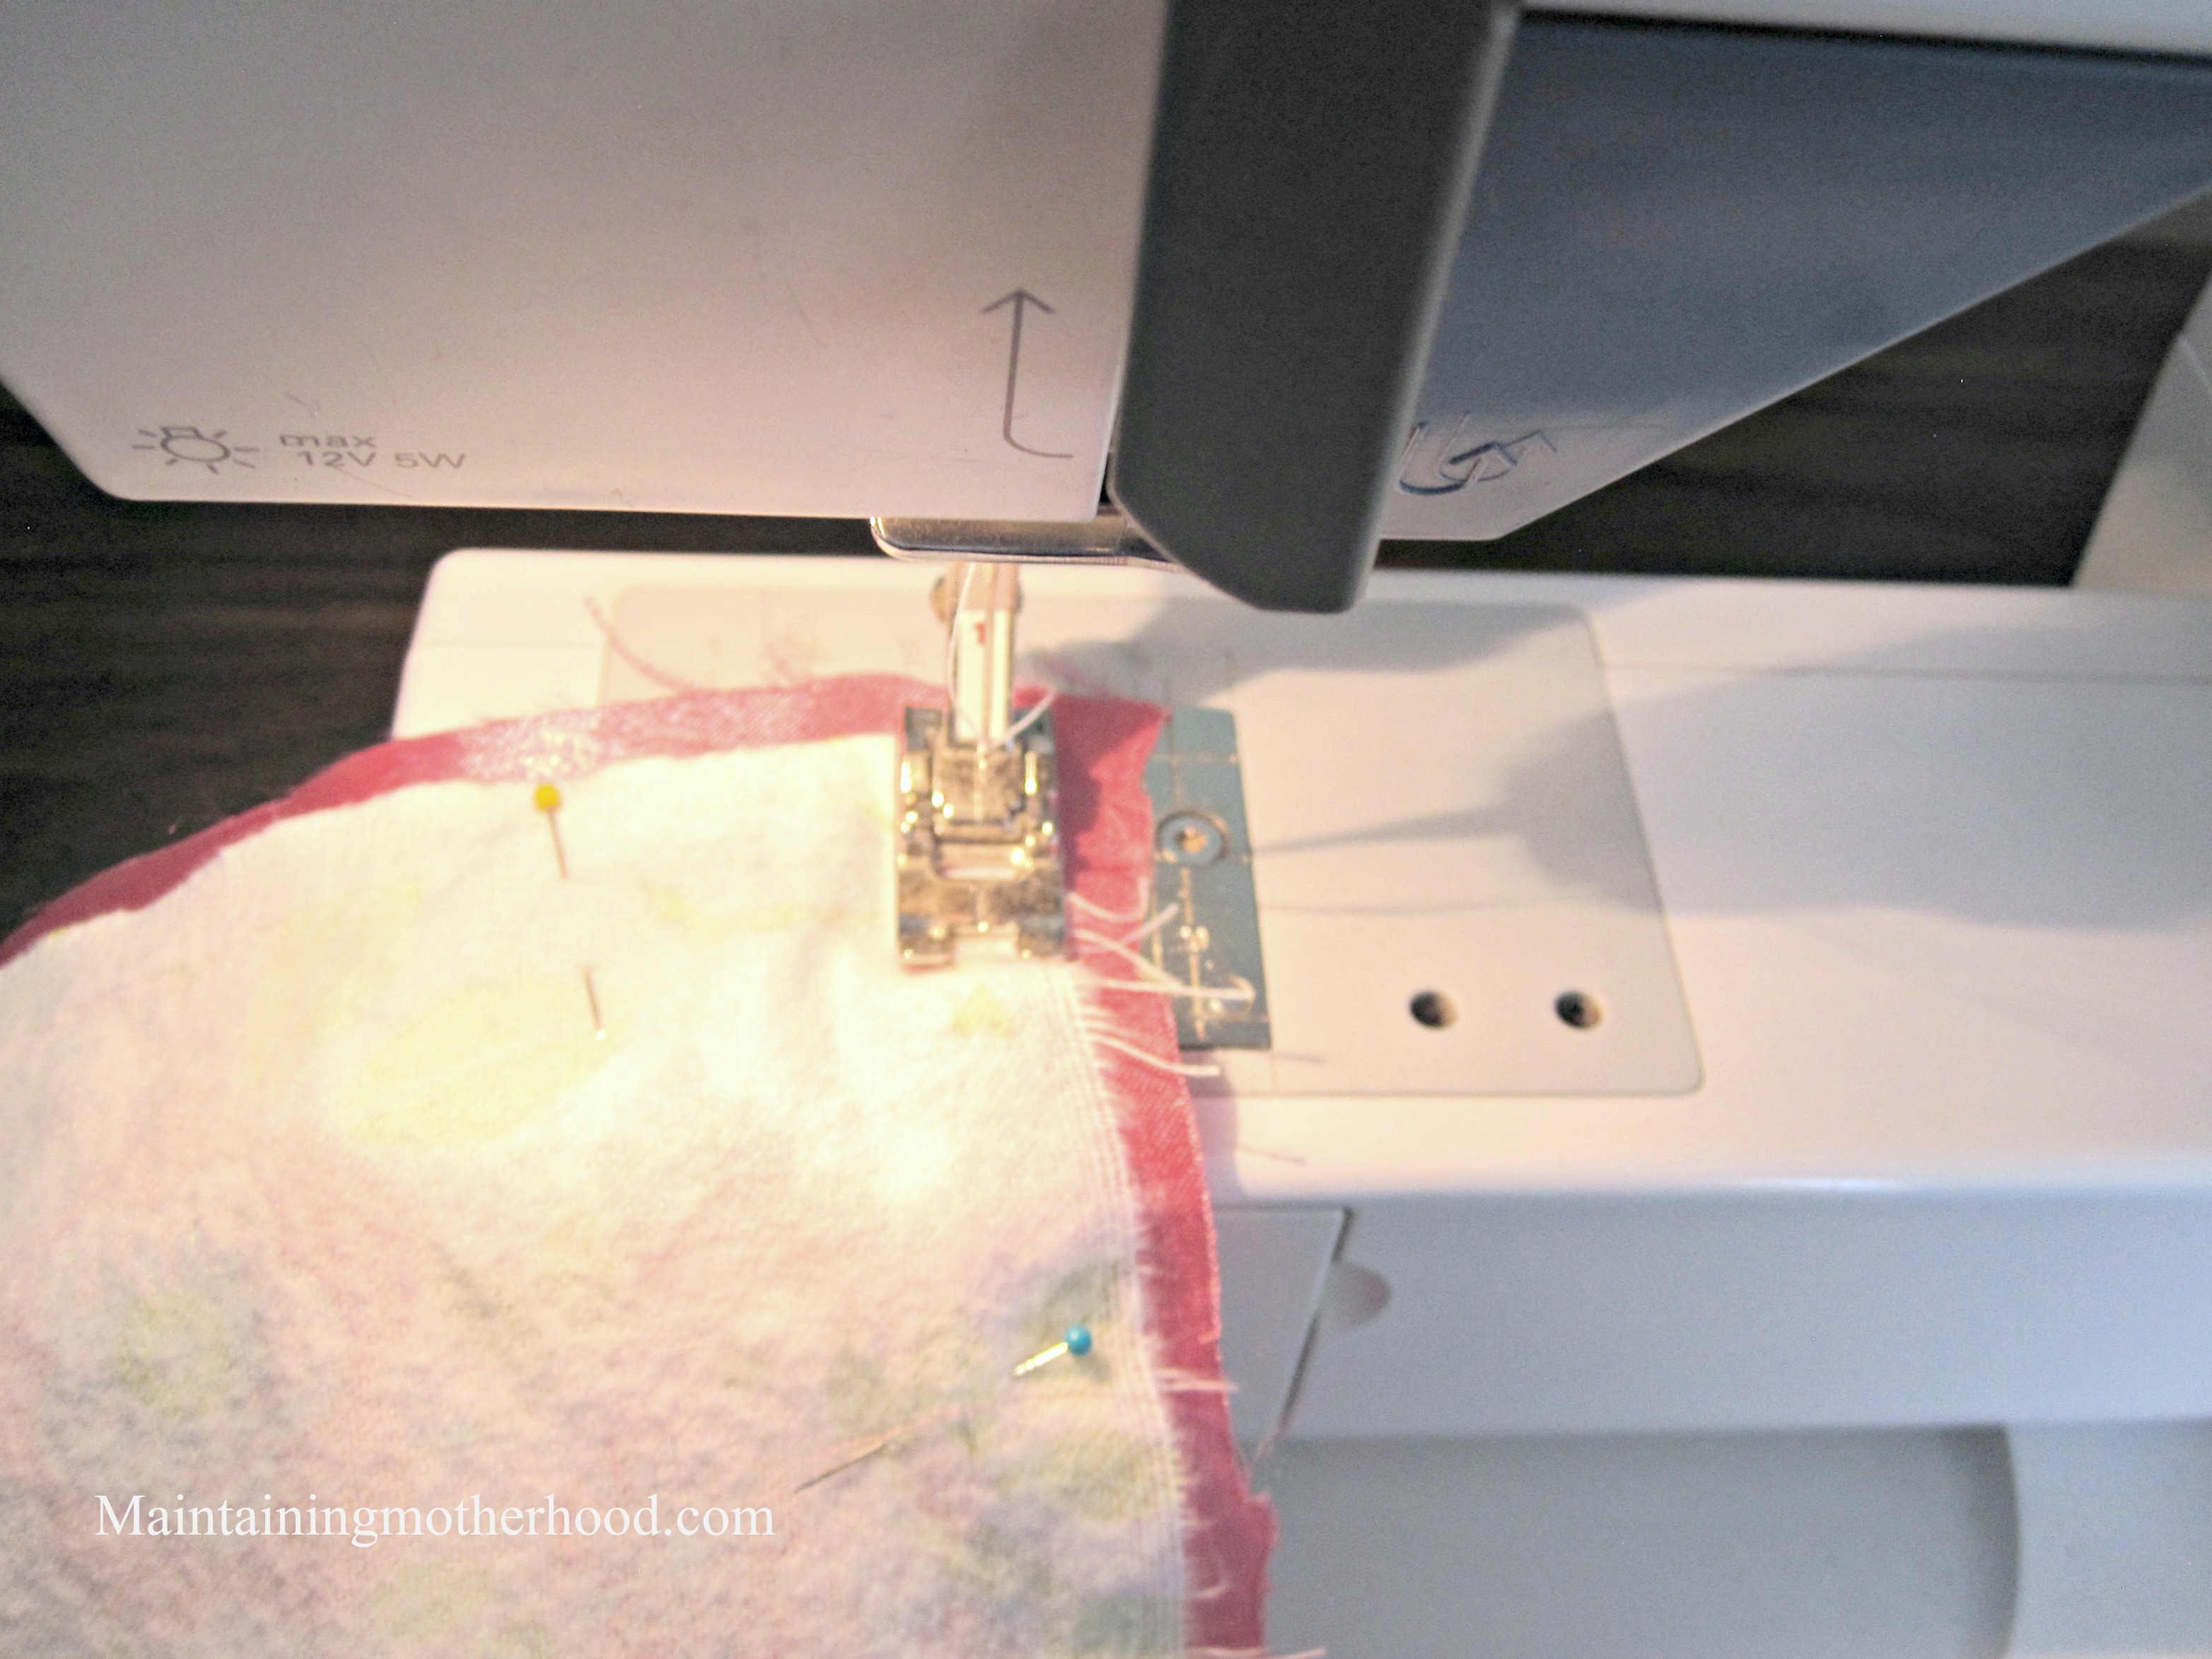
Line up the edge of the presser foot with the edge of the flannel (since you know for sure this edge is straight). Sew around all the edges leaving one small side section open so you can turn the blanket the right way. Also, make sure your needle is sharp so it doesn’t cause the silky fabric to run or snag!
Turn Inside Out
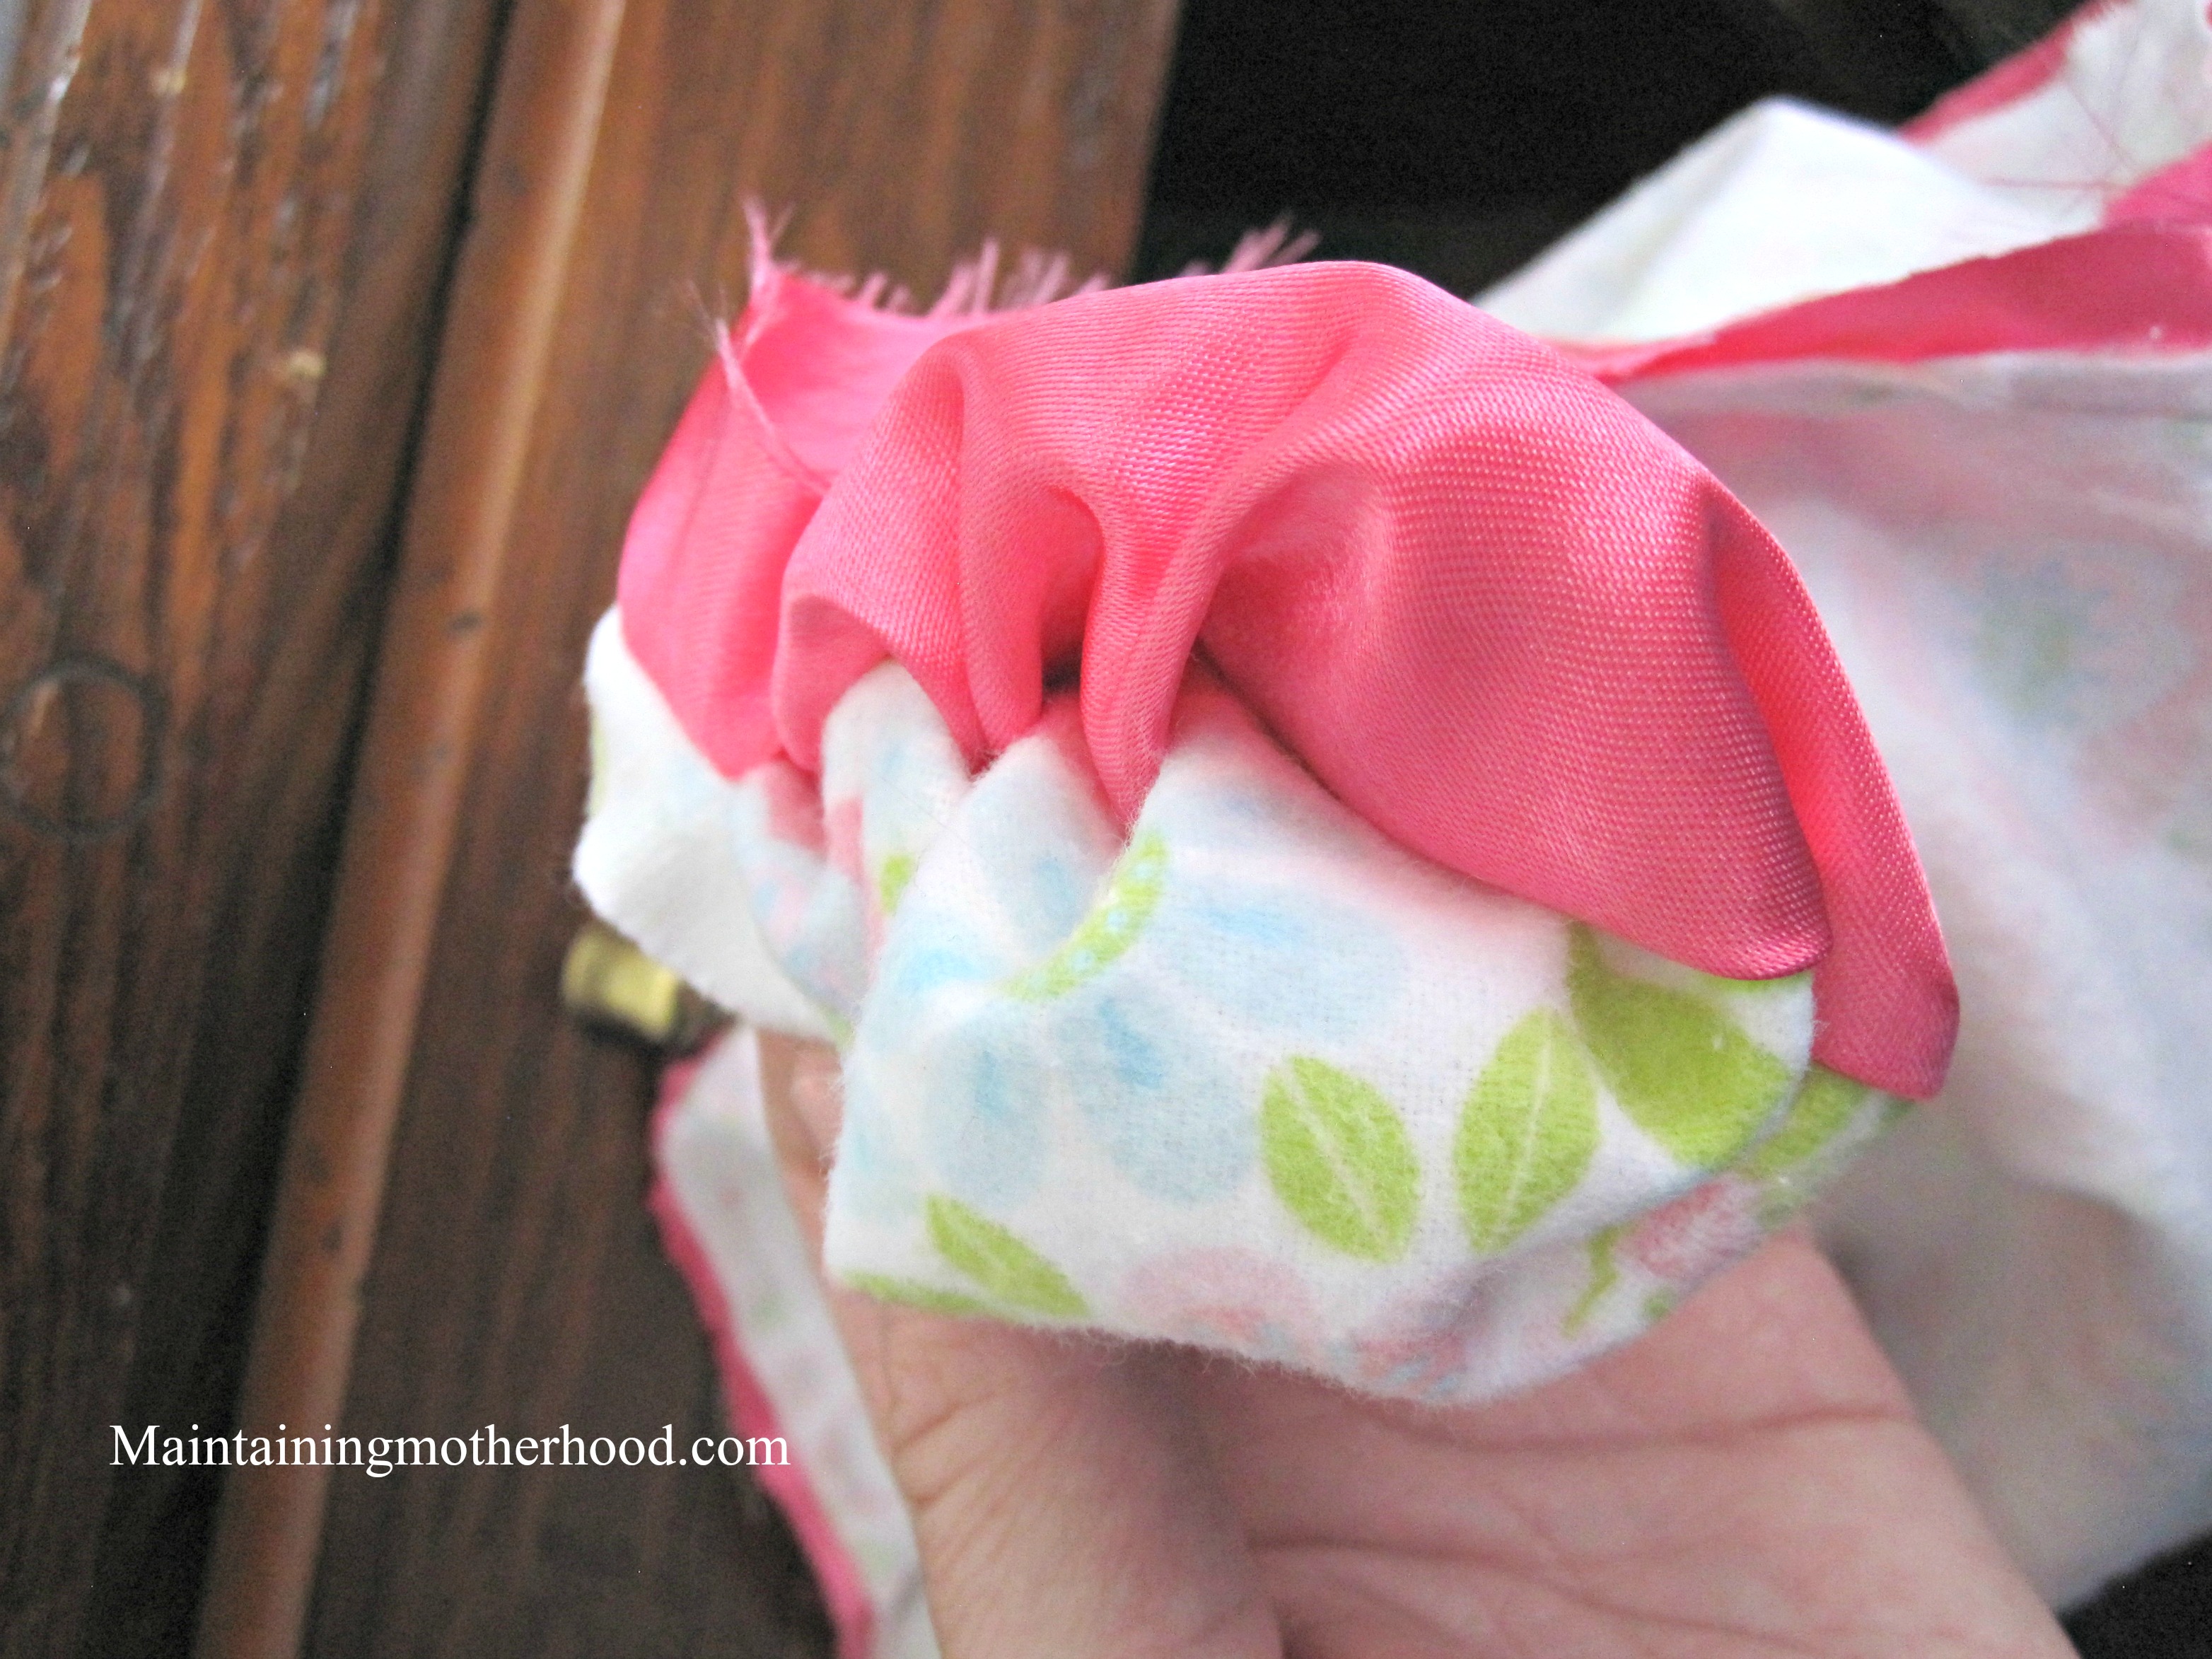
Using the small area you left unsewn, turn the fabric inside out, so it is now the correct way.
Top Stitch Around the Edge
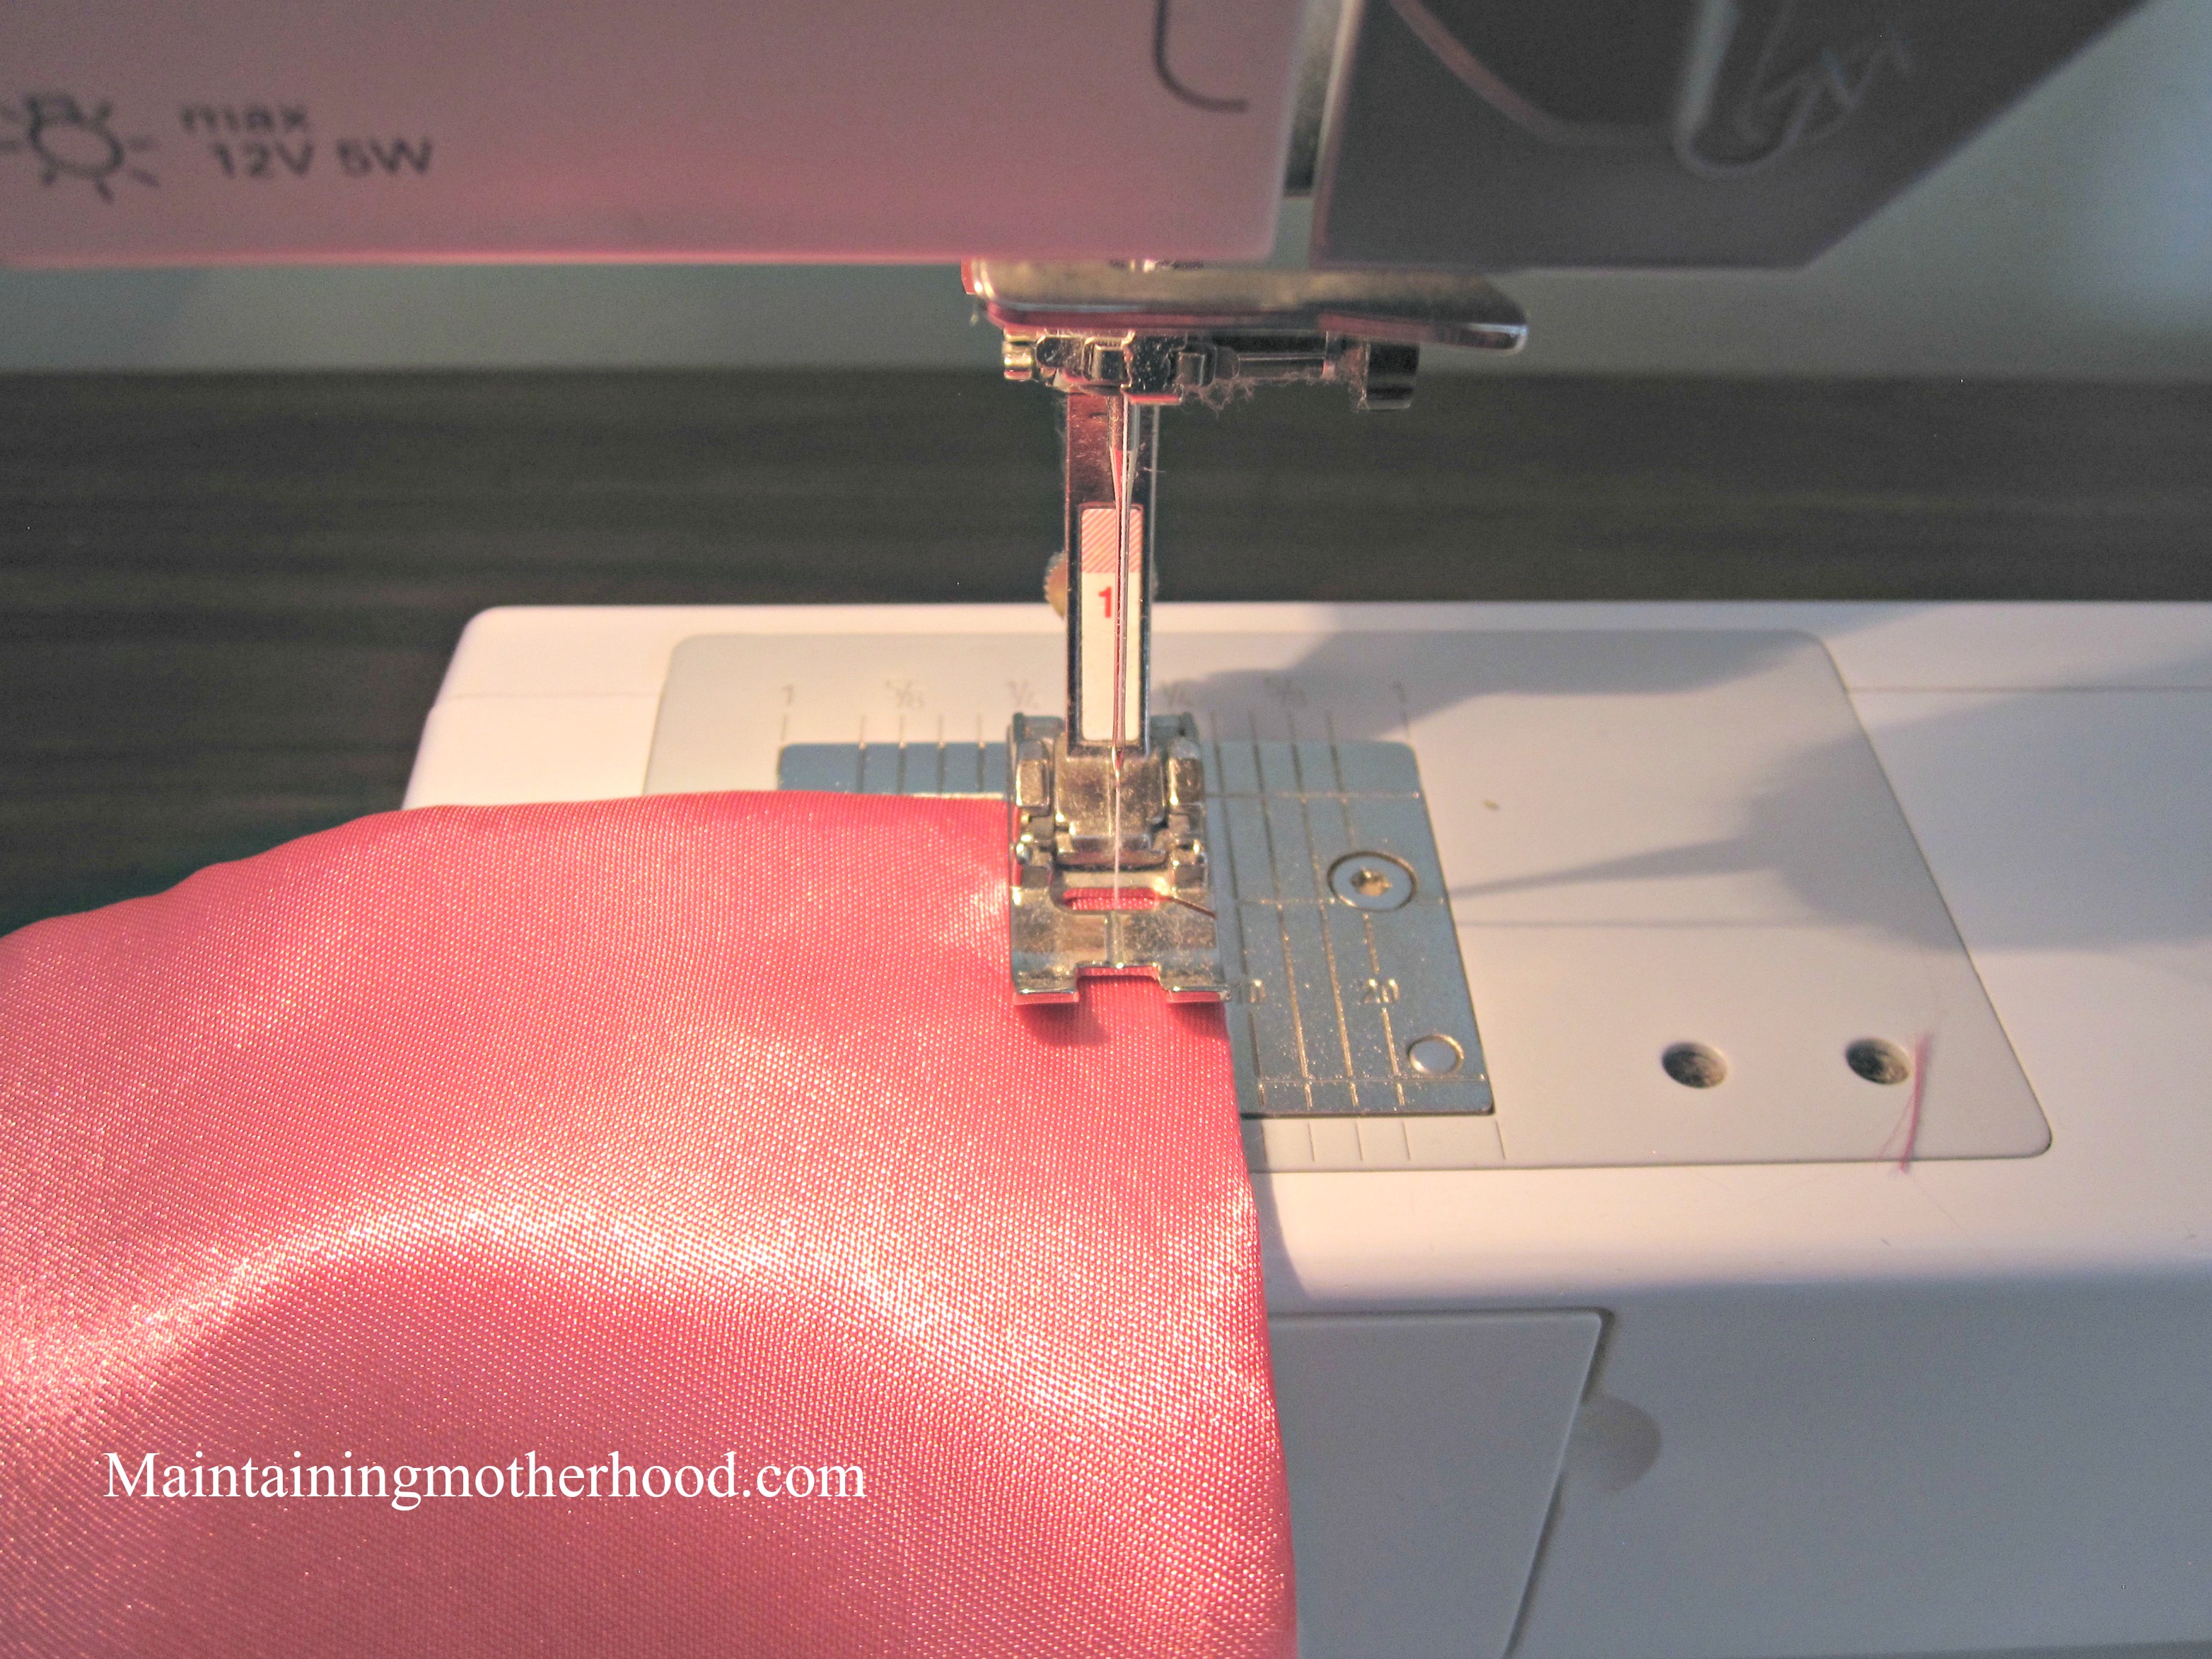
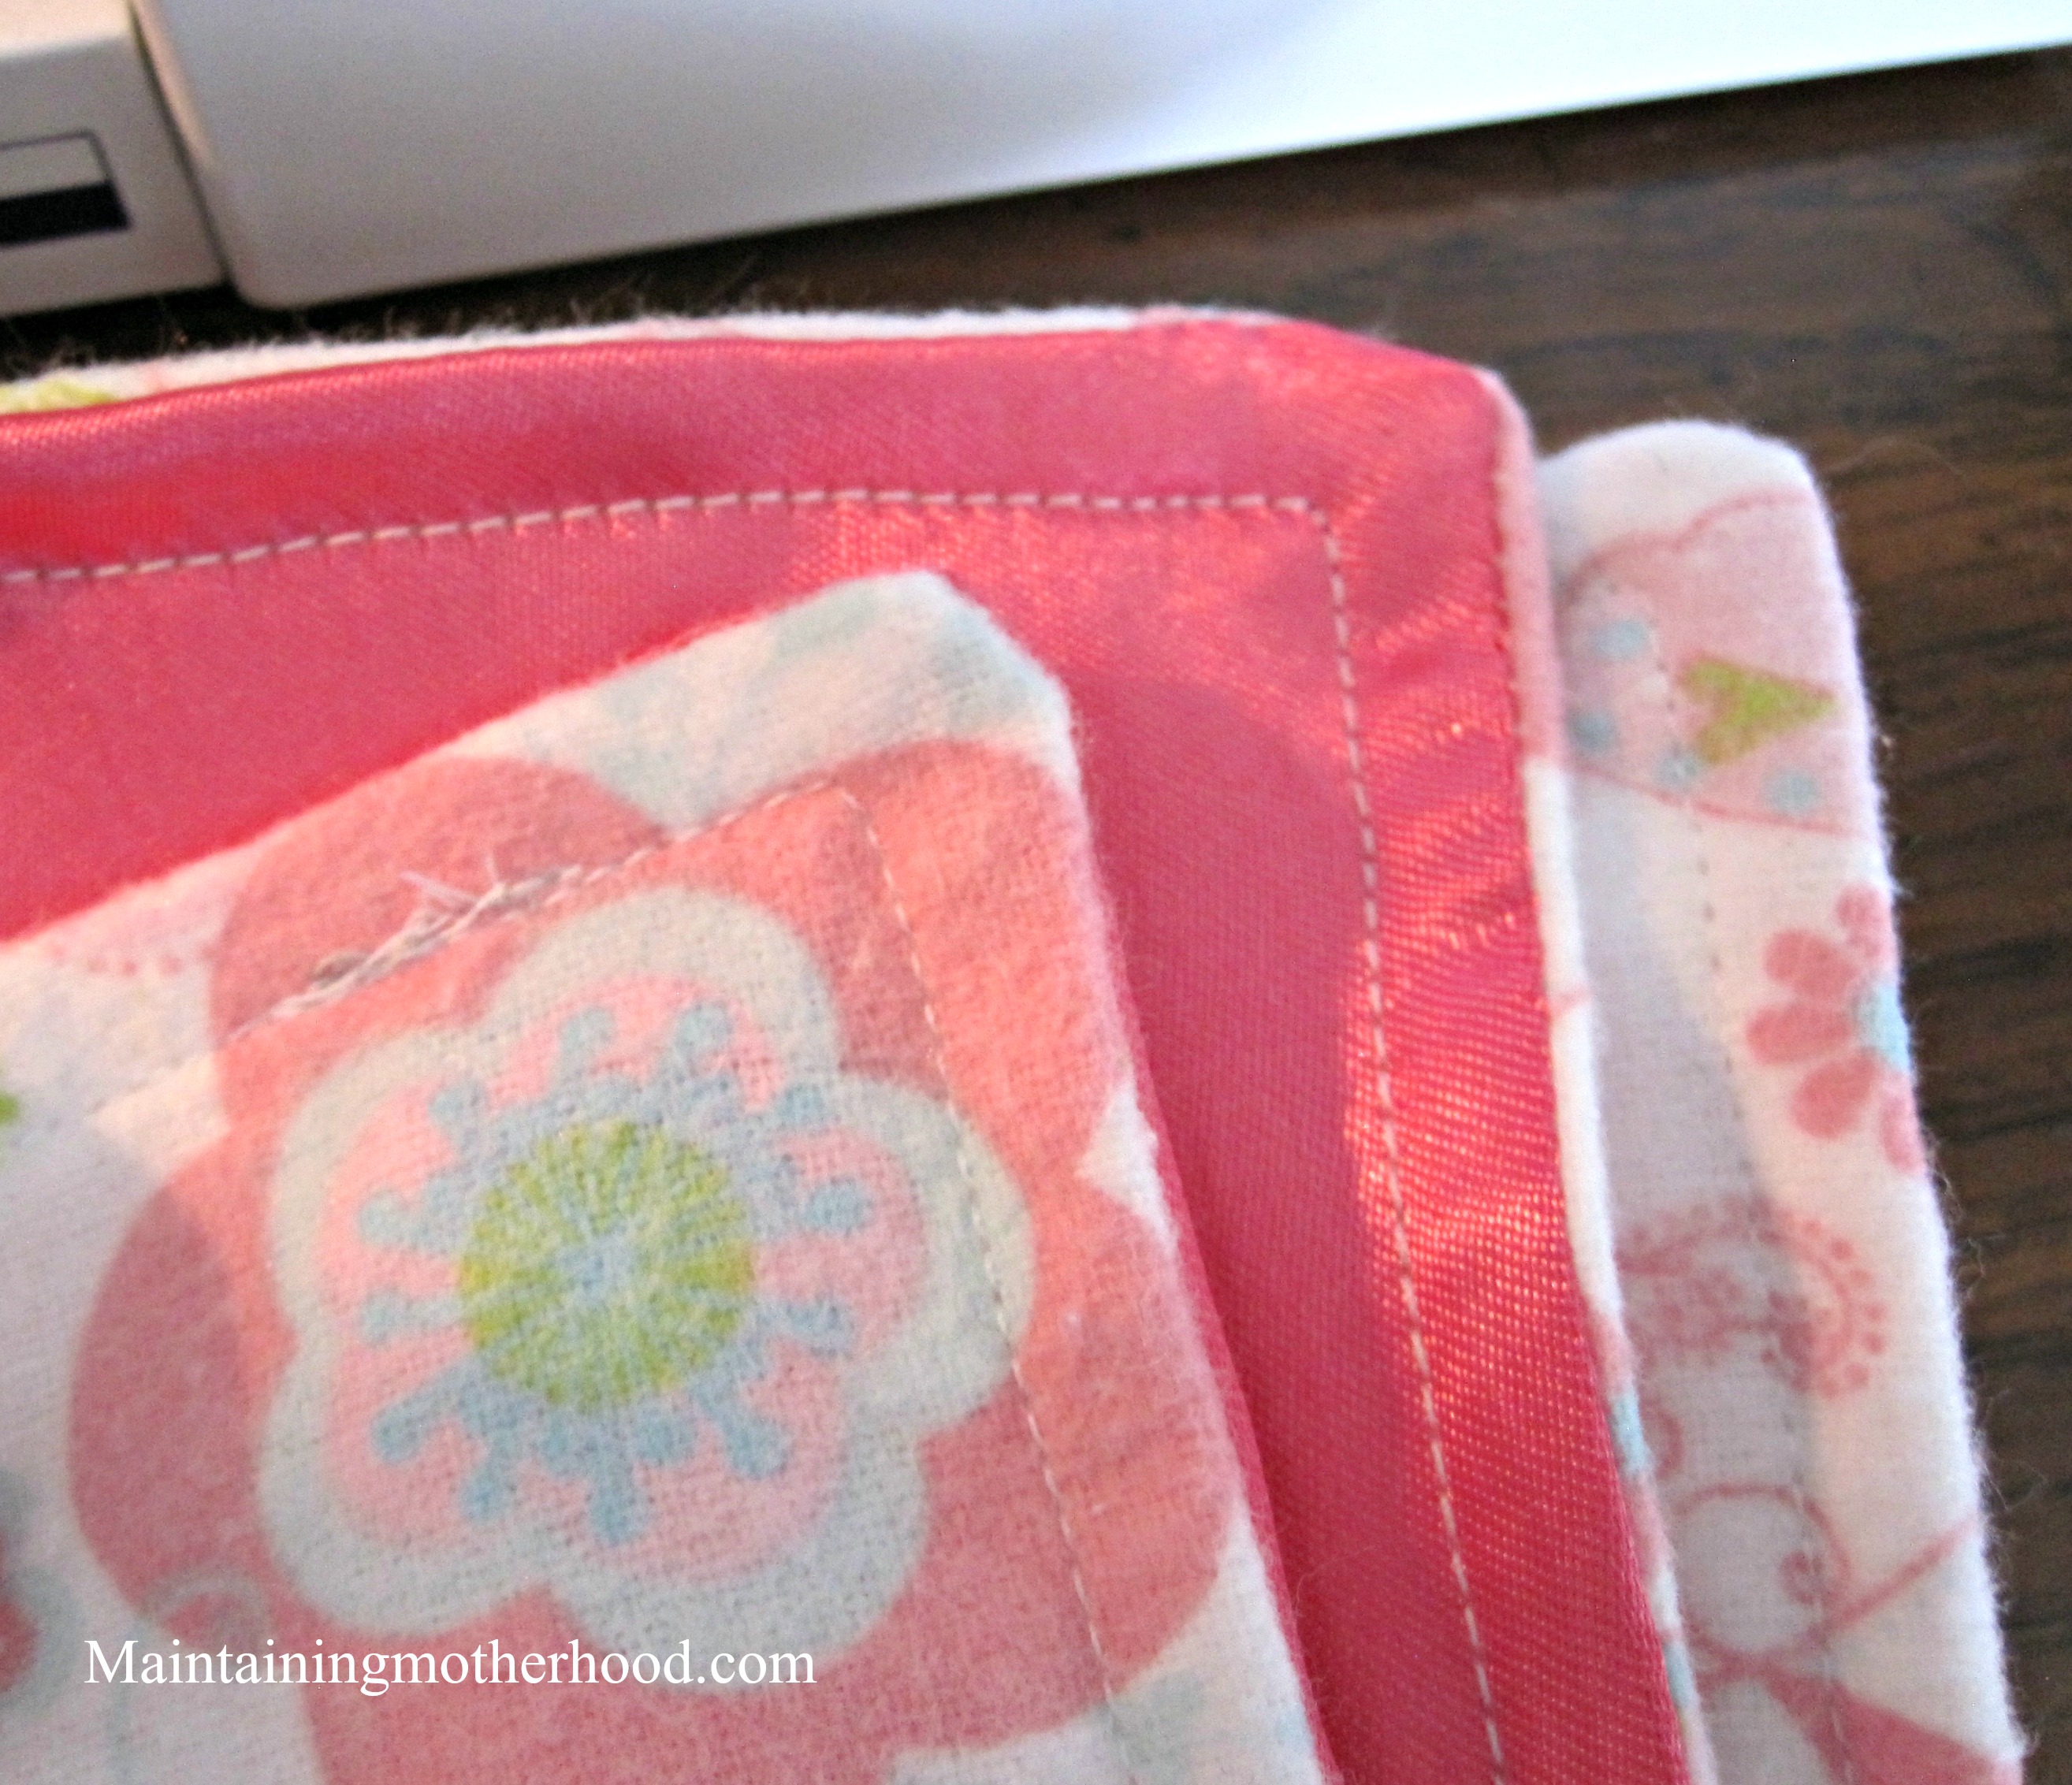
Top stitching around the edge will give the blanket a more finished look. It is also the easiest way to close up the hole left from turning the fabric the right way. Again, I just line the edge of the presser foot up with the edge of the fabric. Sewing with the silky side up generally keeps it from slipping and helps keep the edges lined up more easily.
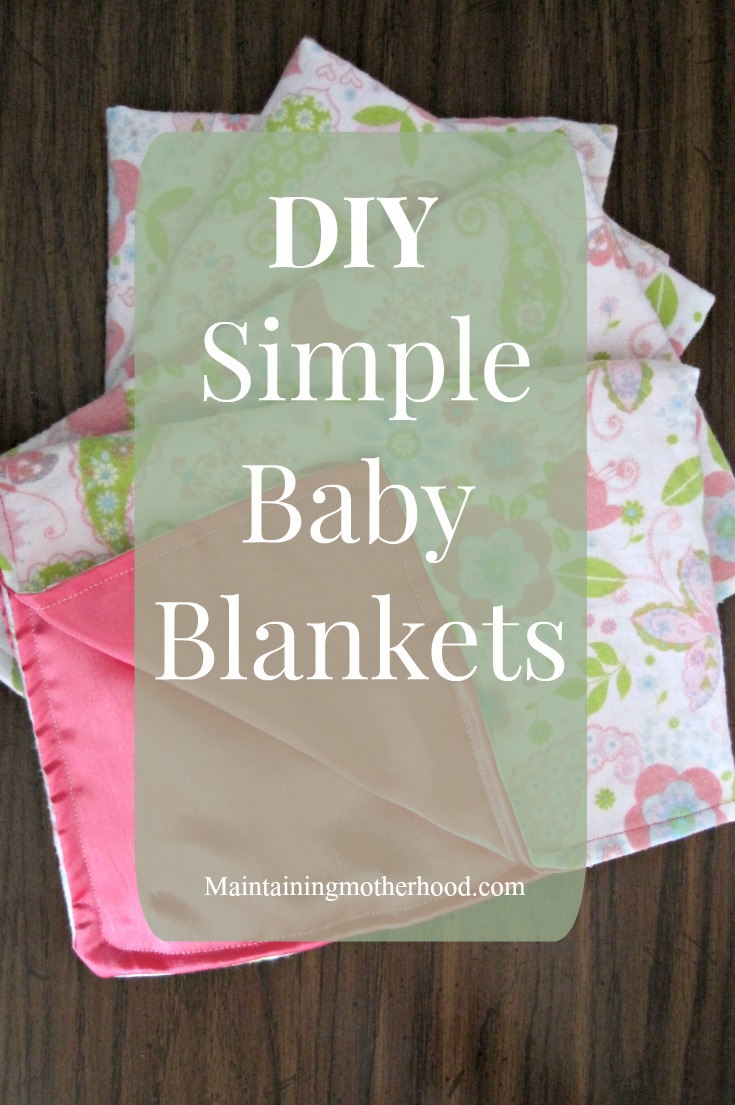
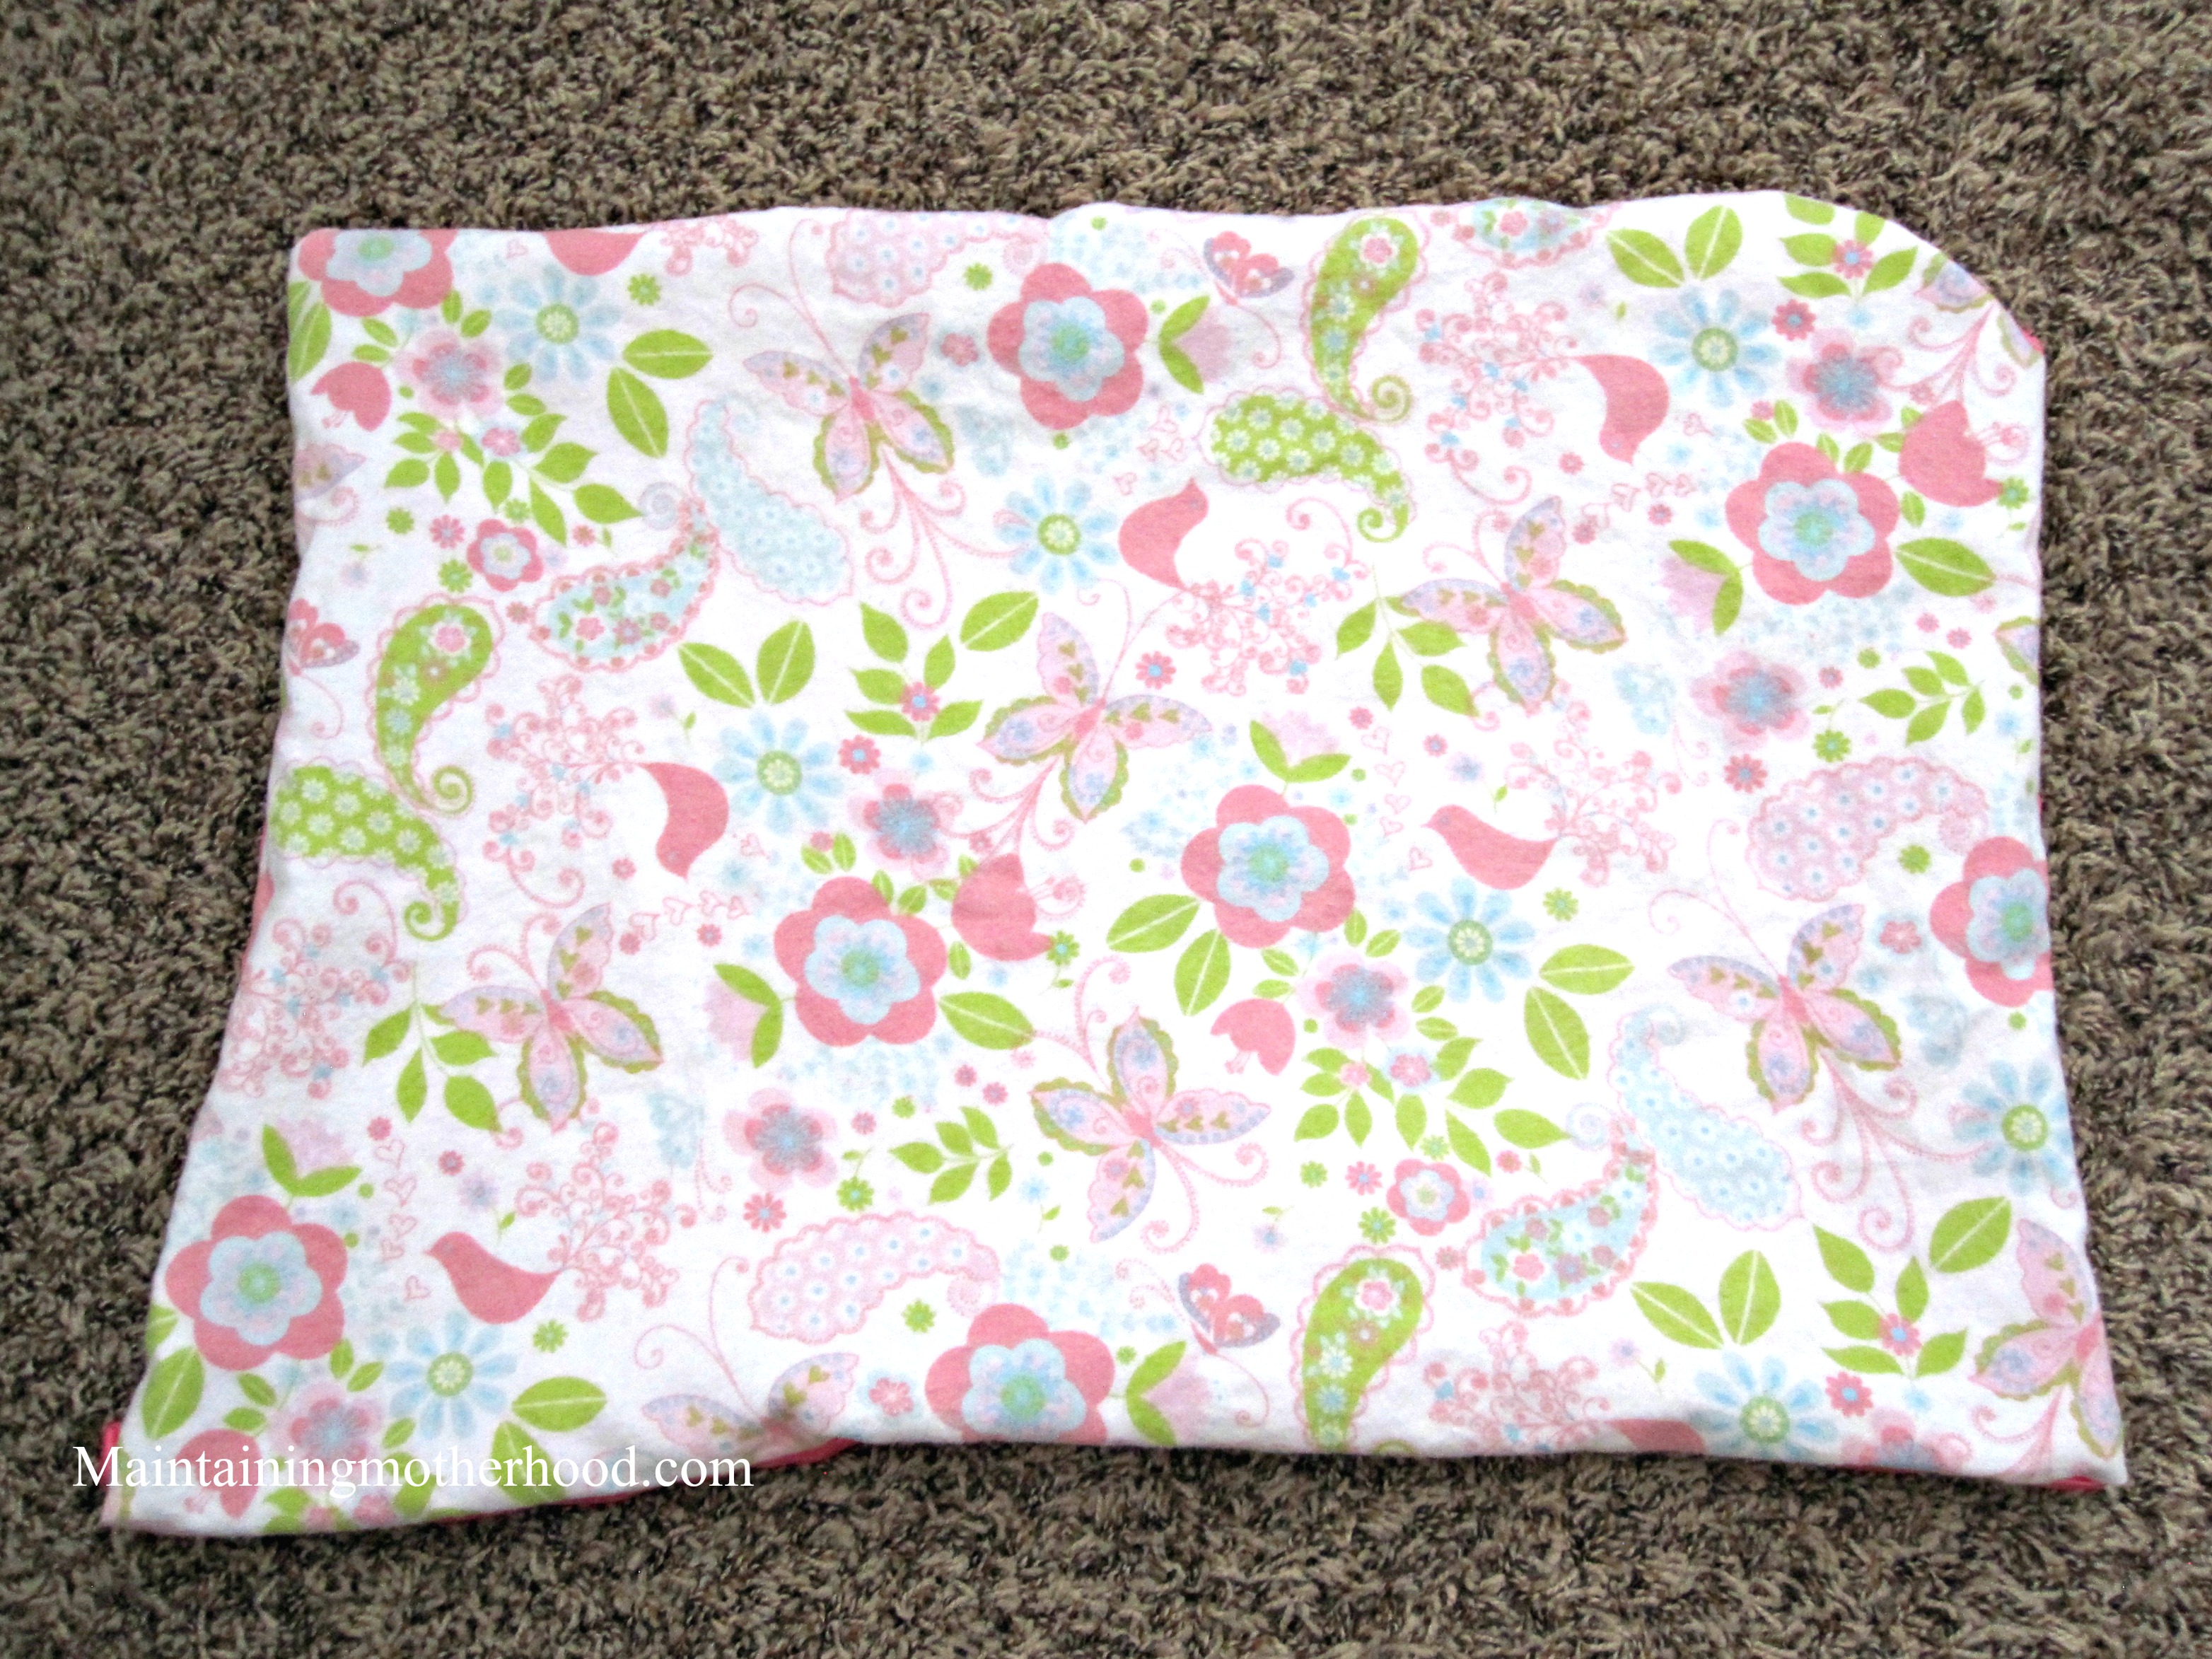
Finished Product
Don’t those look fabulous?
What do you do for comfort objects?



Love this. Seems like no one wears slips anymore. lol
Haha! Maybe I was safe taking the slip around then!